

Home
/ Blog /
Virtual Background with WebRTC in AndroidVirtual Background with WebRTC in Android
October 21, 20226 min read


Share


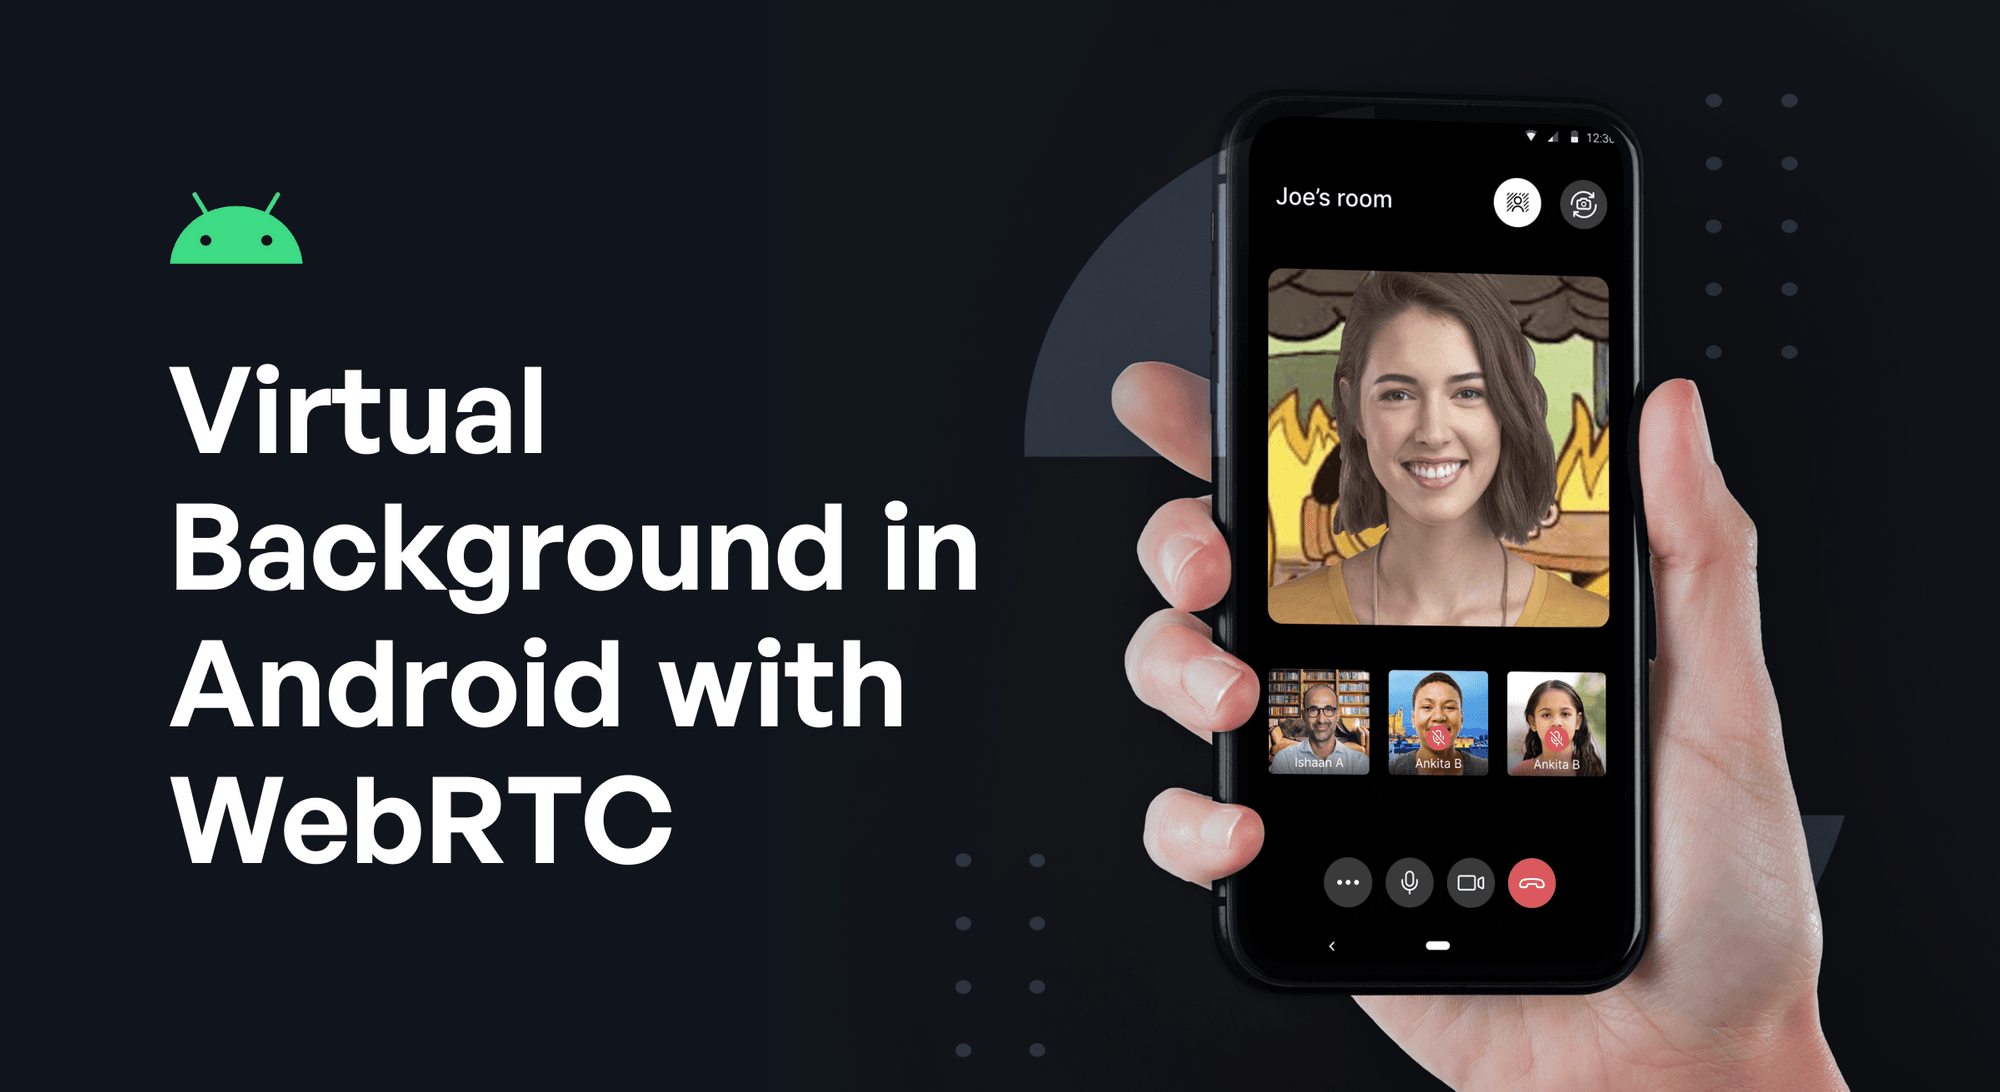
Virtual backgrounds are becoming necessary nowadays in the video conferencing world. It allows us to replace our natural background with an image or a video. We can also upload our custom images in the background.
Learn how to build Twitter Spaces with 100ms Android SDK
In this blog, we are going to implement Virtual Background in Android with WebRTC using mlkit selfie segmentation.
This feature works best with uniform lightning conditions in the background and requires a high-performance mobile android device for a smooth user experience.
By end of this blog, you can expect the virtual background feature to look like this.
Dependencies
Add the dependencies for the ML Kit Android libraries to the module's app-level gradle file, which is usually app/build.gradle:
dependencies { implementation 'com.google.mlkit:segmentation-selfie:16.0.0-beta3'}
Add the dependencies for the libyuv.
dependencies { implementation 'io.github.zncmn.libyuv:core:0.0.7'}
libyuv is an open-source project that includes YUV scaling and conversion functionality.
Common WebRTC terms you should know
- VideoFrame: It contains the buffer of the frame captured by the camera device in I420 format.
- VideoSink: It is used to send the frame back to WebRTC native source.
- VideoSource: It reads the camera device, produces VideoFrames, and delivers them to VideoSinks.
- VideoProcessor: It is an interface provided by WebRTC to update videoFrames produced by videoSource .
- MediaStream: It is an API related to WebRTC which provides support for streaming audio and video data. It consists of zero or more
MediaStreamTrackobjects, representing various audio or video tracks
Read our popular blog on Android SurfaceViewRenderer
Approaches we thought of
-
Updating the WebRTC MediaStream by passing it to the mlkit selfie segmentation model and getting the updated stream. But sadly we don’t have a method in android to replaceTrack in WebRTC.
-
Updating the stream coming from the source camera and then passing it to WebRTC. Got some success on it, but then issues were faced in using the updated stream in the WebRTC.
-
Creating another virtual video source from the camera source and using that as an input to mlkit API. But sending the updated stream back to WebRTC gave us issues.
-
Using Android CameraX Apis to read frames but again WebRTC doesn't support it.
After trying all these approaches and not getting suitable results, we figured out that we need to do processing on VideoFrame for our use case.
Getting the VideoFrame from WebRTC
Most challenging part was getting the VideoFrame out for every frame from WebRTC for processing. After a lot of research we found out that we can use setVideoProcessor API available with VideoSource. It has few callbacks
    //It gives us VideoFrame going into WebRTC for every frame
    fun onFrameCaptured(inputVideoFrame: VideoFrame?)

    //It gives us sink which we will use to send updated videoFrame back to //WebRTC
    fun setSink(sink: VideoSink?)
This is how we can setVideoProcessor to VideoSource(the source in below code snippet is VideoSource)
     source.setVideoProcessor(object : VideoProcessor {
                override fun onCapturerStarted(p0: Boolean) {

                }
                override fun onCapturerStopped() {

                }
                override fun onFrameCaptured(inputVideoFrame: VideoFrame?) {
                  //Do processing with inputVideoFrame here
                }
                override fun setSink(sink: VideoSink?) {
                  //set sink here to send updated videoFrame back to WebRTC
                }
            })
If we are setting VideoProcessor to the VideoSource we need to call onFrame callback on every frame from VideoSink otherwise, we will get a black screen on our device.
    //Here frame is the updated VideoFrame we are getting after ML processing //on input videoFrame
    sink.onFrame(frame)
Converting VideoFrame to supported ML model Input Type
To perform segmentation on an image, mlkit needs an InputImage object which can be created from either a bitmap, bytebuffer, media.Image, byte array, or a file on the device.
Here, we have converted inputVideoFrame into a bitmap using libyuv library
YuvFrame: It copies the Y, V, and U planes from videoFrame buffer into a byte array which we are converting to ARGB_8888 Bitmap
     yuvFrame = YuvFrame(
                    inputVideoFrame,
                    YuvFrame.PROCESSING_NONE,
                    inputVideoFrame.timestampNs
                )
     inputFrameBitmap = yuvFrame.bitmap
Now we have created InputImage using inputFrameBitmap
val mlImage = InputImage.fromBitmap(inputFrameBitmap, 0)
Initialise mlkit model
We have created an instance of Segmenter using this.
Process the mlImage
    segmenter.process( mlImage )
                .addOnSuccessListener { segmentationMask ->
                    val mask = segmentationMask.buffer
                    val maskWidth = segmentationMask.width
                    val maskHeight = segmentationMask.height
                    mask.rewind()
                    val arr: IntArray = maskColorsFromByteBuffer(mask, maskWidth, maskHeight)
                    val segmentedBitmap = Bitmap.createBitmap(
                        arr, maskWidth, maskHeight, Bitmap.Config.ARGB_8888
                    )
    			//segmentedBitmap is the person segmented from background
                }
                .addOnFailureListener { exception ->
                    HMSLogger.e( "App" , "${exception.message}" )
                }
                .addOnCompleteListener {
                }
Draw the segmented background on the canvas
We have used Porter.Duff mode to draw segmented output with the background image given by the user on the Canvas(using canvas APIs). After this, we will get outputBitmap from canvas which we are using to create an updated VideoFrame.
Create a new VideoFrame from outputBitmap
    surfTextureHelper?.handler?.post() {
                    GLES20.glTexParameteri(
                        GLES20.GL_TEXTURE_2D,
                        GLES20.GL_TEXTURE_MIN_FILTER,
                        GLES20.GL_NEAREST
                    )
                    GLES20.glTexParameteri(
                        GLES20.GL_TEXTURE_2D,
                        GLES20.GL_TEXTURE_MAG_FILTER,
                        GLES20.GL_NEAREST
                    )
                    GLUtils.texImage2D(GLES20.GL_TEXTURE_2D, 0, outputBitmap, 0)

                    val i420Buf = yuvConverter.convert(inputBuffer)
                    // 180 is the frame rotation degree that we are using
                    val outputVideoFrame = VideoFrame(i420Buf, 180, frameTs)
                }
Send VideoFrame back to WebRTC
This will replace the input video feed with the background supplied on both local and remote
sink.onFrame(outputVideoFrame)
Time taken
The whole pipeline takes on an average of 40-50ms on 360p resolution as measured on OnePlus6.
Optimizations
Most of the processing time is taken by input VideoFrame to YuvFrame conversion. Since the real-time view doesn't change much on every frame, there is no point in doing this conversion on every frame. The previously converted YuvFrame can be easily used for processing. It helps in enhancing the performance and user experience.
Read how you can build your own Omegle clone using 100ms SDK
General
Share
