Build and Deploy
Overview
Once you have customized the app as per your needs and tested it in your local development environment, you can build and deploy the app to one of your preferred platforms like Vercel, Netlify, AWS, Web server, Docker, etc.
Build the app
100ms-web app is just like any react application. To build the app, just run
yarn build or
npm build
If everything goes well, you should see something like this in the terminal.
webpack 5.70.0 compiled successfully in 22546 ms
✨  Done in 30.72s.
All the files that got built in the above step will be in the build/ directory. This is all we need to deploy. The files are just plain HTML/CSS/JS and could be deployed in many different ways. We discuss some popular ones below.
Deploy the code
There are many ways to deploy 100ms-web. We discuss a few methods below. Please feel free to reach out to us if you don't find your preferred platform here.
Netlify
Deploying 100ms-web to Netlify is straightforward and same as deploying any project to Netlify. There are two ways to deploy to Netlify:
Deploy via Git (Recommended)
If you had forked 100ms-web and have customized it, it is highly likely you are using git. If you did, You can directly deploy to Netlify. Netlify supports GitHub, GitLab and Bitbucket. Netlify has great documentation on how to do it.
Deploy the files directly
If you want to directly upload your files, Netlify provides a very easy drag & drop interface for it.
We recommend using Git in general if you are planning to use this code for production. Only use the direct method if you want to quickly test something or do some proof-of-concept.
If you are interested in Netlify's CI/CD or just want to learn more about deploying to Netlify, please check their docs here
Vercel
Deploying to Vercel is pretty much straightforward similar to Netlify.
-
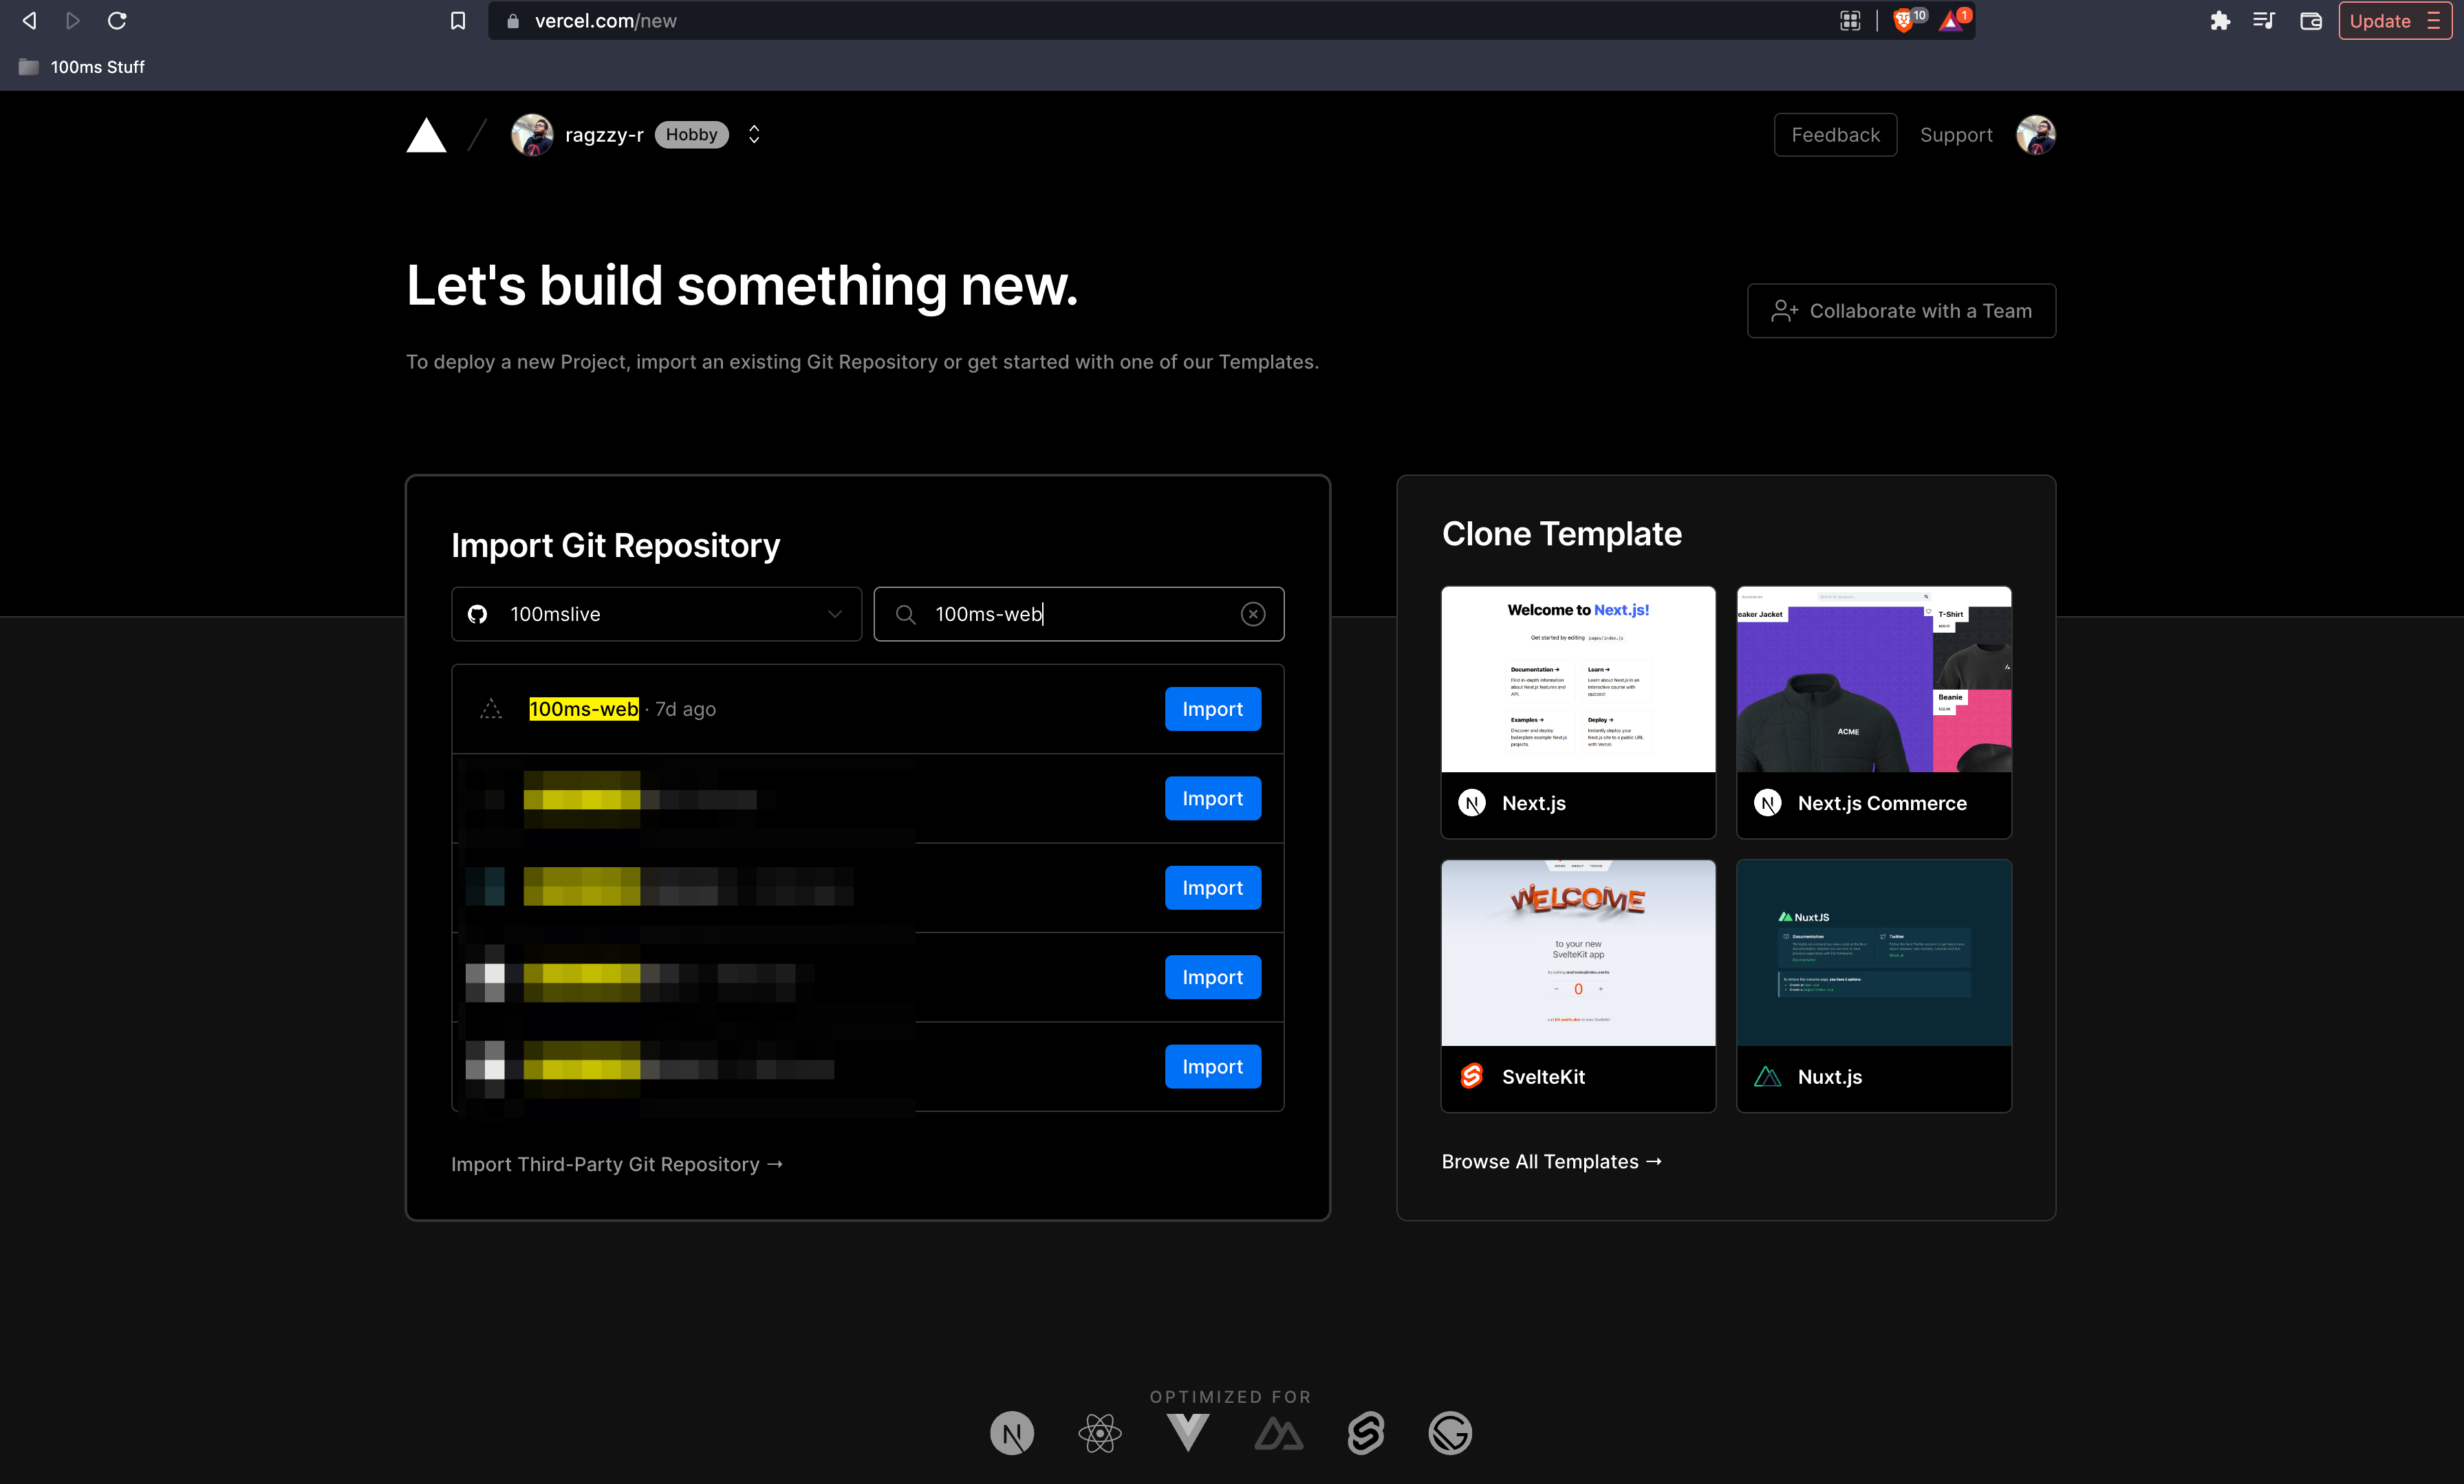
You can start with a New Vercel app. In that page, import your repository from git, Click next
-
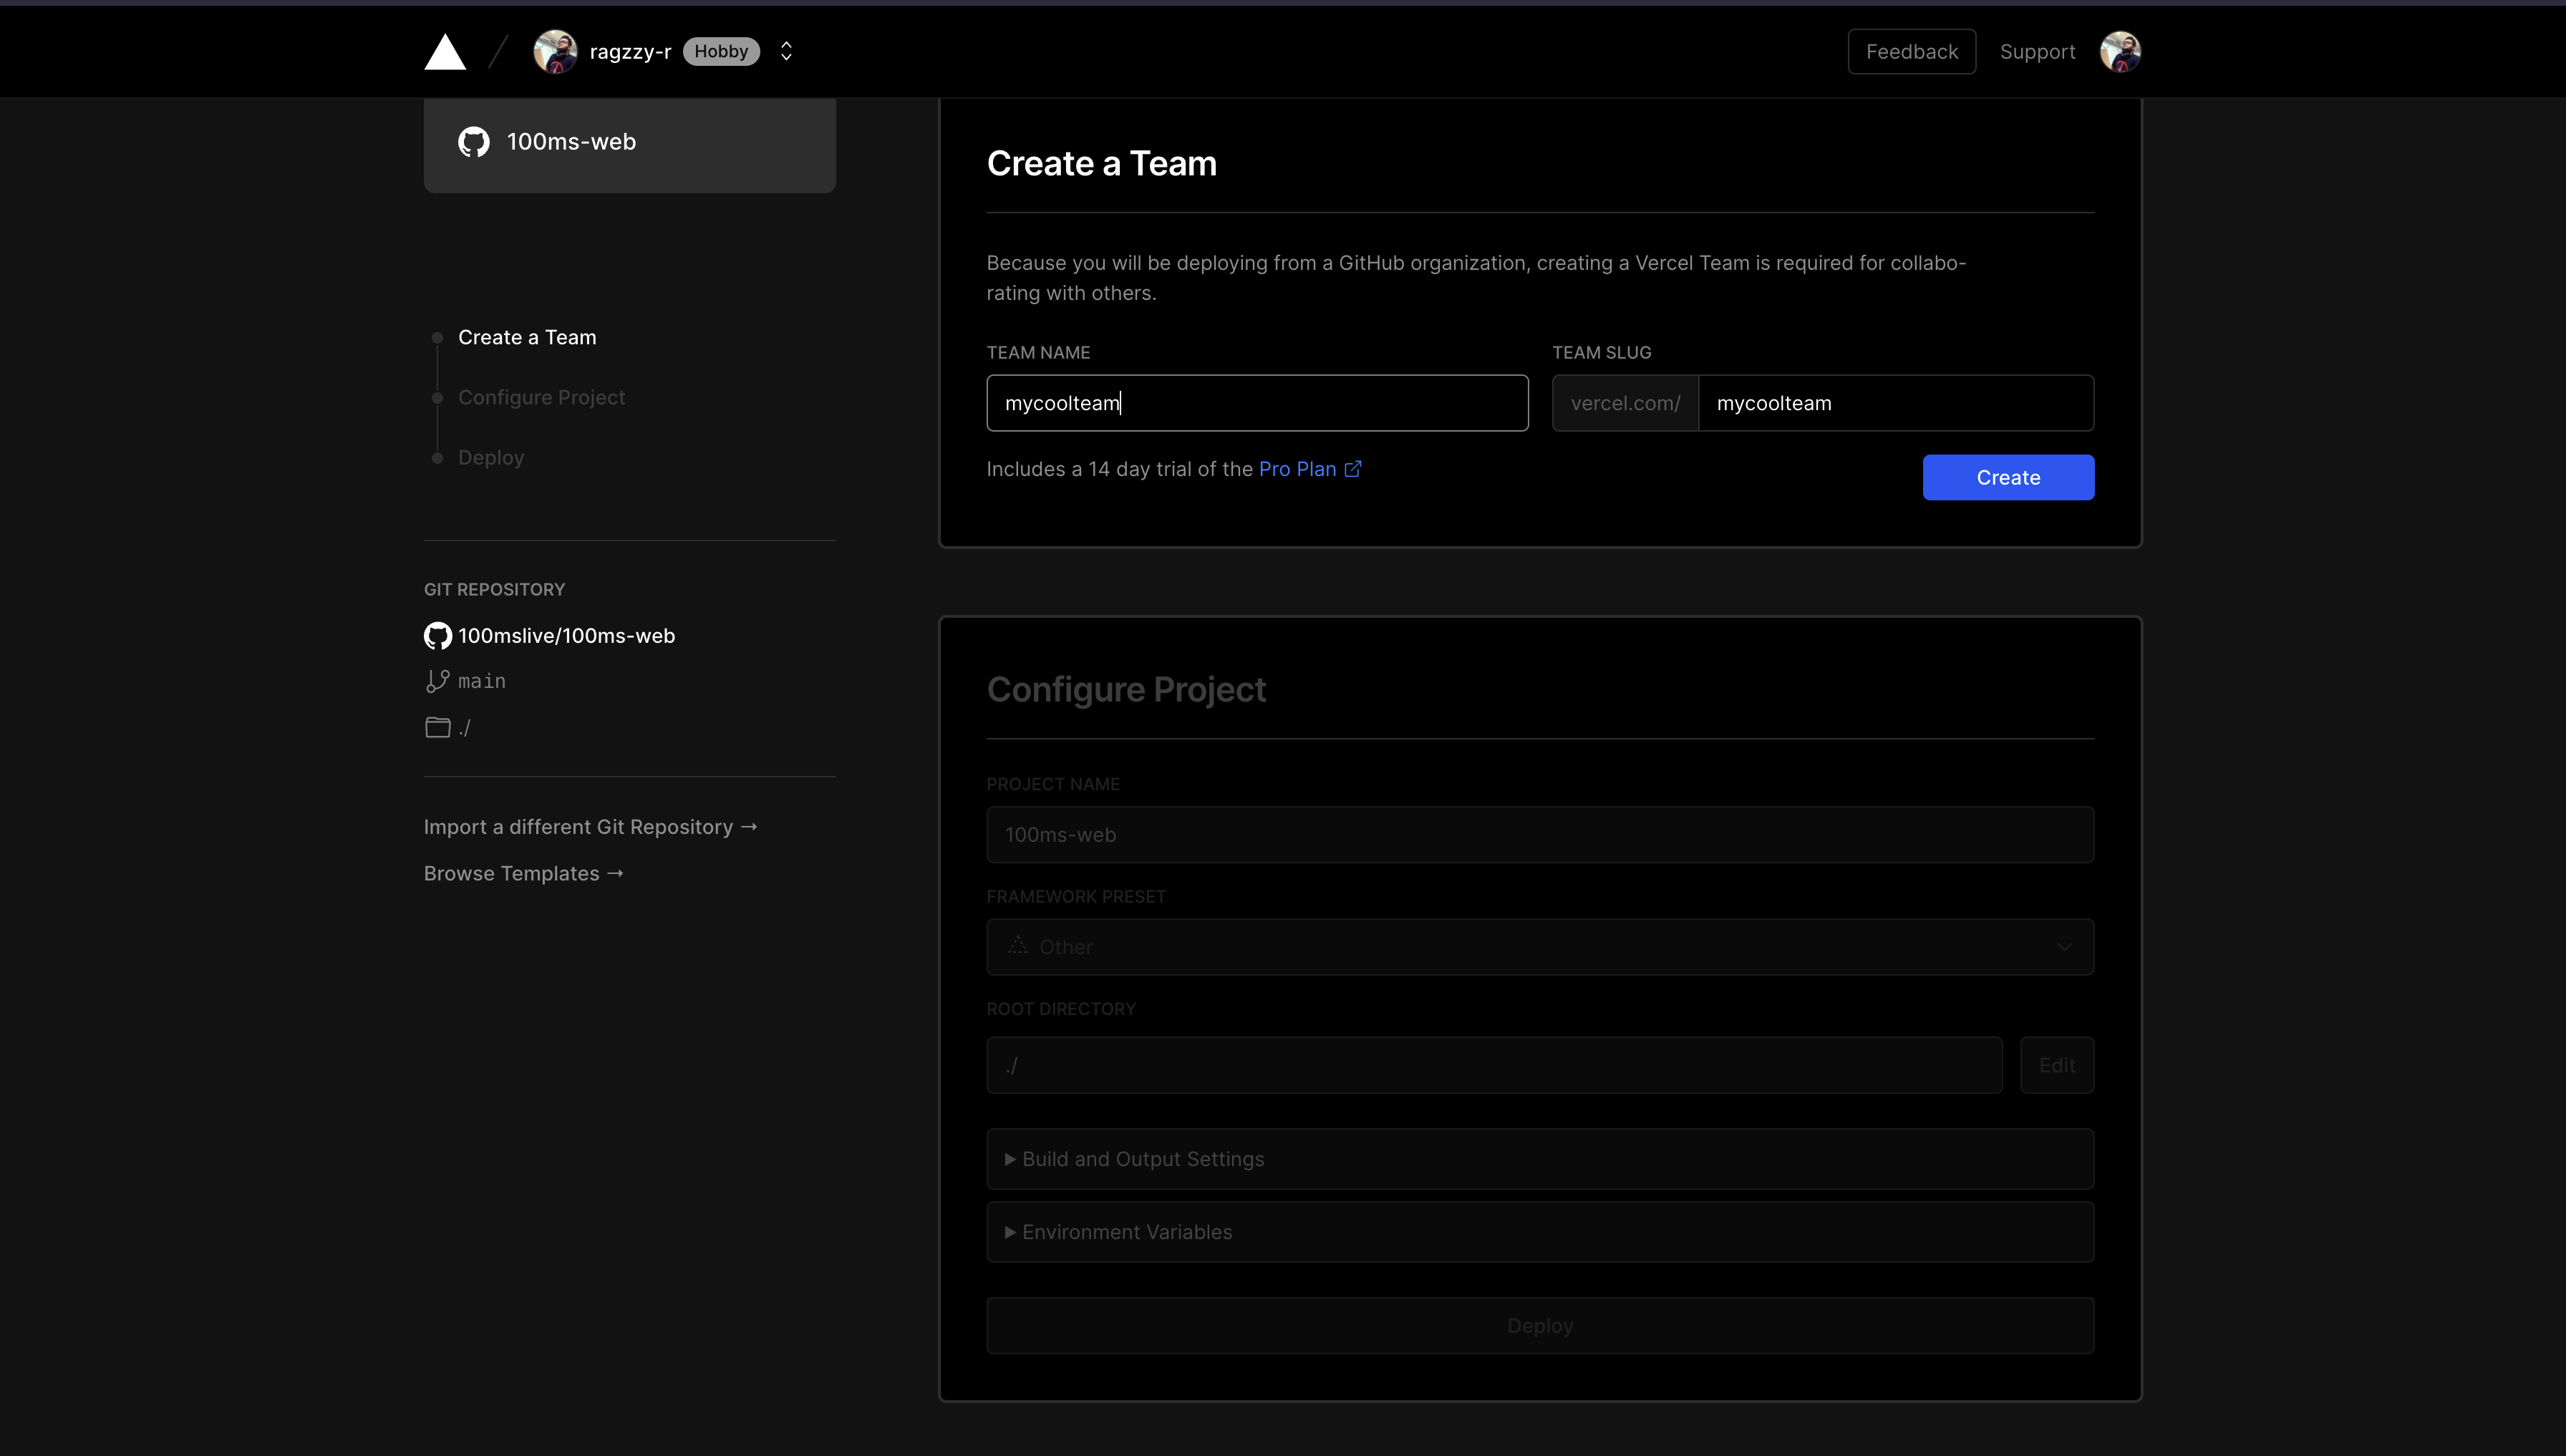
In the next page, create a team first
-
Then in Configure Project section, select Framework preset as Create React App and then add any extra build settings you want to add. Make sure to add the environment variables for the app below that. For more details See Environment Variables
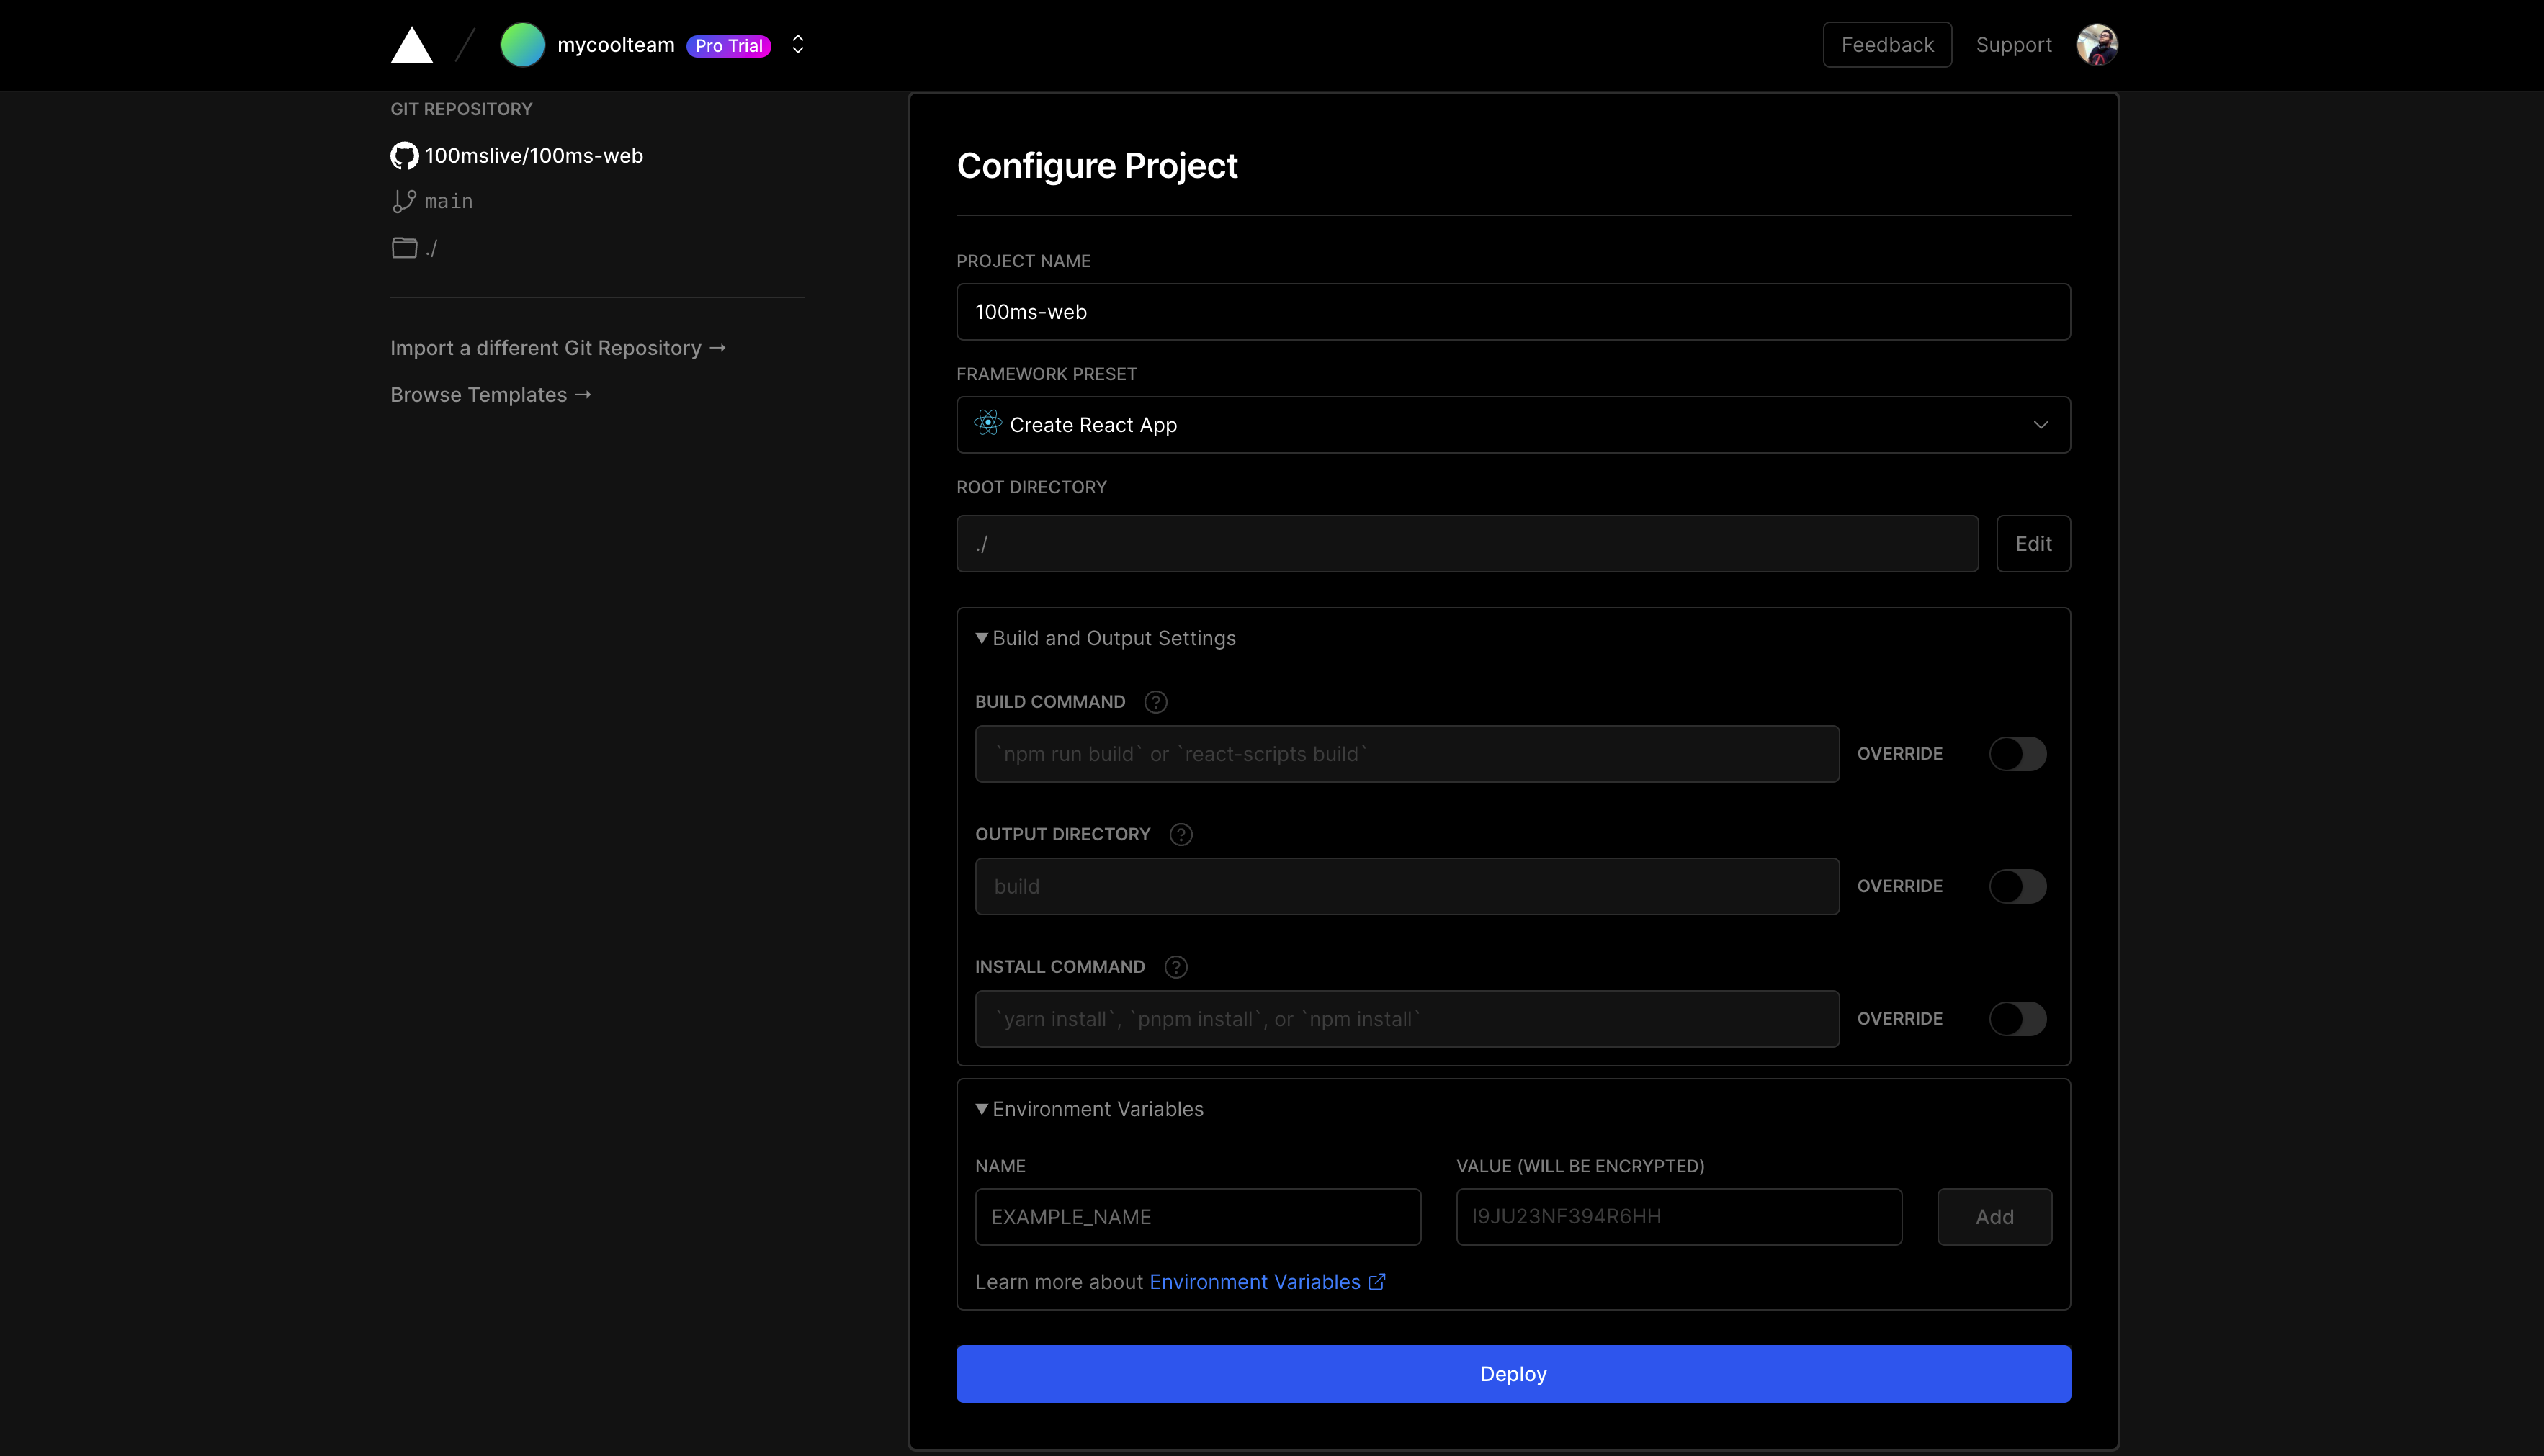
You can change the environment variables any time later in the settings page of your project dashboard. Every time you change a variable, add/remove a variable, you have to rebuild and make a new deployment for the environment variables to take effect. This is a mandatory step and must be done.
-
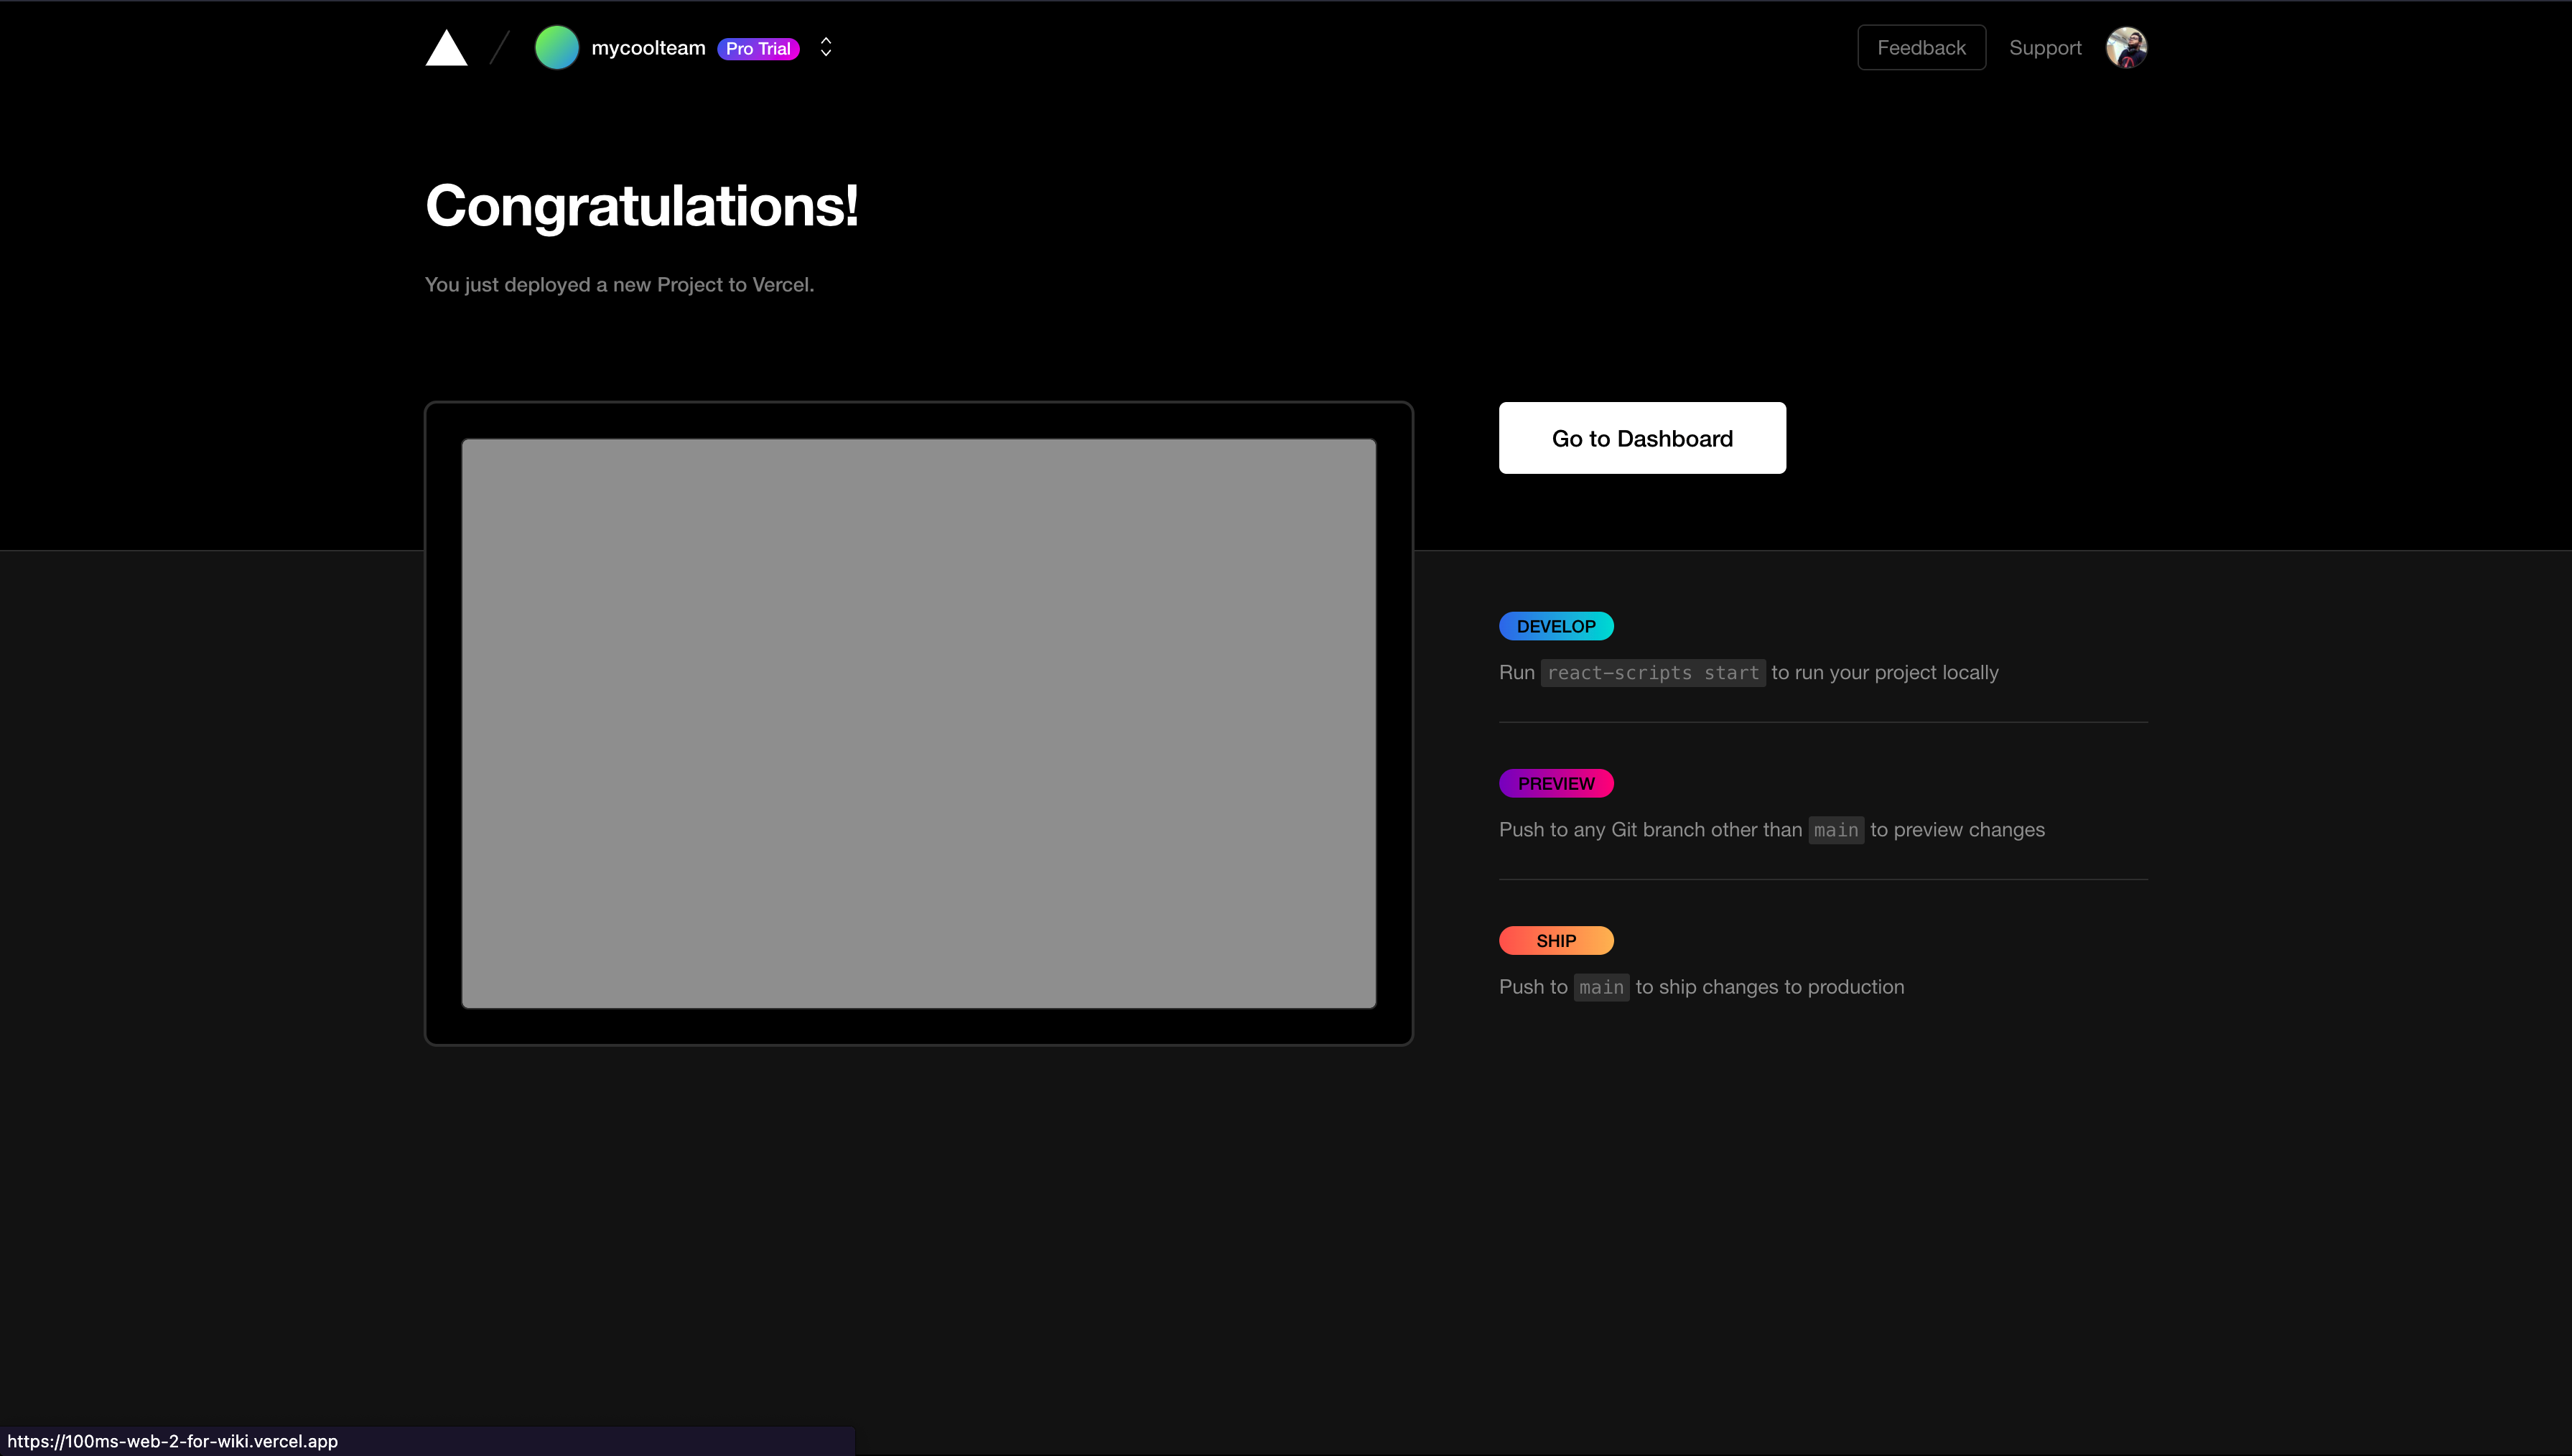
Now click deploy. Wait for the project to be deployed. Once it's successful, you should see a screen like this
-
Click Go to dashboard. In the dashboard page, you should be able to see the app by clicking "Visit" button on the deployment screen. Click it to see your app in action.
That's it. You are all done.