Home
/ Blog /
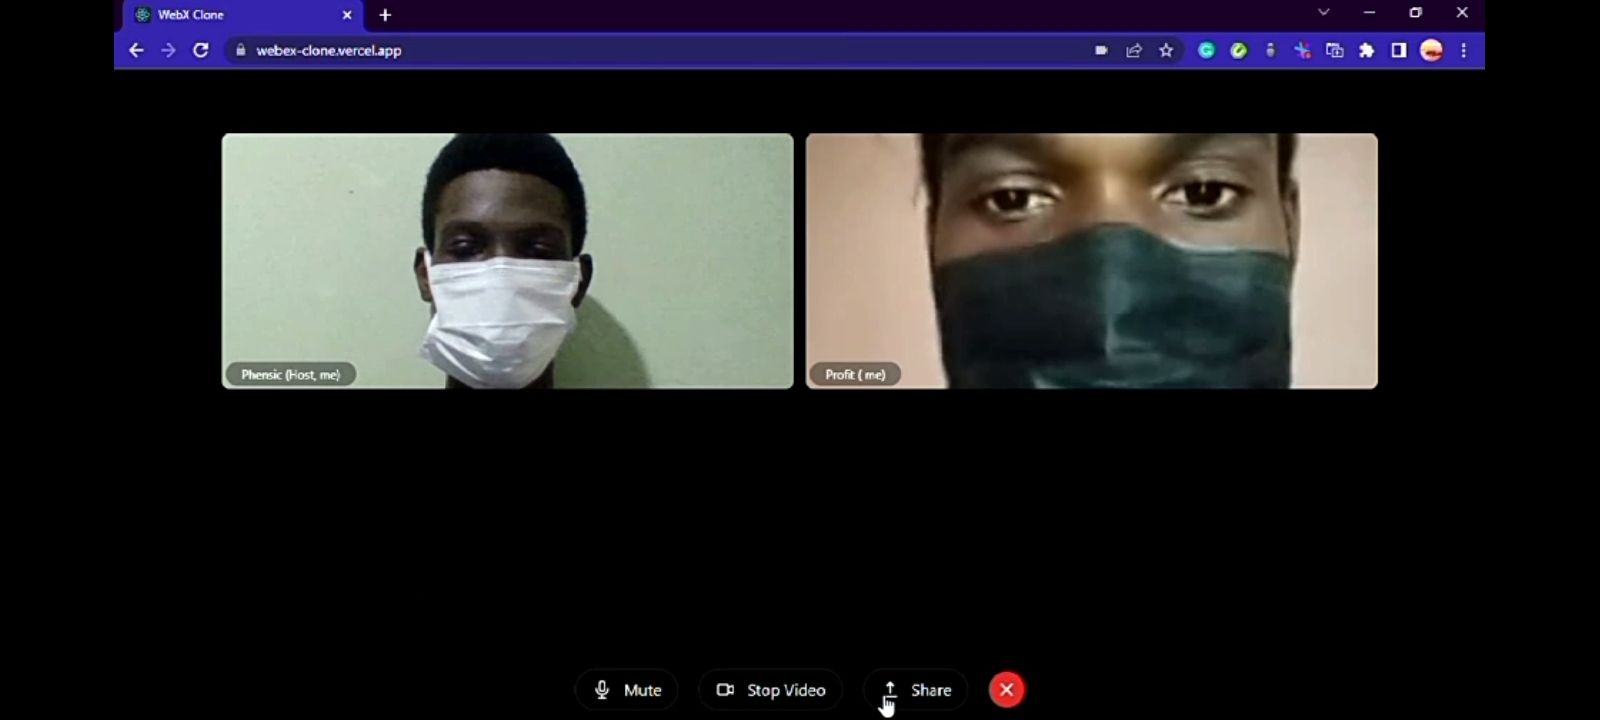
How to create a Webex Clone With 100msHow to create a Webex Clone With 100ms
May 30, 202224 min read


Share


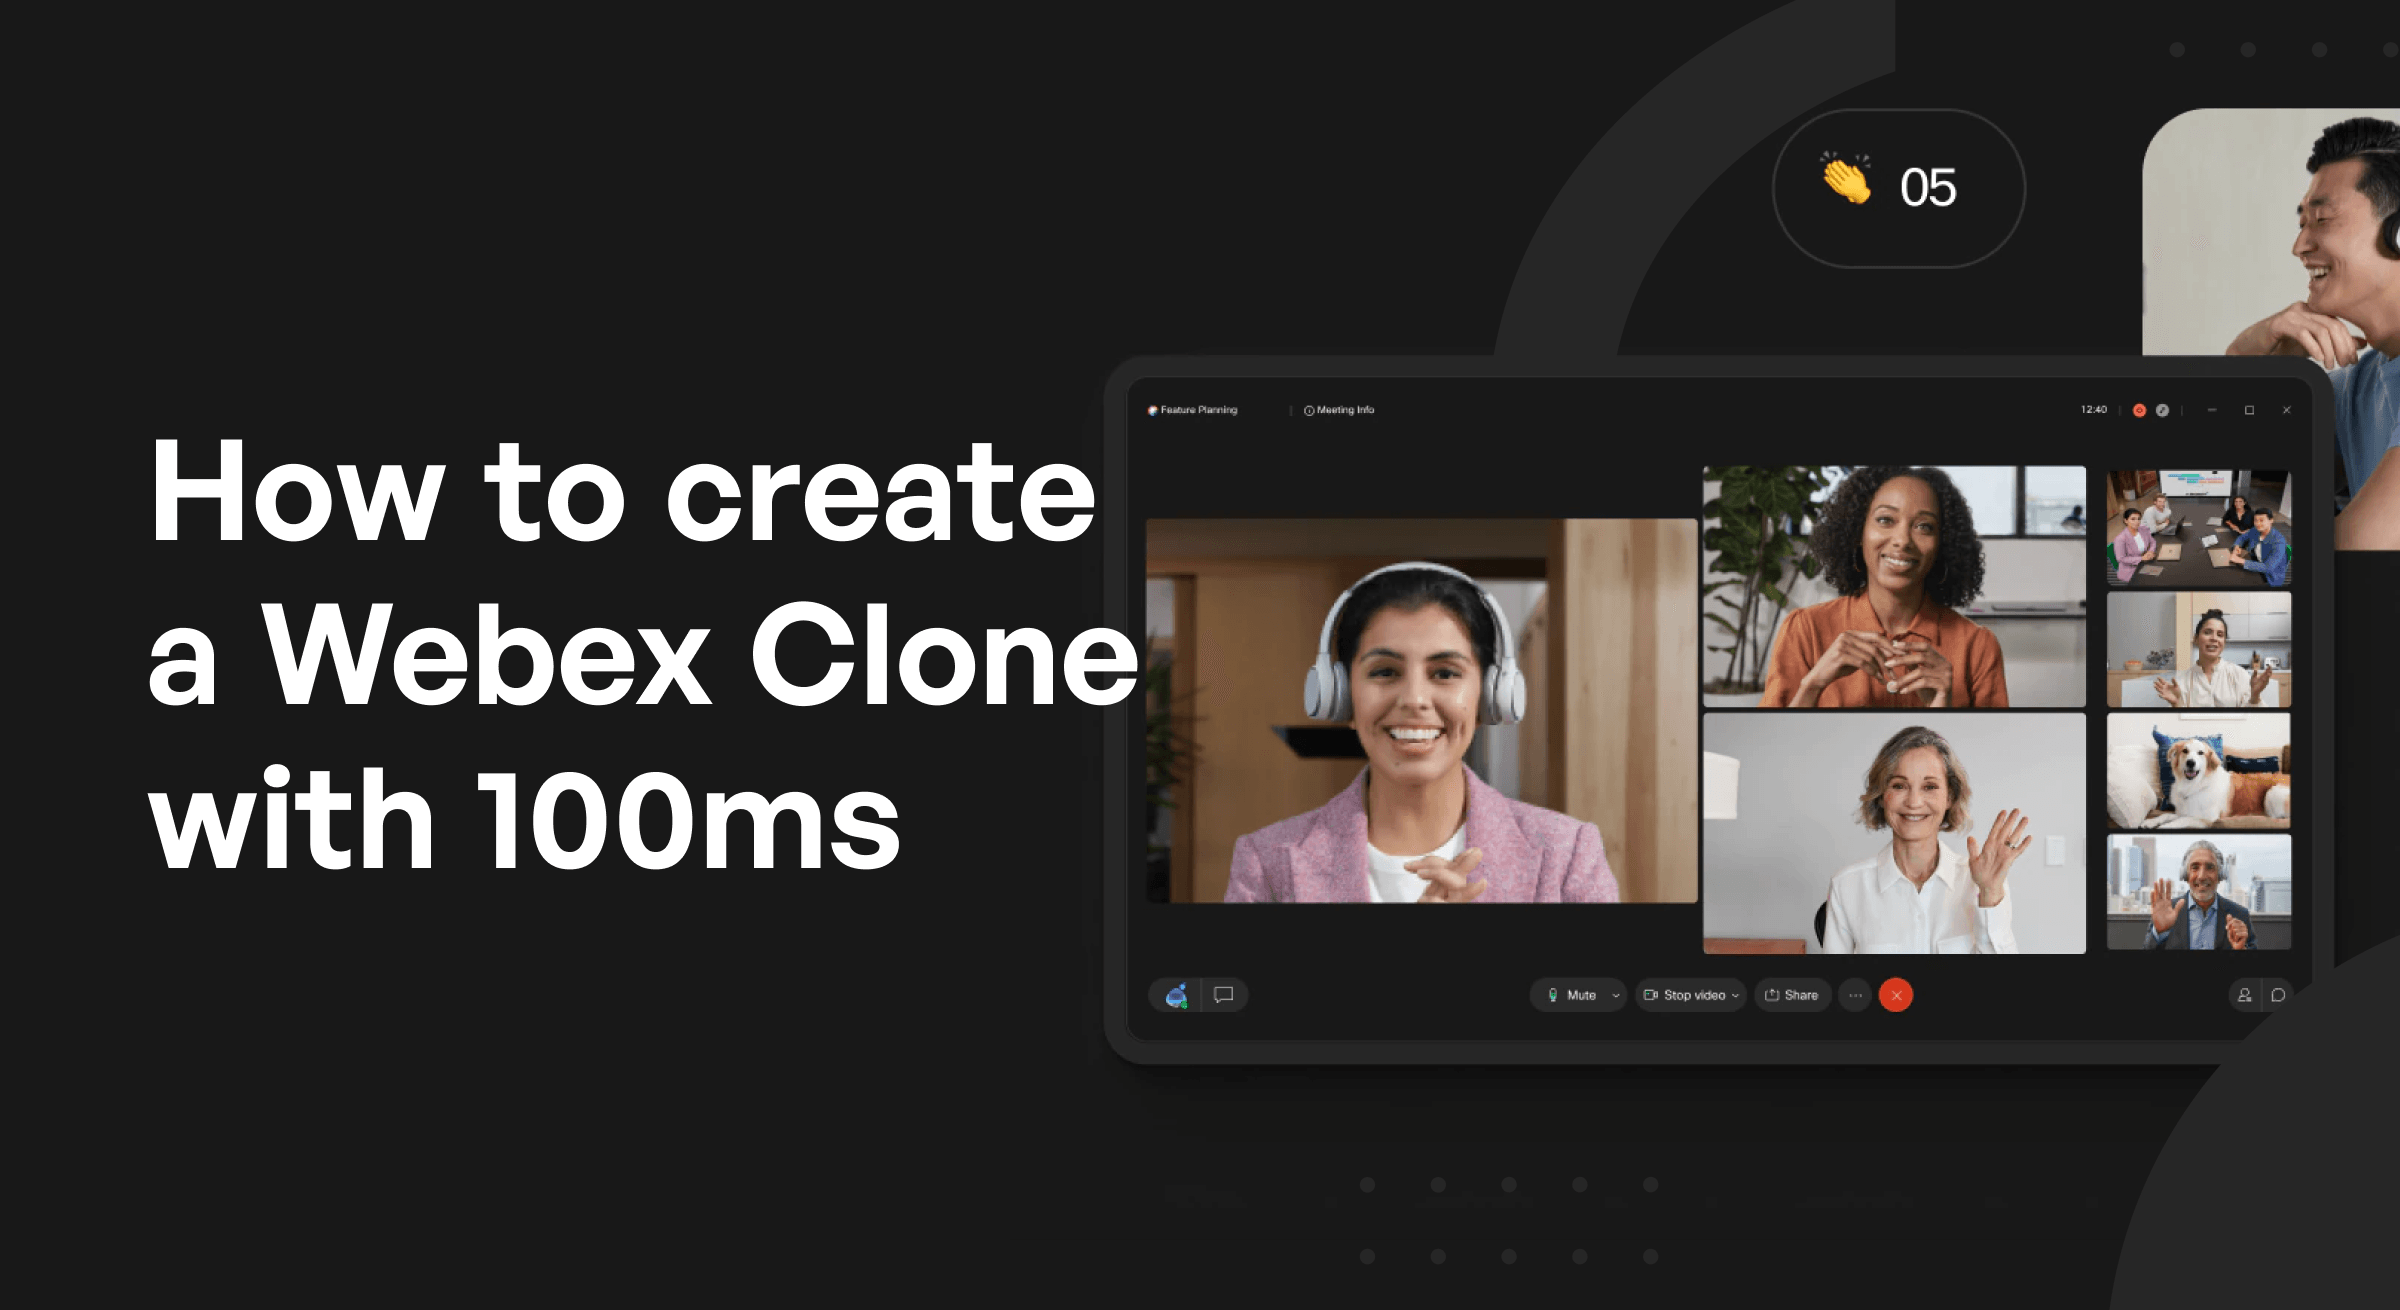
In this article, we will discuss how to create a Webex clone using the 100ms JavaScript SDK.
What is 100ms?
100ms is a video and audio conferencing application created by the same team that built the video infrastructure at Disney and Facebook. It allows you to incorporate audio and video conferencing into your application by providing powerful, multi-featured APIs and SDKs. With them, you can implement telecommunication services on both client and server-side applications.
Prerequisites
- Basic knowledge of HTML, Tailwind CSS, and React.
- Have node.js version 12 pre-installed.
Getting started with 100ms
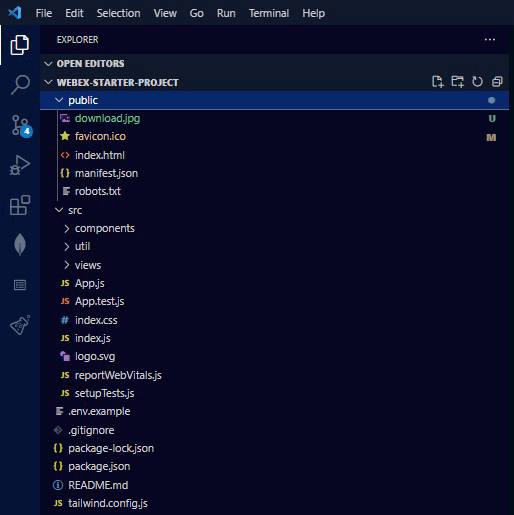
- Go to the link to fork and download the starter files from the GitHub repository. This will allow you to get the starter project locally.
- To get started with 100ms JavaScript SDK, run
npm installto install all of 100ms’ latest dependencies, and runnpm starton your project terminal.

- Before building the app, you must set up a developer's account on 100ms and get your
TOKEN_ENDPOINTfrom the developer’s section. You'll also need aROOM_IDto join using the Webex app.
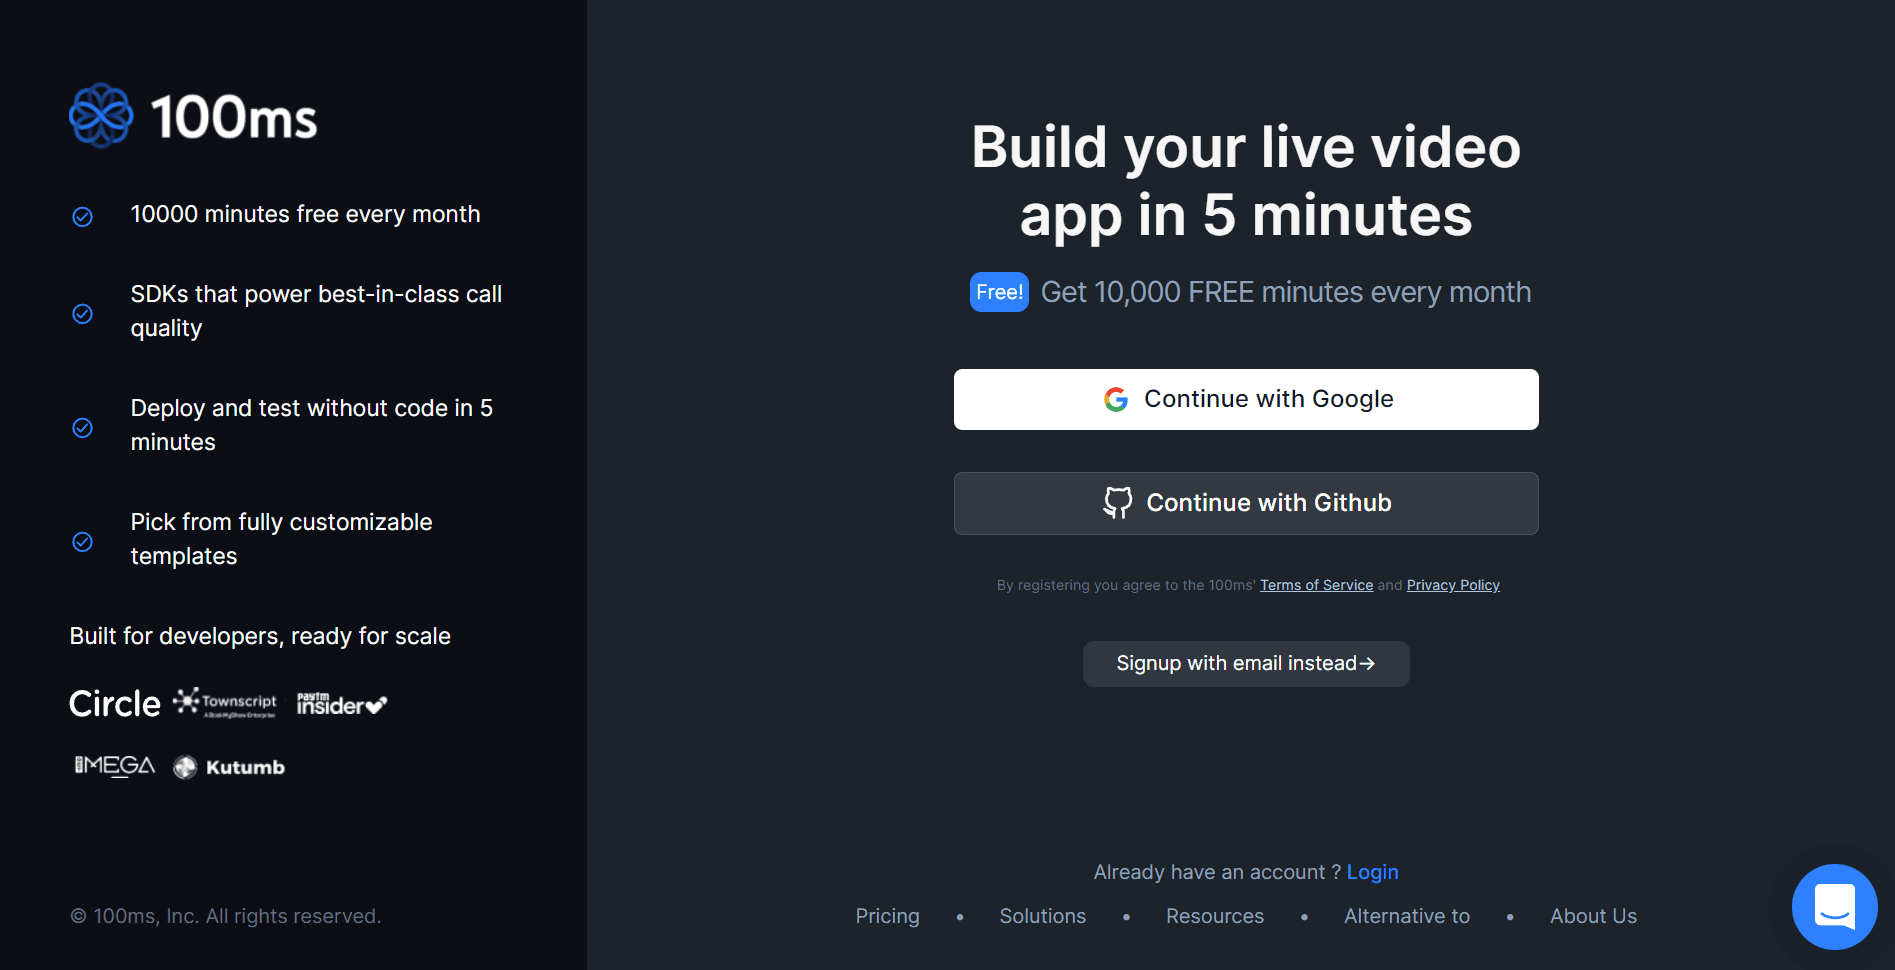
To do this, head to the dashboard, sign up or log in with your Google/GitHub account.
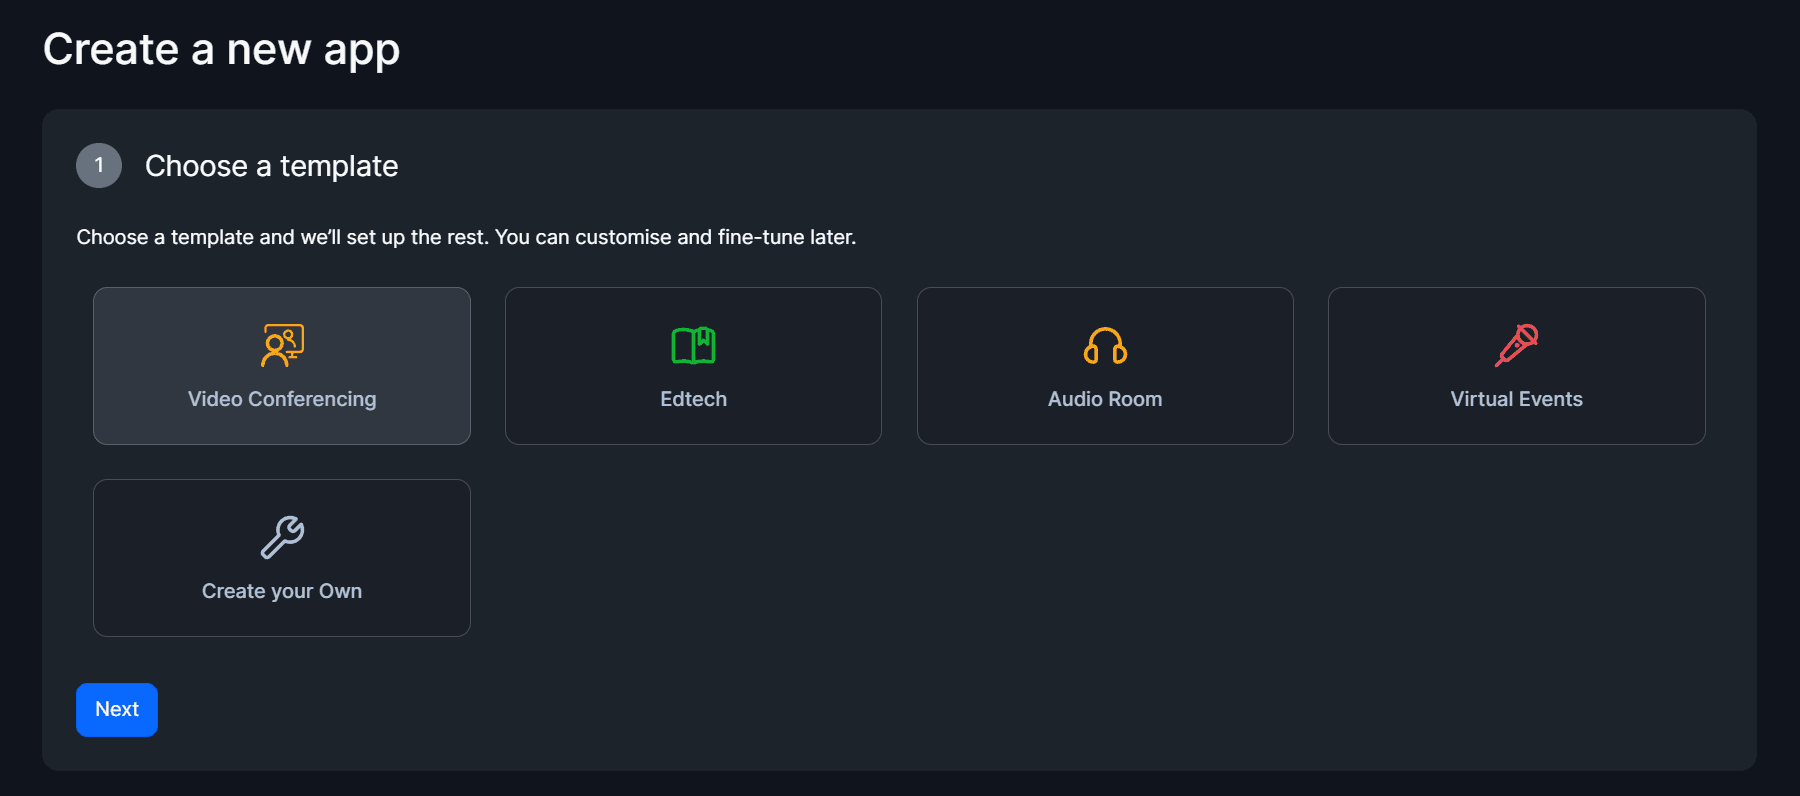
Creating A Custom App
After logging into your account, you will be redirected to a page to create a new app. First, choose the Video Conferencing template, and click Next. Now choose a unique subdomain and then click Set up app.

Now you can return to the dashboard by clicking Go to Dashboard at the bottom right corner of the screen to edit the roles.
Defining Roles
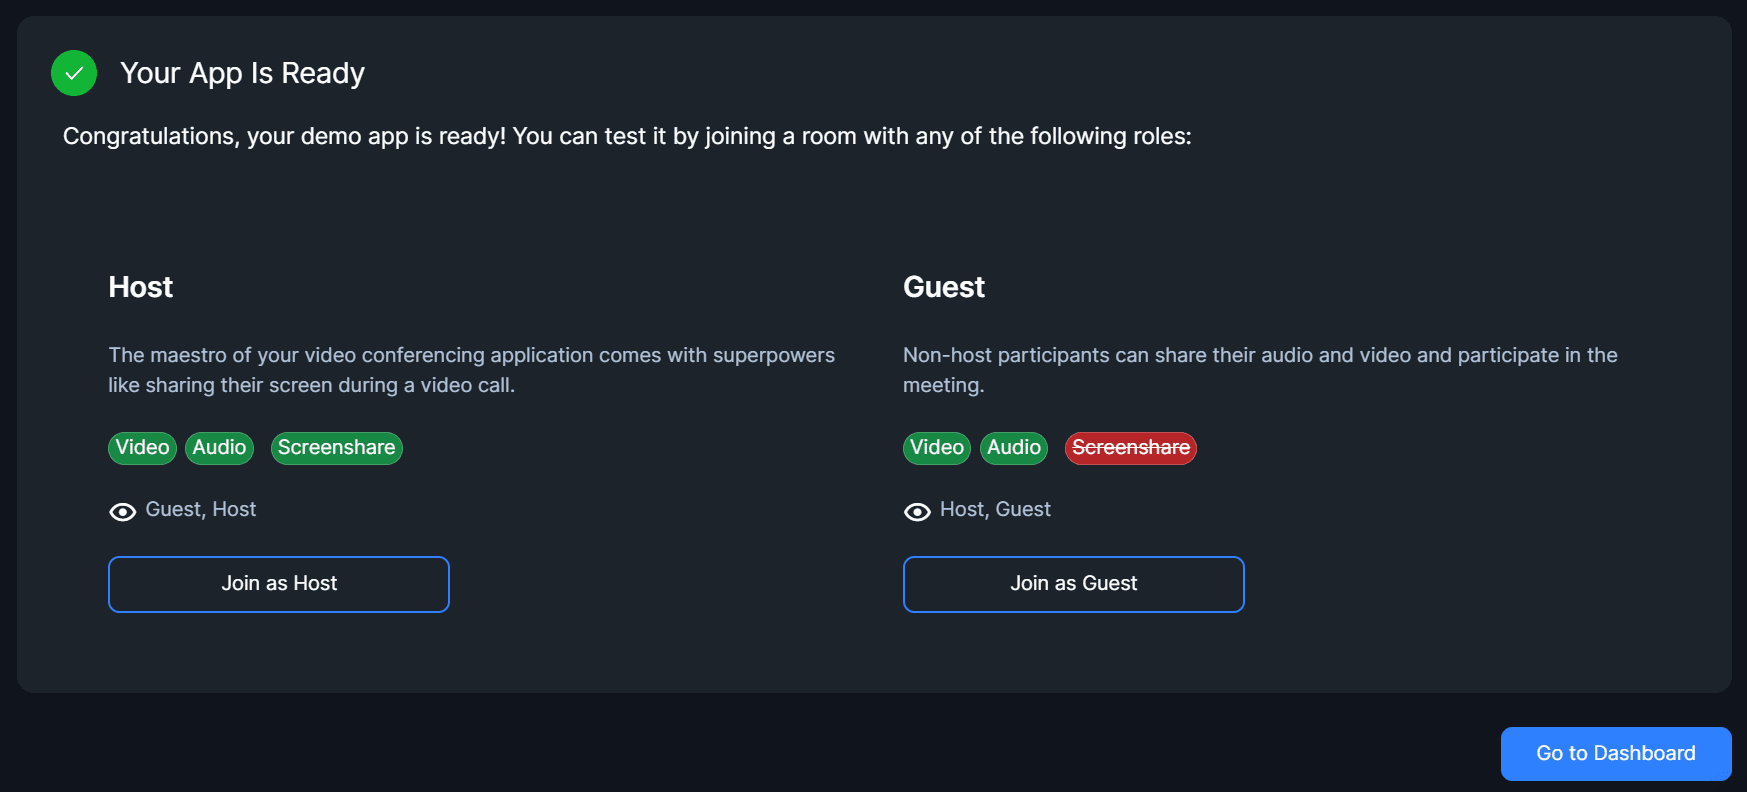
In the 100ms landscape, role refers to the set of permission a specific participant has access to while in a meeting. In other words, it determined what someone can do while in the meeting - muting/unmuting a peer, ending the session, removing all current participants from the room, etc.
In this case, leave the default roles - "Host" & "Guest”, when you chose the template “Video Conferencing”.
A peer entering the room with either of these roles will be given the following permissions during the session:
- Guest: can share their screen, but do not have any special permissions such as being able to mute another participant. To create this role, turn off all their publishing abilities.

- Host: can do everything a Guest can do, and also mute/unmute others. To create this role, turn on all permissions for them.

Now, make sure to save the changes you've made. Once that's done, return to the previous page and click Set up App.
Creating A Room
For 100ms users, a room represents the platform where real-time audio-video interactions take place between all peers/participants.
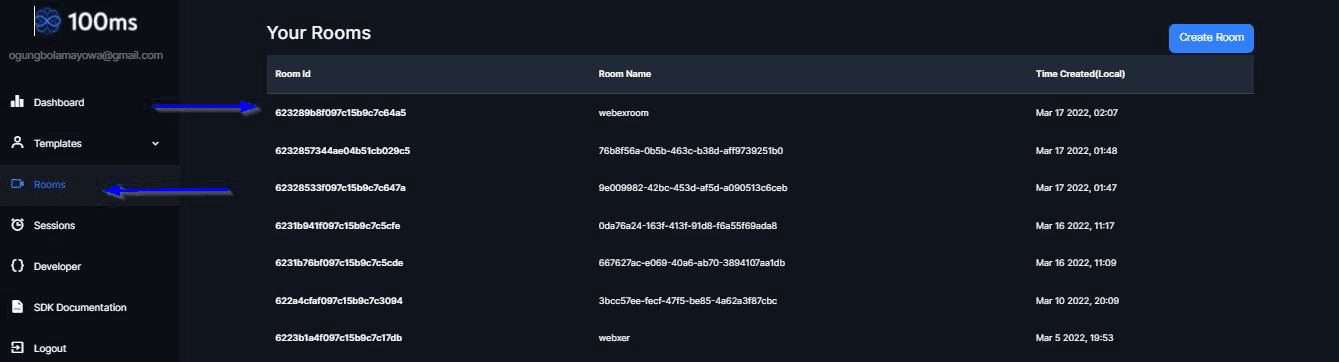
- To create a room, return to your dashboard and click on Room at the left pane of the screen. Then click on Create Room to edit the room name (e.g. “Webex room’’). Again, click Create Room.
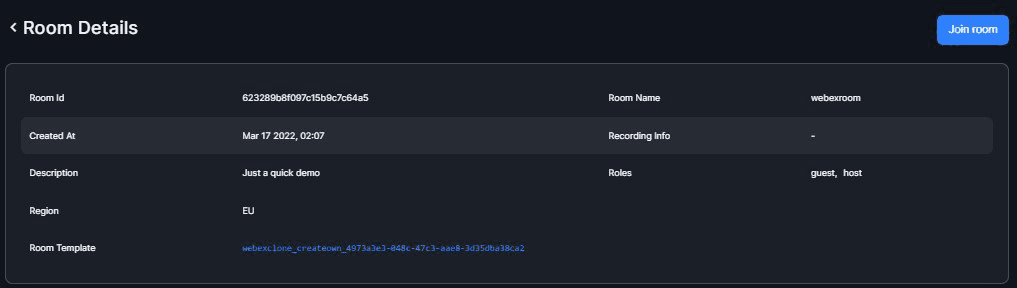
- Click on the Room button to return to your room section and copy your
ROOM_ID.
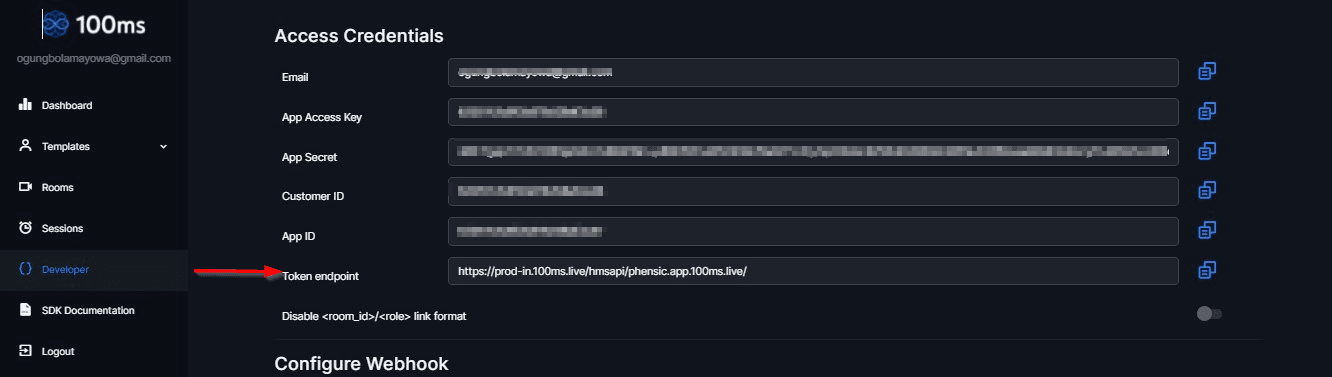
- Go to the Developer section by clicking on the Developer button to view your access credentials. Copy your
TOKEN_ENDPOINT.
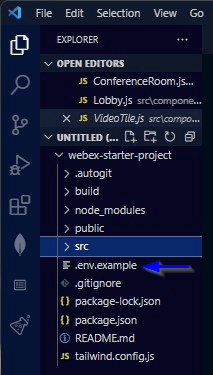
- Rename the .env.example file in the image below to just .env to store the
TOKEN_ENDPOINTand yourROOM_IDas an environment variable. - Update the values of the variables with the required tokens.
REACT_APP_MEETING_ENDPOINT= <Your TOKEN_ENDPOINT>
REACT_APP_ROOM_ID= <Your ROOM_ID>
Building A Webex Clone
Now that you have set up the essentials, it’s time to get started with coding your Webex clone.
In the util folder, the files you'll need to make changes to are:
src > components > ConferenceRoom.js, ControlSection.js, Lobby.js, Screen.js, VideoTile.js, and getAuthToken.js.
Here is a link to the 100ms JavaScript/React docs. Review it alongside this tutorial.
Joining And Leaving A Room
Any user who wants to join the room will need an auth token: a client-side token used to authenticate the user. To generate this auth token function, go to getAuthToken.js and modify the code to add the function:
const meetingEndpoint = process.env.REACT_APP_MEETING_ENDPOINT;
const roomID = process.env.REACT_APP_ROOM_ID;

// function to get the token
export default async function getAuthToken(role) {
  const response = await fetch(`${meetingEndpoint}api/token`, {
    method: "POST",
    body: JSON.stringify({
      user_id: "6225ece844ae04b51cafe234", // a reference id for the user
      role: role, // host, guest
      room_id: roomID, // as present on the dashboard
    }),
  });
  const { token } = await response.json();
  return token;
}
After authenticating the user, modify the Lobby.js file with the code below to apply logic to join the meeting:
import { useState } from "react";
import { useHMSActions } from "@100mslive/react-sdk";
import getAuthToken from "../util/getAuthToken";
function Lobby() {
const hmsActions = useHMSActions();
const [inputValues, setInputValues] = useState({
name: "",
token: "",
});
const [role, setRole] = useState("guest");
const handleInputChange = (e) => {
setInputValues((prevValues) => ({
...prevValues,
[e.target.name]: e.target.value,
}));
};
const handleSubmit = (e) => {
e.preventDefault();
// apply logic to join a meeting
e.preventDefault();
getAuthToken(role).then((token) => {
hmsActions.join({
userName: inputValues?.name,
authToken: token,
});
});
};
return (
<div className="bg-main h-screen flex justify-center items-center">
<form
className="max-w-sm container mx-auto flex flex-col gap-4"
onSubmit={handleSubmit}
>
<h2>Join Room</h2>
<div className="w-full">
<label htmlFor="name" className="text-white text-base p-2">
Display Name
</label>
<input
required
value={inputValues.name}
onChange={handleInputChange}
id="name"
type="text"
className="w-full p-3 my-2 rounded-xl"
name="name"
placeholder="Your name"
/>
</div>
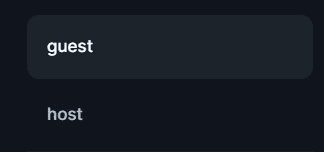
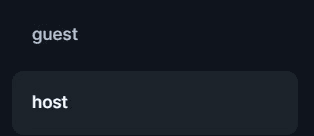
<div className="w-full">
<label htmlFor="name" className="text-white text-base p-2">
Role
</label>
<select
className="w-full p-3 my-2 rounded-xl"
value={role}
onChange={(e) => setRole(e.target.value)}
>
<option id="only" value="host">
Host
</option>
<option value="guest">Guest</option>
</select>
</div>
<button className=" bg-btnGreen p-3 rounded-lg text-white">Join</button>
</form>
</div>
);
}
export default Lobby;
The Lobby.js file contains the form available to every user by default. The code above will apply a logic to join the conference call after a user has filled out the form and generated the token.
- Now, go to the
App.jsfile and update the file with the code below. The function of the code in this file is to render the conference while a peer is connected.
import {
  useHMSActions,
  selectIsConnectedToRoom,
  useHMSStore,
} from "@100mslive/react-sdk";
import { useEffect } from "react";
import Lobby from "./components/Lobby";
import ConferenceRoom from "./components/ConferenceRoom";

function App() {
  const hmsActions = useHMSActions();
  const isConnected = useHMSStore(selectIsConnectedToRoom);
  useEffect(() => {
    window.onunload = () => {
      hmsActions.leave();
    };
  }, [hmsActions]);
  return <div>{isConnected ? <ConferenceRoom /> : <Lobby />}</div>;
}

export default App;
- To get the 100ms stream to reach each participant’s view, modify the
VideoTile.jsfile from the image below.

Add the following code below, this will automatically add another element to show the other participants;
import React from "react";
import { useVideo } from "@100mslive/react-sdk";

const Participant = ({ peer }) => {
  // fetch 100ms video stream to participant view
  const { videoRef } = useVideo({
    trackId: peer.videoTrack,
  });

  return (
    <div className="w-full h-full rounded-lg overflow-hidden z-40">

      // video element to show participant stream
      <video
        ref={videoRef}
        autoPlay={true}
        playsInline
        muted={false}
        className={`object-cover h-full w-full ${peer.isLocal ? "mirror" : ""}`}
      ></video>
    </div>
  );
};

export default Participant;
- Head over to
ConferenceRoom.js. This file has the code responsible for interacting with the 100ms server and rendering your view as well as that of other participants.
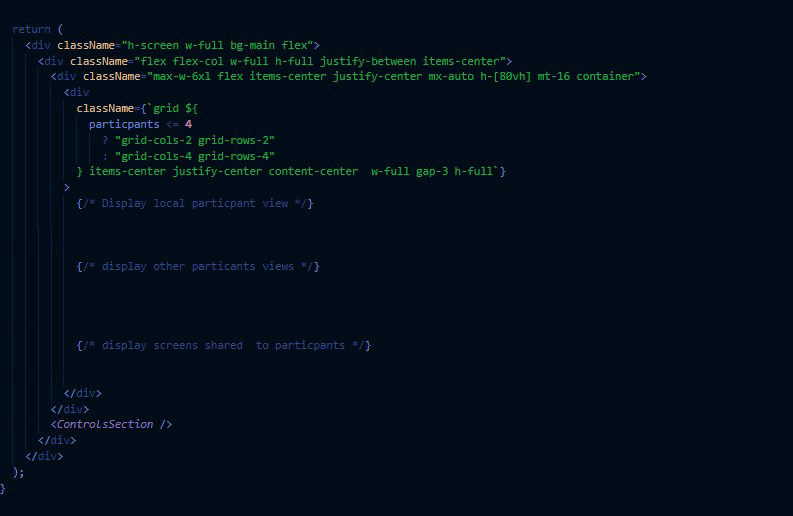
- Update the code above to display your local view.
...
// display local participant view
<div
  className={`w-full h-full relative ${
    participants <= 4 ? "max-h-[20rem]" : "max-h-[10rem]"
  } bg-accent rounded-lg flex items-center justify-center`}
>
  {!localPeer ? null : <Participant isLocal={true} peer={localPeer} />}

  <div className="absolute bottom-1 z-[99] left-1">
    <span className="bg-black bg-opacity-40 p-1 px-4 text-xs rounded-3xl text-white">
      {localPeer?.name} ({localPeer?.roleName === "host" ? "Host," : null} me)
    </span>
  </div>
</div>;
...
- Next, add the code to display other participants' views:
...
// display other particants' views
{
  peers &&
    peers
      .filter((peer) => !peer.isLocal)
      .map((peer) => {
        return (
          <>
            {" "}
            <div
              className={`w-full h-full relative ${
                participants <= 4 ? "max-h-[20rem]" : "max-h-[10rem]"
              } bg-accent rounded-lg flex items-center justify-center`}
            >
              {!peer ? null : <Participant isLocal={false} peer={peer} />}
              <div className="absolute bottom-1 z-[99] left-1">
                <span className="bg-black bg-opacity-40 p-1 px-4 text-xs rounded-3xl text-white">
                  {peer?.name} ({peer?.roleName === "host" ? "Host," : null} me)
                </span>
              </div>
            </div>
          </>
        );
      });
}
...
- To enable another screen to be displayed when a peer is sharing a screen, add the following code to the last comment section:
...
// display screens shared  to participants
{
  screenshareOn &&
    presenters &&
    presenters.map((presenter) => {
      return (
        presenter && (
          <>
            <div
              className={`w-full h-full ${
                participants <= 4 ? "max-h-[20rem]" : "max-h-[10rem]"
              } bg-accent rounded-lg flex items-center justify-center`}
            >
              <Screen isLocal={false} presenter={presenter} />
            </div>
          </>
        )
      );
    });
}
...
- The file should have the following code on completion:
import React from "react";
import Screen from "./Screen";
import Participant from "./VideoTile";
import {
  useHMSStore,
  selectLocalPeer,
  selectPeers,
  selectIsSomeoneScreenSharing,
  selectPeersScreenSharing,
} from "@100mslive/react-sdk";
import ControlSection from "./ControlSection";

export default function ConferenceRoom() {
  // access room information from 100ms store

  const localPeer = useHMSStore(selectLocalPeer);
  const screenshareOn = useHMSStore(selectIsSomeoneScreenSharing);
  const presenters = useHMSStore(selectPeersScreenSharing);
  const peers = useHMSStore(selectPeers);

  // no. of active screen participants and screen presenters
  const participants = peers.length + presenters.length;

  return (
    <div className="h-screen w-full bg-main flex">
      <div className="flex flex-col w-full h-full justify-between items-center">
        <div className="max-w-6xl flex items-center justify-center mx-auto h-[80vh] mt-16 container">
          <div
            className={`grid ${
              participants <= 4
                ? "grid-cols-2 grid-rows-2"
                : "grid-cols-4 grid-rows-4"
            } items-center justify-center content-center w-full gap-3 h-full`}
          >

            // display local participant view
            <div
              className={`w-full h-full relative ${
                participants <= 4 ? "max-h-[20rem]" : "max-h-[10rem]"
              } bg-accent rounded-lg flex items-center justify-center`}
            >
              {!localPeer ? null : (
                <Participant isLocal={true} peer={localPeer} />
              )}
              <div className="absolute bottom-1 z-[99] left-1">
                <span className="bg-black bg-opacity-40 p-1 px-4 text-xs rounded-3xl text-white">
                  {localPeer?.name} (
                  {localPeer?.roleName === "host" ? "Host," : null} me)
                </span>
              </div>
            </div>

             // display other particants views
            {peers &&
              peers
                .filter((peer) => !peer.isLocal)
                .map((peer) => {
                  return (
                    <>
                      {" "}
                      <div
                        className={`w-full h-full relative ${
                          participants <= 4 ? "max-h-[20rem]" : "max-h-[10rem]"
                        } bg-accent rounded-lg flex items-center justify-center`}
                      >
                        {!peer ? null : (
                          <Participant isLocal={false} peer={peer} />
                        )}
                        <div className="absolute bottom-1 z-[99] left-1">
                          <span className="bg-black bg-opacity-40 p-1 px-4 text-xs rounded-3xl text-white">
                            {peer?.name} (
                            {peer?.roleName === "host" ? "Host," : null} me)
                          </span>
                        </div>
                      </div>
                    </>
                  );
                })}

             // display screens shared to participants
            {screenshareOn &&
              presenters &&
              presenters.map((presenter) => {
                return (
                  presenter && (
                    <>
                      <div
                        className={`w-full h-full ${
                          participants <= 4 ? "max-h-[20rem]" : "max-h-[10rem]"
                        } bg-accent rounded-lg flex items-center justify-center`}
                      >
                        <Screen isLocal={false} presenter={presenter} />
                      </div>
                    </>
                  )
                );
              })}
          </div>
        </div>
        <ControlSection />
      </div>
    </div>
  );
}
- After modifying the
ConferenceRoom.jsfile to stream the necessary views, go to theScreen.jsfile to create the elements that display the stream to each participant locally.
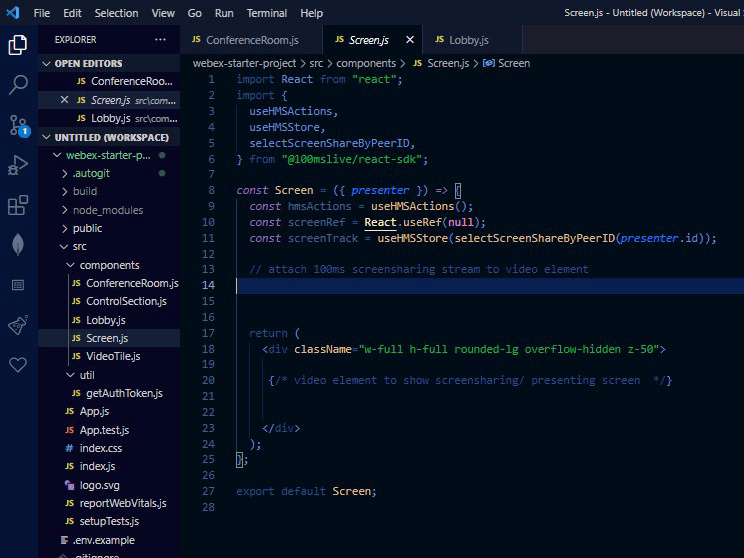
- Add the code below to create a video element and attach the 100ms screen-sharing stream to the video element:
import React from "react";
import {
  useHMSActions,
  useHMSStore,
  selectScreenShareByPeerID,
} from "@100mslive/react-sdk";

const Screen = ({ presenter }) => {
  const hmsActions = useHMSActions();
  const screenRef = React.useRef(null);
  const screenTrack = useHMSStore(selectScreenShareByPeerID(presenter.id));

  // attach 100ms screen-sharing stream to a video element
  React.useEffect(() => {
    (async () => {
      if (screenRef.current && screenTrack) {
        if (screenTrack.enabled) {
          await hmsActions.attachVideo(screenTrack.id, screenRef.current);
        } else {
          await hmsActions.detachVideo(screenTrack.id, screenRef.current);
        }
      }
    })();
  }, [hmsActions, screenTrack]);

  return (
    <div className="w-full h-full rounded-lg overflow-hidden z-50">

      // video element to show screen sharing presenting screen
      <video
        ref={screenRef}
        autoPlay={true}
        playsInline
        muted={false}
        className={`object-cover h-full w-full ${presenter.isLocal ? 'local' : ''}`}
      ></video>
    </div>
  );
};

export default Screen;
Enabling The Control Functions
-
Lastly, go to the
ControlSection.jsfile to write the basic functions that enable and disable audio, video, and screen sharing. -
Under the first comment section to enable the functions with peers, paste the following code:
const { isLocalAudioEnabled, isLocalVideoEnabled, toggleAudio, toggleVideo } =
  useAVToggle();

const { amIScreenSharing } = useScreenShare();

const toggleScreen = async () => {
  await hmsActions.setScreenShareEnabled(!amIScreenSharing);
};
- In addition, paste the code below to end the conference for any guest that leaves the room, or to end the entire room when the host is leaving:
const endLeaveMeeting = () => {
       hmsActions.endRoom(false, "ended meeting") && hmsActions.leave();
 }
- The
ControlSection.jsfile should have the following code on completion:
import React from "react";
import {
  useHMSActions,
  useAVToggle,
  useScreenShare
} from "@100mslive/react-sdk";
import { UploadIcon, XIcon } from "@heroicons/react/solid";
import { MicrophoneIcon, VideoCameraIcon } from "@heroicons/react/outline";

export default function ControlSection() {
  const hmsActions = useHMSActions();

  // controls logic i.e audio, video and screen sharing
  const {
    isLocalAudioEnabled,
    isLocalVideoEnabled,
    toggleAudio,
    toggleVideo
  } = useAVToggle();

  const { amIScreenSharing } = useScreenShare();

  const toggleScreen = async () => {
    await hmsActions.setScreenShareEnabled(!amIScreenSharing);
  };

  // end meeting as host or leave as participant
  const endLeaveMeeting = () => {
        hmsActions.endRoom(false, "ended meeting") && hmsActions.leave();
  }

  return (
    <div className="h-[4rem] items-center justify-center flex gap-5 w-full">

      // UI elements controls section
      <button
        className="text-white text-base border border-accent rounded-3xl px-4 py-2"
        onClick={toggleAudio}
        active={isLocalAudioEnabled}
      >
        <div className="flex gap-x-3 items-center">
          <MicrophoneIcon className=" h-5 w-5" />
          <span>{isLocalAudioEnabled ? "Mute" : "Unmute"}</span>
        </div>
      </button>
      <button
        className="text-white text-base border border-accent rounded-3xl px-4 py-2"
        onClick={toggleVideo}
      >
        <div className="flex gap-x-3 items-center">
          <VideoCameraIcon className=" h-5 w-5" />
          <span>{isLocalVideoEnabled ? "Stop Video" : "Resume Video"}</span>
        </div>
      </button>
      <button
        className="text-white text-base border border-accent rounded-3xl px-4 py-2"
        onClick={toggleScreen}
        active={!amIScreenSharing}
      >
        <div className="flex gap-x-3 items-center">
          <UploadIcon className=" h-5 w-5" />
          {amIScreenSharing ? "Stop Sharing" : "Share"}
        </div>
      </button>
      <button
        title="End meeting"
        className="text-white bg-red-600 text-base rounded-3xl p-2"
        onClick={endLeaveMeeting}
      >
        <XIcon className="fill-white h-5 w-5" />
      </button>
    </div>
  );
}
That’s it!
Congratulations, you’ve successfully created a Webex app using the 100ms React SDK. Here’s a link to the deployed version so you can see what the app is supposed to look like and operate.
Engineering
Related articles
See all articles