Home
/ Blog /
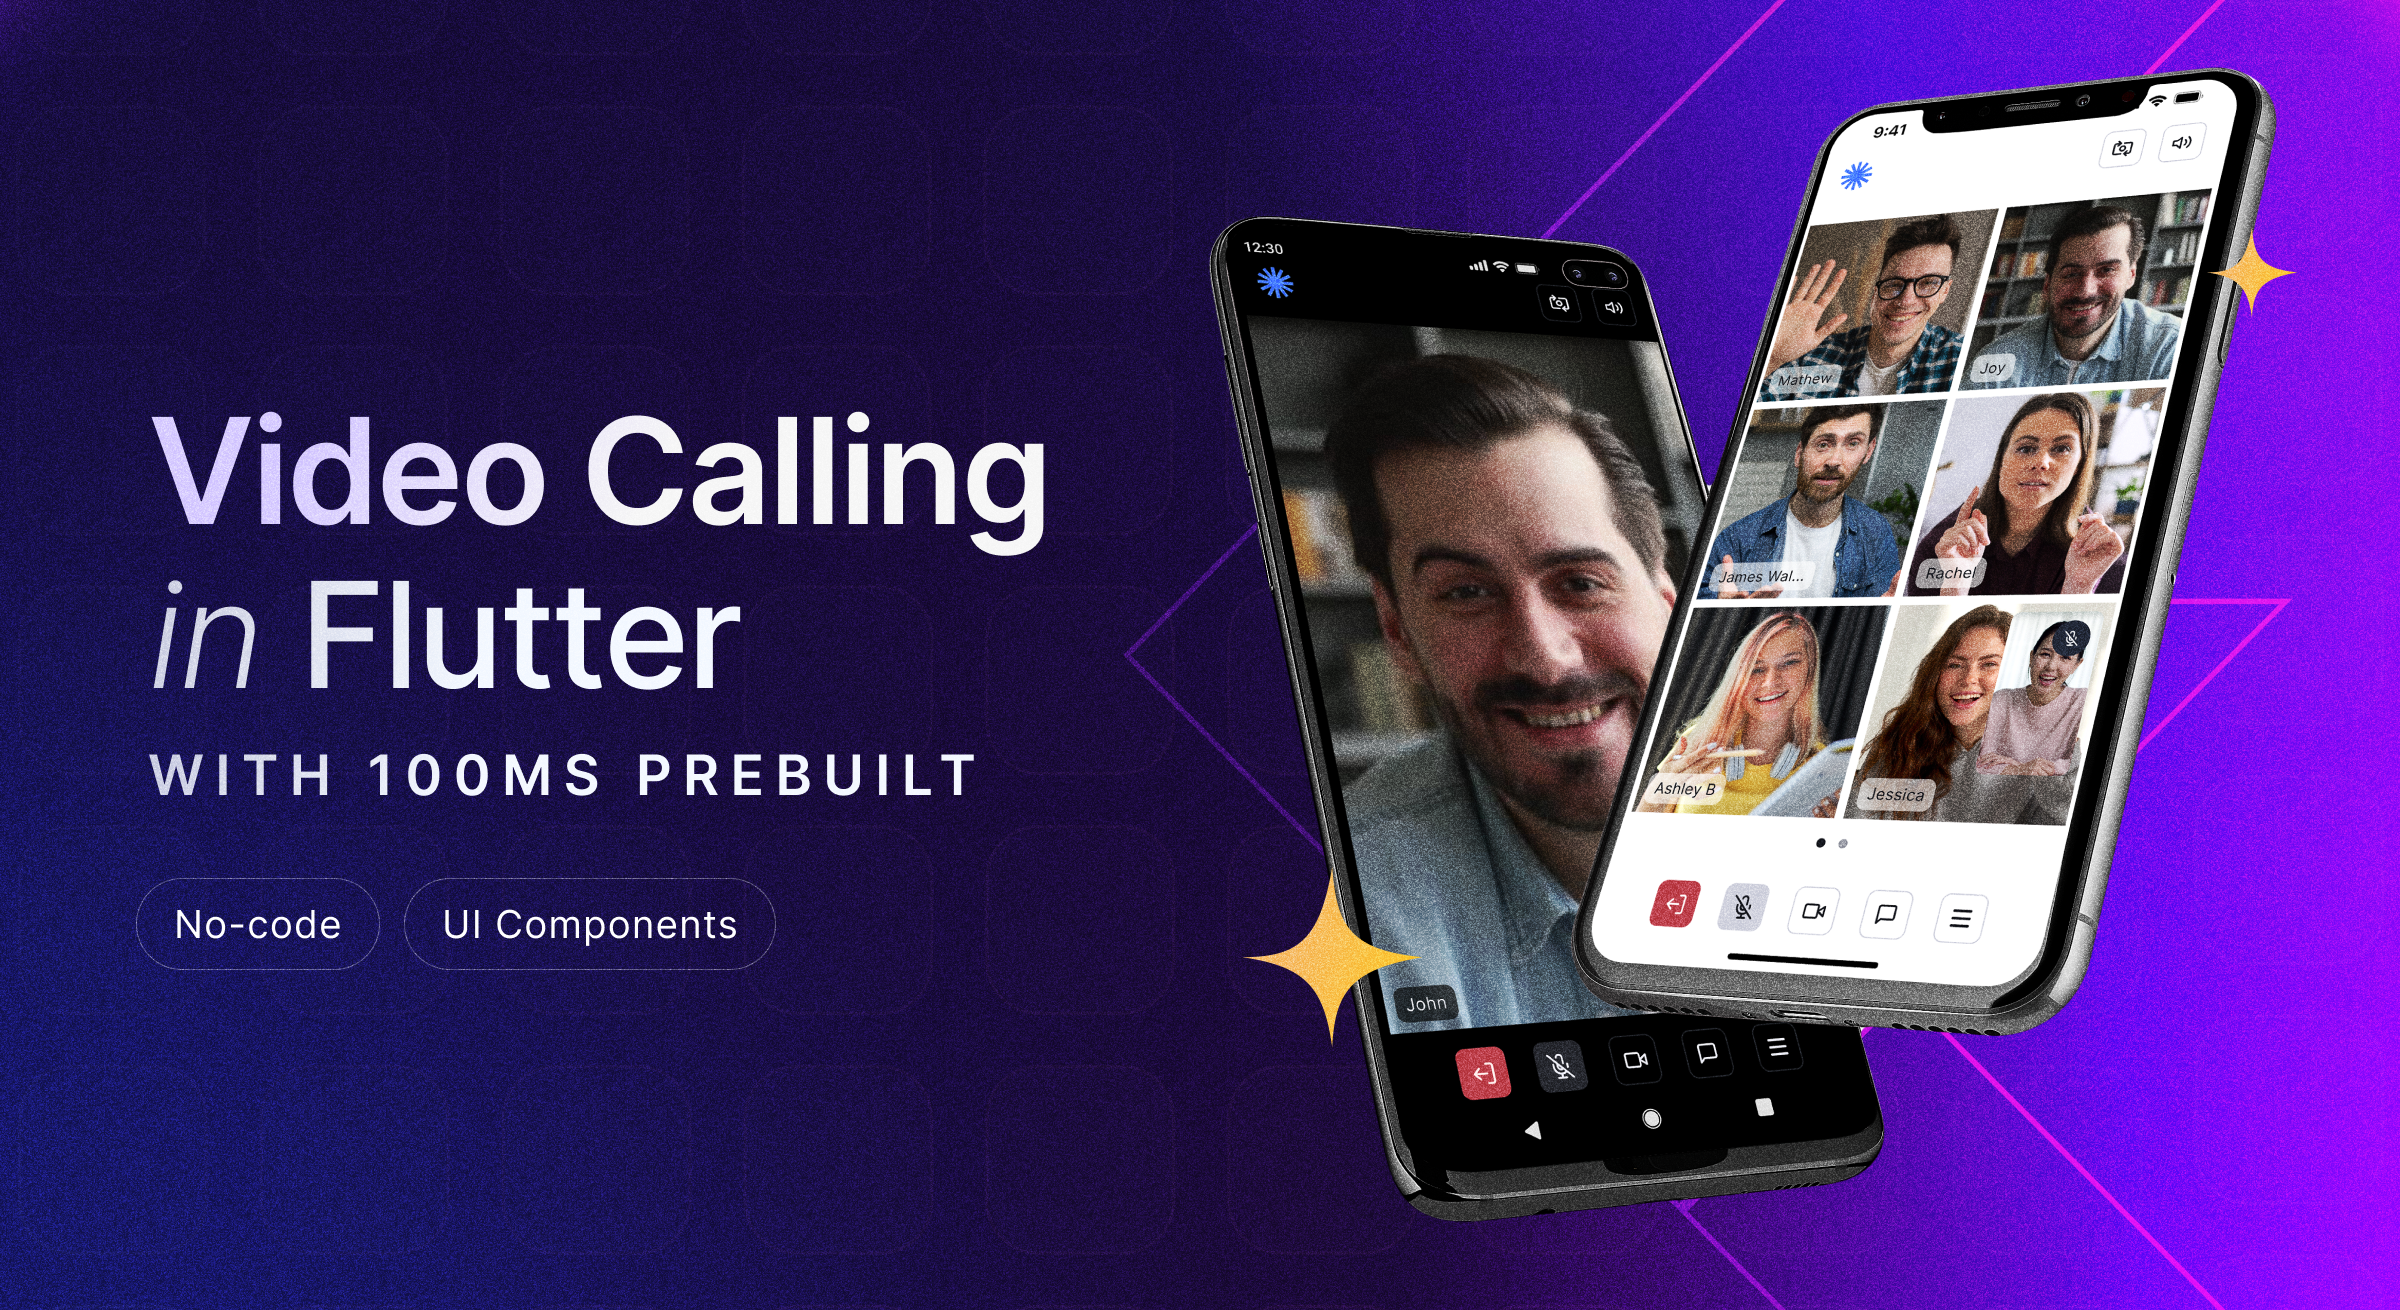
Video Calling Application in Flutter using 100ms PrebuiltVideo Calling Application in Flutter using 100ms Prebuilt
January 2, 20248 min read


Share


Video calls have changed the way we work, learn, and even see a doctor. But behind the scenes, making video calls work well is actually pretty hard. It's like trying to make sure the picture and sound are perfect for everyone, no matter how fast their internet is or what device they're using. And if that's not tricky enough, adding things like chat and synchronized actions feels like too much of handling when you just want to ship faster. If you've ever felt the struggle, don't worry – a lot of us do.
That's why, Drum rolls, please! 🥁 At 100ms, we've developed an SDK with a fully equipped, configurable, and customizable Prebuilt UI support. It's presented as the 100ms Prebuilt Flutter component from the HMSRoomKit package. With just a few simple steps, you can add a video widget by just adding necessary dependencies, and presto! We've handled everything, from initiating calls to crafting the user interface – making integration a breeze. Now, isn't that exciting?! 🎉

In this article on 100ms Flutter room kit integration assumes a familiarity with Dart and Flutter.
Knowing 100ms Prebuilt
Understanding what you're adding to your app is crucial. Here's a quick rundown of key points about 100ms Prebuilt before you dive into integrating it:
- Designed with good defaults - 100ms Prebuilt can be tailored for various scenarios like one-on-one sessions, group calls, webinars, and livestreaming. It comes with predefined roles and permissions, offering a ready-to-go prebuilt UI designed specifically for each role in your template.
- Plug and play video as a native component - Embed live video experiences with no-code that can be seamlessly embedded to your apps. In this article, you will learn how easy it is to add video calling in your applications using our Flutter Prebuilt package
HMSRoomKit. - Manage and customize with no-code - 100ms Prebuilt is an abstraction on top of a template configuration you can configure on 100ms dashboard, while you can customize Prebuilt Appearance, behavior for each role with Prebuilt customizer.
- Customize with code - Just like many developers who appreciated 100ms Prebuilt and wished to fine-tune it to fit their precise needs, we've open sourced the Flutter Prebuilt component so you can extend upon Prebuilt's default UI to match exactly like you want.
Currently, 100ms Prebuilt offers a single powerful widget for end-to-end meeting flow, going forward we will be exposing individual components from the package, so don’t forget to Watch and Star the Github repo to stay updated.
Embedding 100ms Prebuilt Flutter component
We will create a simple video calling and streaming application using HMSRoomKit package.

Prerequisites
-
Set up a template - A template governs what features your Prebuilt has and how its Prebuilt UI functions. Head over to 100ms dashboard to create a template.
-
Create a room - A default room gets created for any template created using the 100ms dashboard. Create more rooms under the same template programmatically using the create room API.
-
Create and get room codes - Room code represents a unique room_id and role combination; room codes can help create room links or power authentication when joining a room. Get room codes for each role
- from Dashboard - Copy role specific room code from Join Room section for a role in a room
- via API - Use Create Room Codes API to create room codes and get room codes using retrieve room codes API.
Import Room Kit
Add the hms_room_kit package under dependencies in your Flutter project’s puspec.yaml file.
 dependencies:
   flutter:
     sdk: flutter

   # Replace `1.0,8` with whatever is the latest version
   hms_room_kit: ^1.0.8
To know more about the package, check out the Flutter repo here.
Embed HMSPrebuilt
Now, simply place the HMSPrebuilt widget wherever you need it. For instance, in this example, a button labeled "Join" triggers navigation to the meeting UI upon clicking. You’ll notice that joining a room requires a room code which is unique to each role in your template.
 Scaffold(
       body: Center(
         child: ElevatedButton(
           style: ButtonStyle(
               shape: MaterialStateProperty.all<RoundedRectangleBorder>(
                   RoundedRectangleBorder(
             borderRadius: BorderRadius.circular(8.0),
           ))),
           onPressed: () async => {
             await Navigator.push(
               context,
               MaterialPageRoute(
                 builder: (context) => const HMSPrebuilt(roomCode: "Enter your room code here")
               ),
             ),
           },
           child: const Padding(
             padding: EdgeInsets.symmetric(vertical: 20, horizontal: 20),
             child: Text(
               'Join',
               style: TextStyle(fontSize: 20),
             ),
           ),
         ),
       ),
     );
- For Android, in your
android/app/build.gradlefile (inside "defaultConfig"), update theminSdkVersionto 21.
    ...
    defaultConfig {
        ...
        minSdkVersion 21
        ...
    }
    ...
-
For iOS, in
ios/Podfileadd the target platform version:platform :ios, '12.0'
And we’re done! Time to run the application.
Adding Screen share support

Screen share support on Android
Add the below code in android/app/src/main/kotlin/live/hms/flutter/MainActivity.kt file:
 import android.app.Activity
 import android.content.Intent
 import live.hms.hmssdk_flutter.Constants

 override fun onActivityResult(requestCode: Int, resultCode: Int, data: Intent?) {
 super.onActivityResult(requestCode, resultCode, data)

     if (requestCode == Constants.SCREEN_SHARE_INTENT_REQUEST_CODE && resultCode == Activity.RESULT_OK) {
         data?.action = Constants.HMSSDK_RECEIVER
         activity.sendBroadcast(data?.putExtra(Constants.METHOD_CALL, Constants.SCREEN_SHARE_REQUEST))
     }
 }
Screenshare support on iOS
For screen sharing in iOS please follow this doc.
Pass the iOSScreenshareConfig in the HMSPrebuiltOptions parameter of the HMSPrebuilt widget to enble screen share in your app.
// Pass the correct App Group & Preferred Extension parameters in HMSIOSScreenshareConfig class.

 HMSPrebuilt(
     roomCode: meetingLinkController.text.trim(),
     options: HMSPrebuiltOptions(
         iOSScreenshareConfig:  HMSIOSScreenshareConfig(
     appGroup: "appGroup", // App Group value linked to your Apple Developer Account
     preferredExtension: "preferredExtension" // Name of the Broadcast Upload Extension Target created in Xcode
 )));
Adding PIP support

Adding PIP support on Android
- To add PIP support in your app manifest file("android/app/src/main/AndroidManifest.xml") add:
   <uses-permission android:name="android.permission.FOREGROUND_SERVICE" />
    <activity
      ....
      android:supportsPictureInPicture="true"
      android:configChanges="screenSize|smallestScreenSize|screenLayout|orientation"
      ... />
- For enabling auto enter PIP(on back gesture), in your
MainActivity.ktfile("android/app/src/main/kotlin/live/hms/flutter/MainActivity.kt") add:
    import android.content.res.Configuration
    import android.os.Build
    import live.hms.hmssdk_flutter.methods.HMSPipAction
    import live.hms.hmssdk_flutter.Constants

    override fun onUserLeaveHint() {
      super.onUserLeaveHint()
      // This should only work for android version above 8 since PIP is only supported after
      // android 8 and will not be called after android 12 since it automatically gets handled by android.
      if (Build.VERSION.SDK_INT >= Build.VERSION_CODES.O && Build.VERSION.SDK_INT < Build.VERSION_CODES.S) {
        HMSPipAction.autoEnterPipMode(this)
      }
    }
Adding PIP support On iOS
There are some minimum requirements for running PIP in iOS:
- The minimum iOS version required to support PiP is iOS 15
- Your app should have com.apple.developer.avfoundation.multitasking-camera-access Entitlement to use PiP Mode.
- Your app needs to run on iOS 13.5 or later to use the entitlement. Without the entitlement, the system disables the camera access for your app. When your app enters PIP mode, it needs this entitlement to continue using the camera.
- After you receive permission from Apple, add the Entitlement to your app by opening the Entitlements file in Xcode. Add the key and set the corresponding value to
YES.
That's all there is to it! These steps will help you create a fully functional video-calling application in Flutter.
Run your application and test it out!
Customizing your Prebuilt Flutter app
Now that you have the 100ms Prebuilt component embedded in your Flutter app, you might want to tweak it further to appeal it more to your use case. 100ms Prebuilt allows complete no code customization with 100ms dashboard using;
- Templates - Customize default roles and set up features for your Prebuilt
- Prebuilt Customizer - Customizer Appearance, screens and components functionality
Here's a quick guide on how you can customize Prebuilt.
Our Prebuilt roadmap is loaded with awesome plans. If you're eager to join this journey and be a part of the action, contributing your expertise, we'd love to have you on board! 🌟, do consider joining our #Prebuilt discord channel. Adiós👋
Engineering
Share
Related articles
See all articles