Home
/ Blog /
How to Build a Clubhouse Clone for iOSHow to Build a Clubhouse Clone for iOS
October 21, 202221 min read


Share


The face of video/audio communication has changed dramatically due to the global pandemic. As corporations consider video/audio conferencing as an ultimate solution to connect with remote workers/customers, the affinity to provide features has gone up.
Learn how to build a FaceTime app with 100ms iOS SDK
Building a feature-rich Video/audio conferencing application isn't that easy, and this is where 100ms comes to the rescue. In this guide, we will be building a Clubhouse clone using 100ms iOS SDK.
We also have step-by-step guides to build Clubhouse clones with different technologies
- Clubhouse clone with Svelte & 100ms
- Clubhouse clone with 100ms React SDK
- Clubhouse clone with 100ms Flutter SDK
- Clubhouse clone with 100ms Javascript SDK
Getting Started
Our Clubhouse clone will have the following features:
- Audio Call
- Raise hand
- Move people who raised a hand to speakers and back to the audience
To focus on SDK integration rather than room list management, the app will use a single predefined room.
Terminology
Room- A room is a primary object that 100ms SDKs return on a successful connection. This contains references to peers, tracks, and everything you need to render a live a/v app.Peer- A peer is an object returned by 100ms SDKs that contains all information about a user - name, role, video track, etc.Track- A track represents either the audio or video that a peer is publishingRole- A role defines who a peer can see/hear, the quality they publish their video, and whether they have permission to publish video/screen share, mute someone, or change someone's role.
Prerequisites
To follow this tutorial, you must have a basic understanding of the elementary principles of iOS Development, Xcode, and Swift.
Setting up Project
To simplify things and help us focus on adding the core functionality, I already created a template project with the main UI for the audio room app ready for the SDK integration.
git clone <https://github.com/100mslive/clubhouse-clone-ios-swift>
Now that you have cloned the repo, you will find two folders inside:
- AudioRoomTemplate - some boilerplate project if you want to go along with this guide step by step
- AudioRoomComplete - if you'd instead explore the finished project.
Dependencies
Open AudioRoom.xcodeproj from the AudioRoomTemplate folder. Our first step would be adding 100ms SDK to the project.
For that, we will be using Swift package manager. Select "Add Package" from the Xcode File menu and use https://github.com/100mslive/100ms-ios-sdk.git as the package URL.
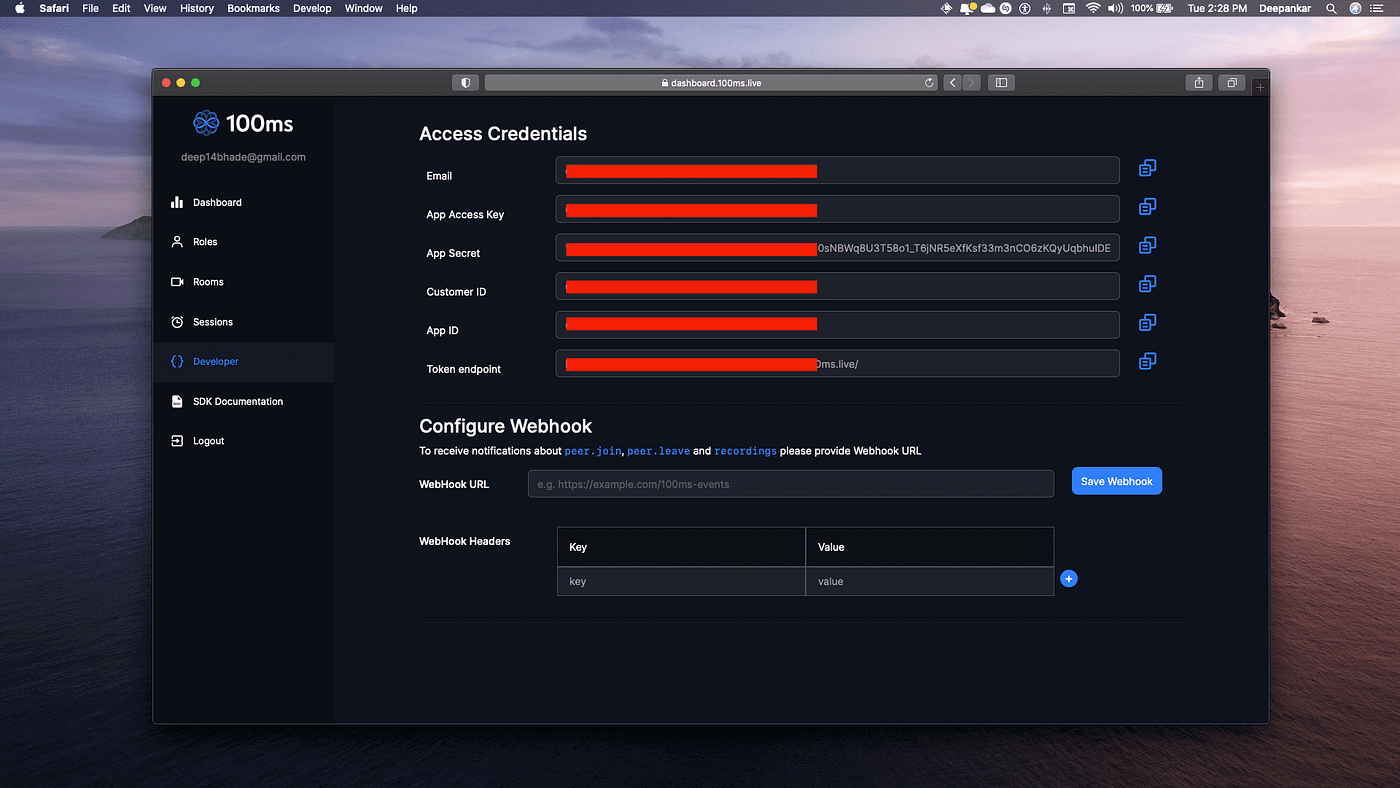
Access Credentials
The primary means of authentication for 100ms SDK is a jwt auth token. It is never a good idea to hardcode tokens in your app, so your backend should provide this token.
You might not have a backend set up during prototyping, so 100ms provides a temporary token generation backend for you to try, which should not be used in production. To get a token from the 100ms backend, we need a token endpoint URL and a room id.
To get these credentials, you first need to create an account at 100ms Dashboard. After your account is set up, head over to the Developer Section, and you can find your Token endpoint URL there.
Creating Roles
Before we create a room, we will create a custom app; you can find it here. Click on "Add a new App." When you are asked to choose a template, select "Create your Own".
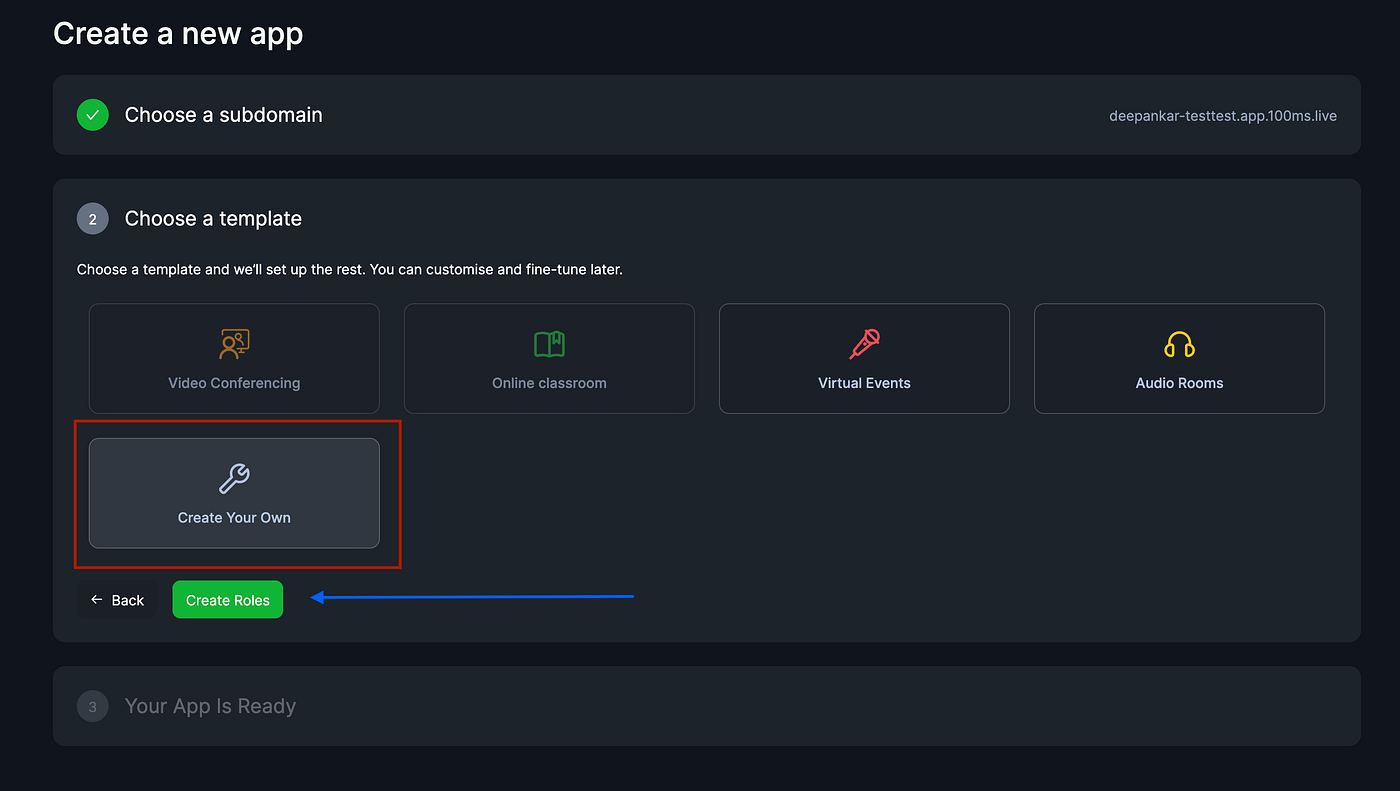
Now click on the “Create Roles” button this will open a modal where we can create our custom roles.
We will be having 4 roles in our application.
audience- only able to listen to others, can change role tospeakerwannabespeakerwannabe- same as a speaker, will be used to segregate people who raised their handspeaker- able to listen and speakhost- everything that the speaker can do plus the ability to change other’s role
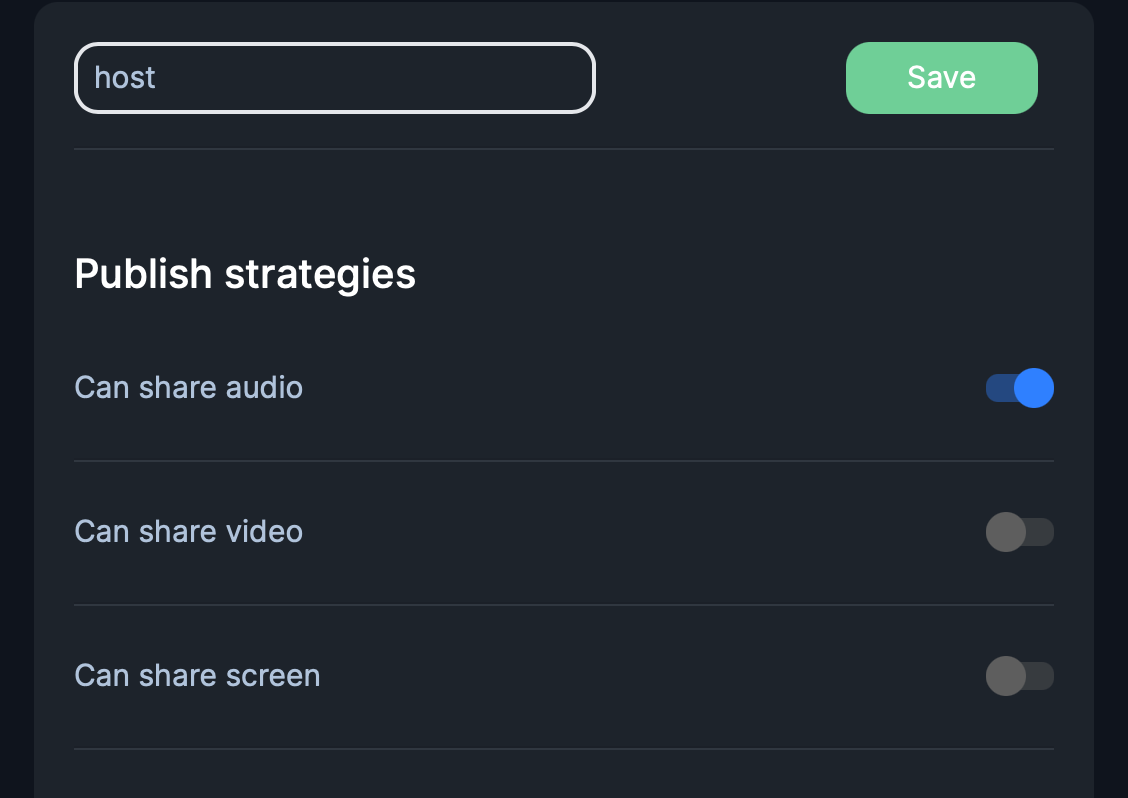
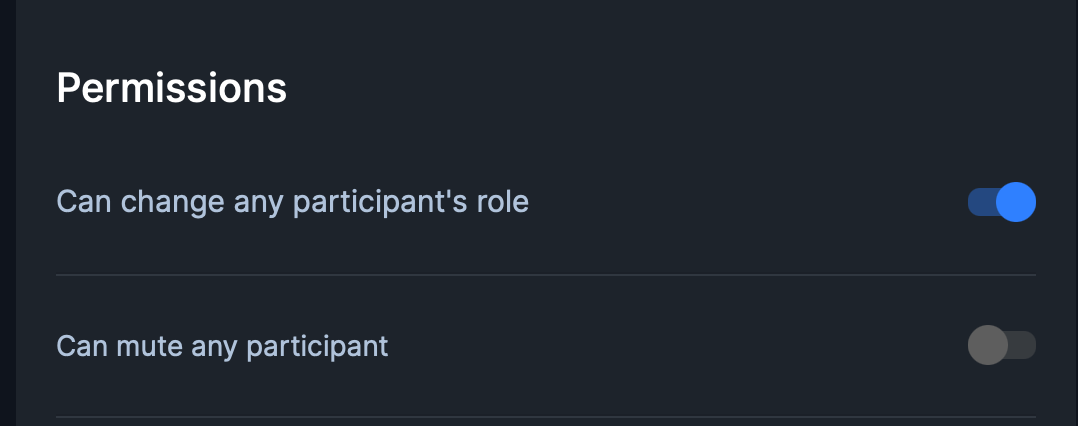
We will create a host role first. Input host into the role name field, leaving only "Can share audio" enabled under "Publish Strategies". Under permissions enable "Can change any participant's role" and then click "save".
Proceed to create a speaker role which should be identical to the host. Now let's create audience and speakerwannabe roles. Disable everything under "Publish Strategies". Under permissions enable "Can change any participant's role" and then click "save".
Now that our roles are set up we will move on to our next step by clicking ‘Set up App’. You should see your custom app being created.
Creating a Room
In the last step, we created our custom app and set up custom roles, in this step we will create a room id.
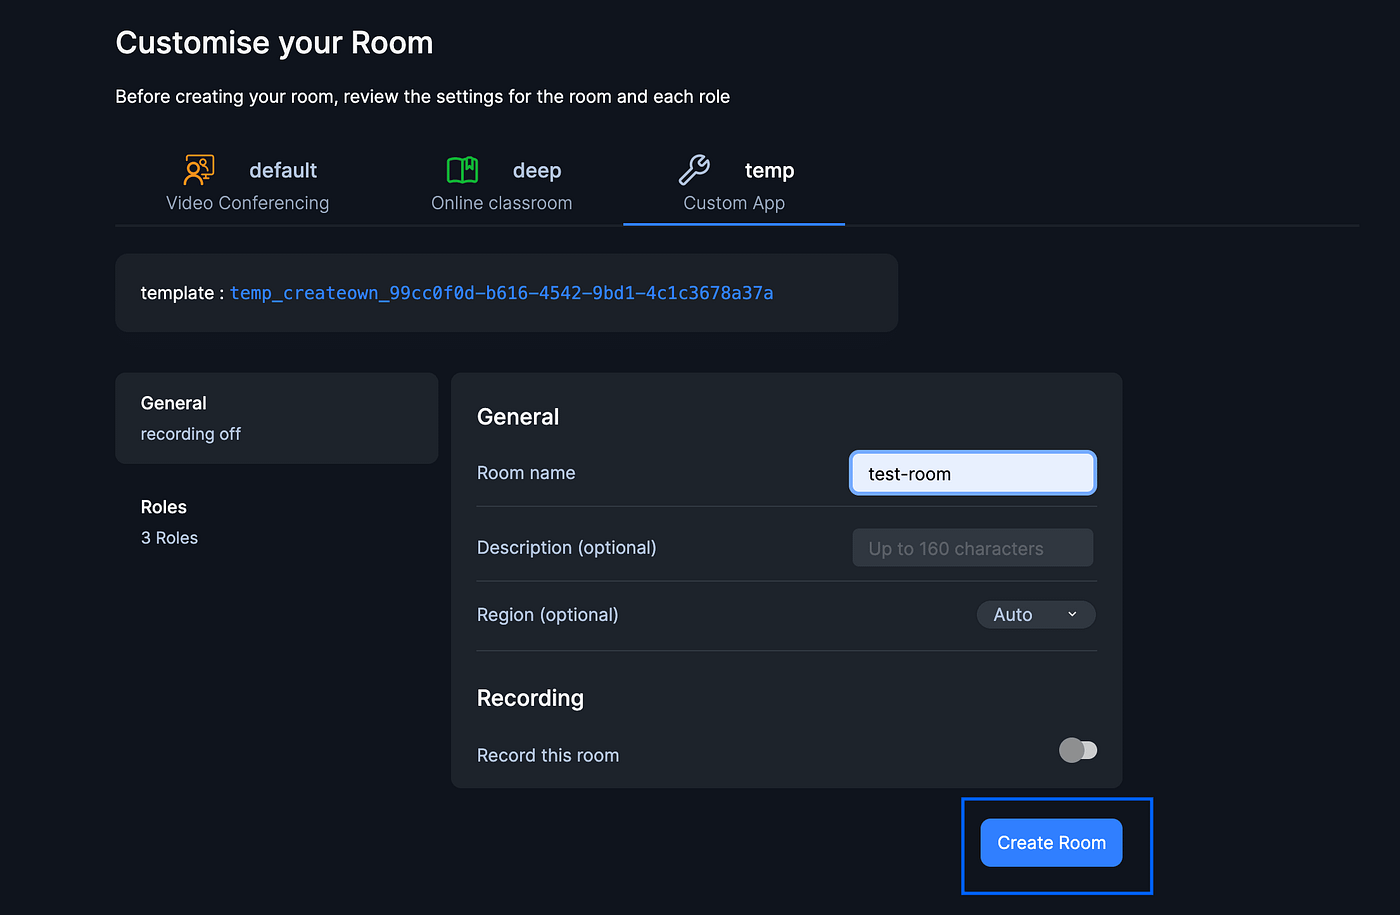
To create a room head over to Create Room page in 100ms Dashboard click on “Create Room” and make sure to select the Custom App that you created in the last step. Fill out the Room Name and click “Create Room”. After creating you will be routed to Room Details where you can find your room id.
Awesome! Now that we have the token endpoint and room id we will add it to our app. Open TokenProvider.swift file and insert the values in the Constants struct. It should look like this:
    struct Constants {
            static let tokenEndpoint = "https://domain.100ms.live/hmsapi/yourapp/"
            static let roomID = "615ecrofewfiwejfew56c801"
    }
Now we can start building our project.
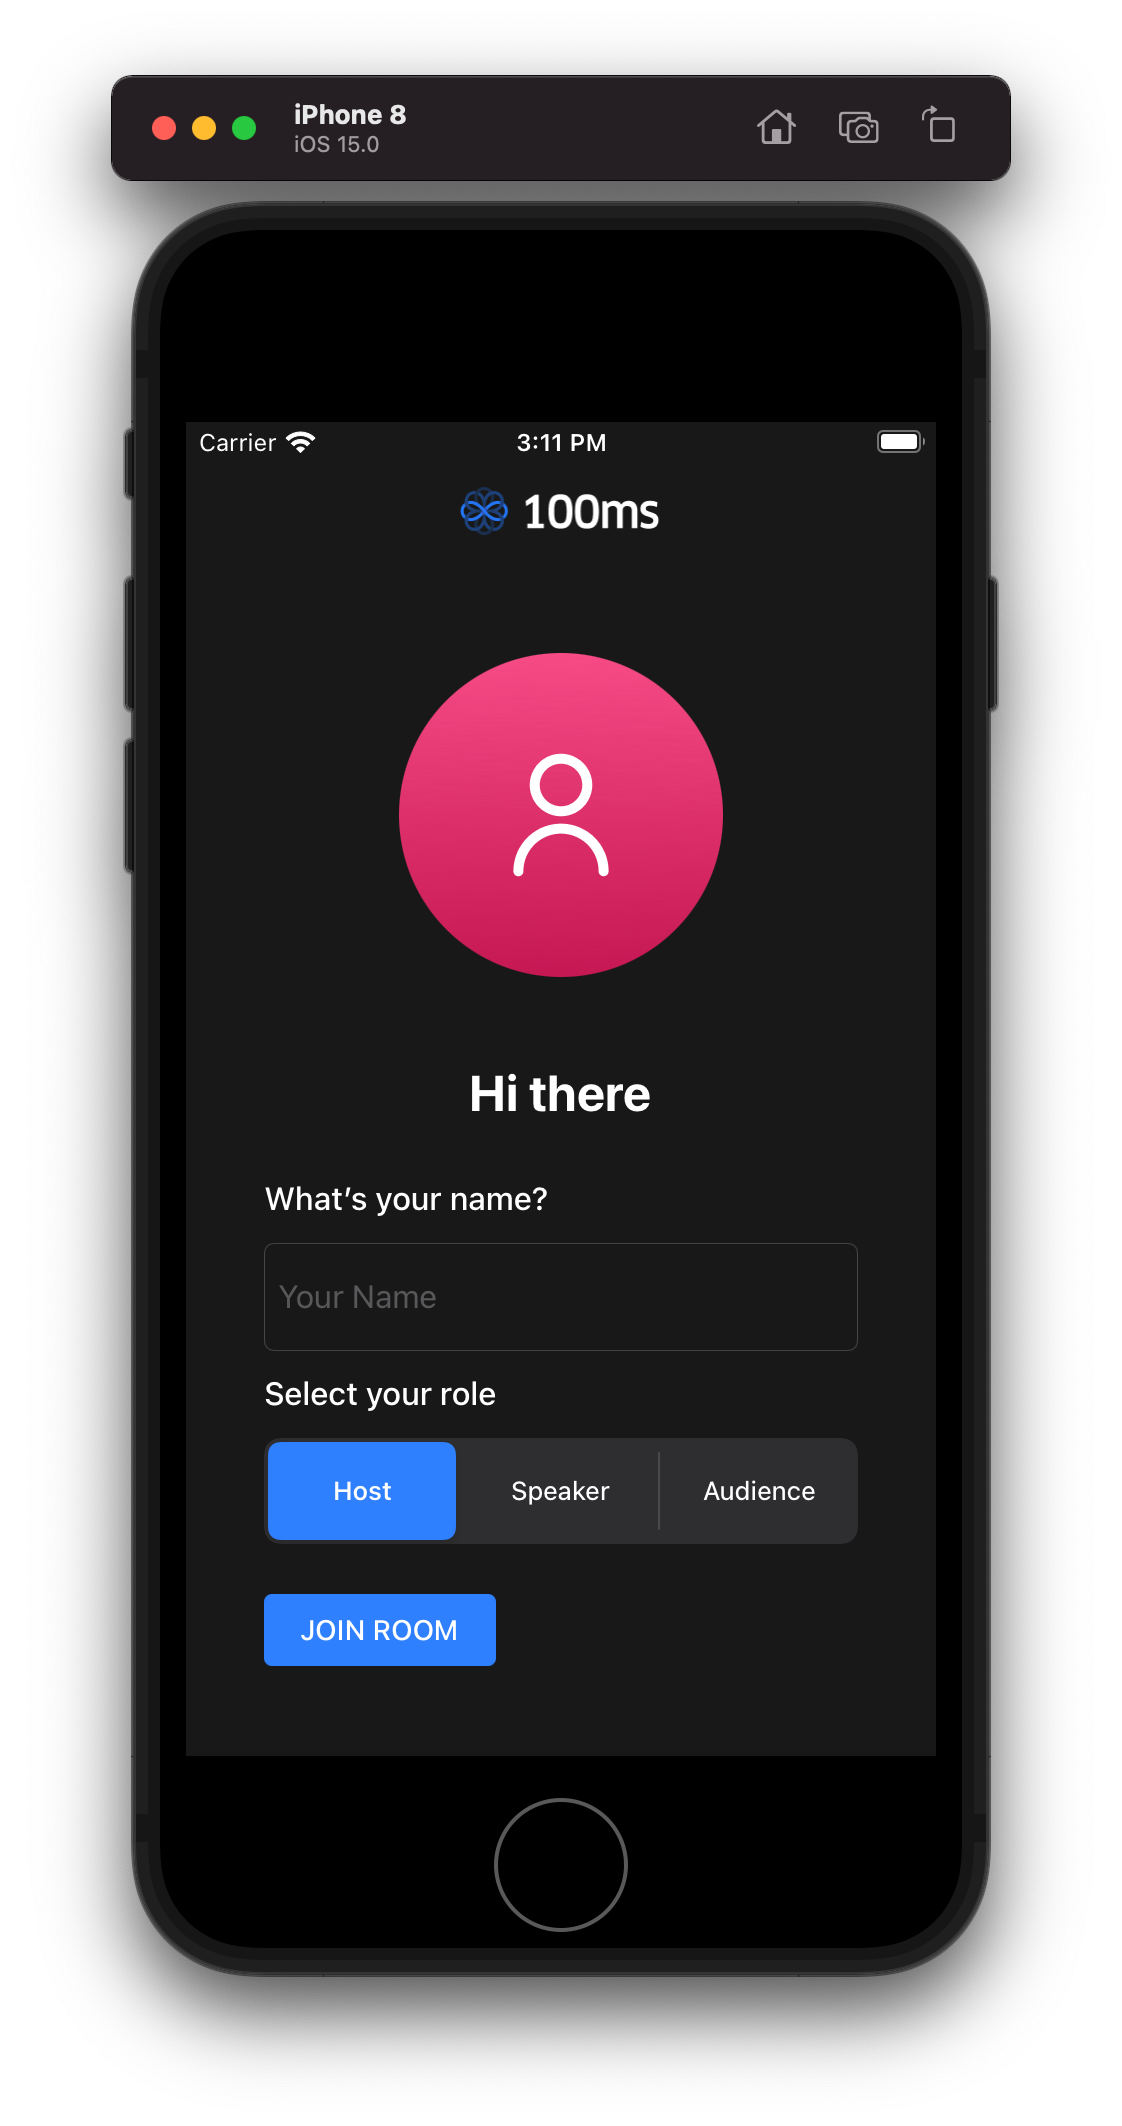
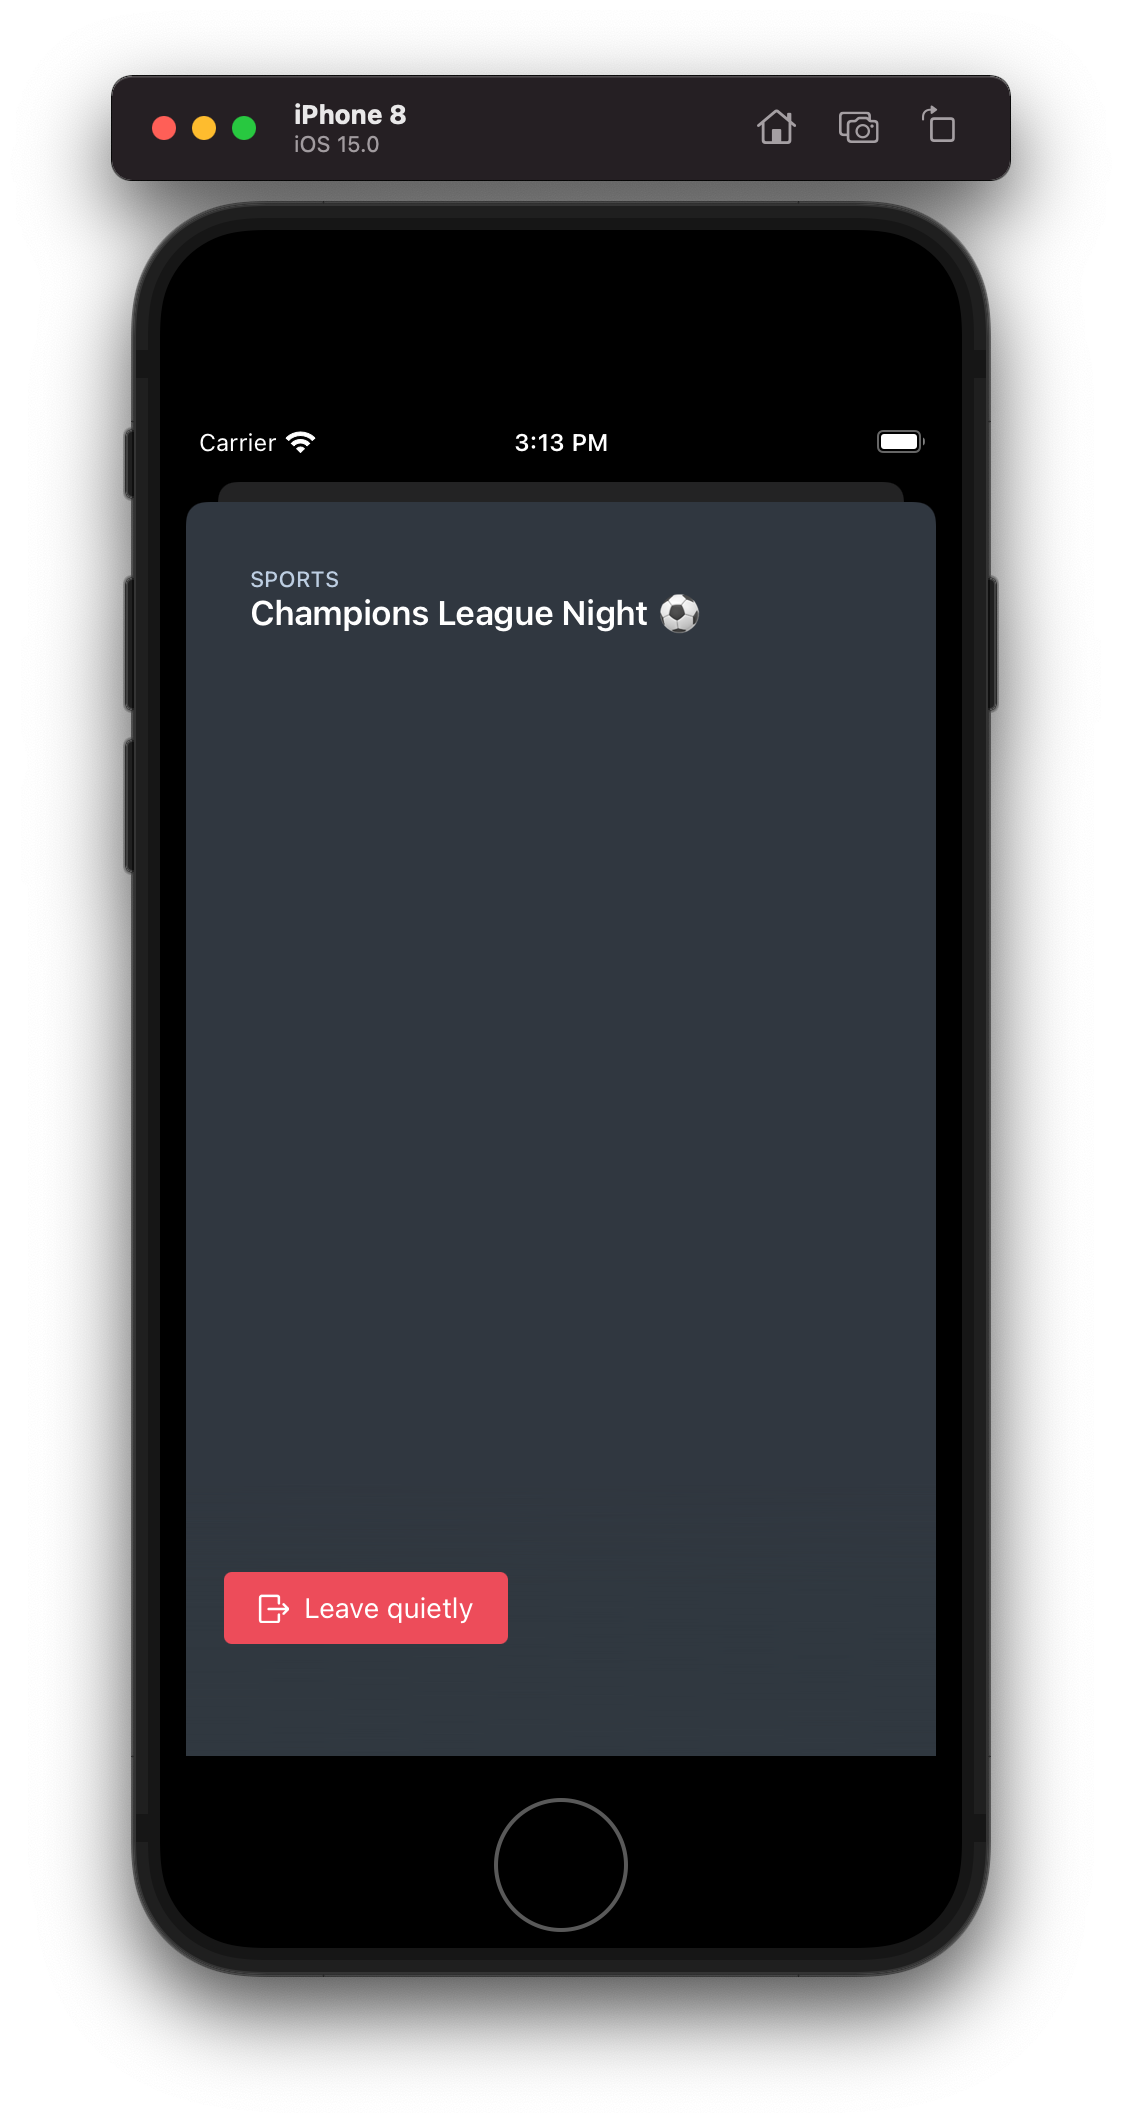
Joining The Room
The initial screen of the app is the login screen controlled by The initial screen of the app is the login screen controlled by the MainViewController.
When the user taps the "JOIN ROOM" button, it uses TokenProvider class to fetch the token from the 100ms token backend and then passes it to RoomViewController, which it then presents modally.
Having a token, we can proceed with joining the room. Open RoomViewController.swift file to start. First, you need to add an import for the SDK:
import HMSSDK
The next thing we need to do is to have an instance of the SDK. It serves as an entry point to everything we will be using.
    class RoomViewController: UIViewController {

    	private let hms: HMSSDK = HMSSDK.build()

    ...
Now we are ready to join a room. In the join function stub add the following code:
    func join() {
            let config = HMSConfig(userName: name, authToken: token)
            hms.join(config: config, delegate: self)
    }
The above code creates a configuration for the join calls from the user name and token that we obtained earlier. The join function will be called for the viewDidLoad override. With the join call, we also provide a delegate that will receive the important updates from the SDK. So let's add conformance to the HMSUpdateListener protocol:
    extension RoomViewController: HMSUpdateListener {

    		/// This will be called on a successful JOIN of the room by the user
    		/// This is the point where applications can stop showing their loading state
        func on(join room: HMSRoom) {

        }

    		/// This is called when there is a change in any property of the Room
        func on(room: HMSRoom, update: HMSRoomUpdate) {

        }

        /// This will be called whenever there is an update on an existing peer
        /// or a new peer got added/existing peer is removed.
        /// This callback can be used to keep a track of all the peers in the room
        func on(peer: HMSPeer, update: HMSPeerUpdate) {

        }

    		/// This is called when there are updates on an existing track
        /// or a new track got added/existing track is removed
        /// This callback can be used to render the video on screen whenever a track gets added
        func on(track: HMSTrack, update: HMSTrackUpdate, for peer: HMSPeer) {

        }

    		/// This will be called when there is an error in the system
        /// and SDK could not recover
        func on(error: HMSError) {
    				// Display an error alert to the user and bail to the main screen
            showError(error.localizedDescription) { [weak self] in
                self?.dismiss(animated: true, completion: nil)
            }
        }

    		/// This is called when there is a new message from any other peer in the room
        /// This can be used to implement chat in the room
        func on(message: HMSMessage) {

        }

    		/// This is called every 1 second with list of active speakers
        func on(updated speakers: [HMSSpeaker]) {

        }

    		/// This is called when SDK detects a network issue and is trying to recover
        func onReconnecting() {

        }

    		/// This is called when SDK successfully recovered from a network issue
        func onReconnected() {

        }
    }
The only thing we are going to handle at this stage is on(error:) which will let us see if something went wrong. Rest can be left as is.
Now when the user decides to leave the room we should call the leave function. This will let other people know we left. The appropriate place to do that in case of a modally presented controller should be endAppearanceTransition override:
    override func endAppearanceTransition() {
            super.endAppearanceTransition()

            if isBeingDismissed {
                UIApplication.shared.isIdleTimerDisabled = false

                hms.leave() // <--- cleanup
            }
         }
With this in place quite a lot is achieved. You can join the room as host/audience/speaker. The audience will not be able to speak but the host/speaker will. This is done by the SDK automatically publishing/subscribing to tracks based on the roles configuration we made in the beginning.
Showing Peers In The Room
Now that we can join in the room, let's display the peers who have joined the room. To get all peers, we will use hms. room?.peers property. This will return us to an array of all peers in the room.
Each peer object stores the details of individual participants in the room. You can refer to the interface of HMSPeer in our API-reference docs.
We will show these peers in a UICollectionView separated into two sections: audience and speakers. The host will also have the ability to see peers who have raised a hand in the "Raised hand" section. We need to create a data model for the sections to use in the collection view data source to achieve that. The template project already has a Section class that can hold a list of peers and a type of section and logic to tell which role goes into which section. So let us create our data model in the RoomViewController class:
    class RoomViewController: UIViewController {
    ...
    		// Recreates the model from the current peer list provided by the SDK
        func reloadModel() {
            // Get a list of peers in the room
            let peers = hms.room?.peers ?? []
            // Create a section of each type to add peers to
            let sectionsModel = SectionType.allCases.map { Section(type: $0) }

            for peer in peers {
                // Get section type for this peer based on its role
                let type = Section.sectionType(for: peer.mappedRole, showRaisedHand: isHost)
                // Find the index of this section in the resulting array
                let index = type.rawValue
                // Add the peer to the respective section
                sectionsModel[index].peers.append(peer)
            }

            // Remove empty sections and store the new model
            sections = sectionsModel.filter { !$0.peers.isEmpty }
        }

    		// Wether current peer is a host
        var isHost: Bool {
            localRole == .host
        }

    		// Map the role of the local peer to one of our known roles. see Role.swift
        var localRole: RoleType {
            return hms.localPeer?.mappedRole ?? .unknown
        }

        // Holds the current model, reloads the collection view on set
        private var sections = [Section]() {
            didSet {
                participantsView.reloadData()
            }
        }
Now that we have added logic to build the model we need to wire it up to the SDK updates so that it gets updated when any of these updates happen:
- Room is joined and we get the initial list of peers in the room
- Any peer joins or leaves
- Peer changes its role
- Peer mutes/unmutes (in case he is a speaker/host)
    		func on(join room: HMSRoom) {
            reloadModel()
        }

        func on(peer: HMSPeer, update: HMSPeerUpdate) {
            reloadModel()
        }

        func on(track: HMSTrack, update: HMSTrackUpdate, for peer: HMSPeer) {
            reloadModel()
        }
With all this in place, we can now connect our model to the collection view. The template logic already has a ParticipantCollectionViewCell class that we will use to show our participants.
    extension RoomViewController: UICollectionViewDataSource {
        func numberOfSections(in collectionView: UICollectionView) -> Int {
            return sections.count
        }

        func collectionView(_ collectionView: UICollectionView, numberOfItemsInSection section: Int) -> Int {
            return sections[safe: section]?.peers.count ?? 0
        }

        func collectionView(_ collectionView: UICollectionView, viewForSupplementaryElementOfKind kind: String, at indexPath: IndexPath) -> UICollectionReusableView {
            guard let section = sections[safe: indexPath.section], kind == UICollectionView.elementKindSectionHeader else {
                return UICollectionReusableView()
            }

            let sectionHeader = collectionView.dequeueReusableSupplementaryView(ofKind: kind, withReuseIdentifier: "header", for: indexPath) as! SectionHeader
            sectionHeader.nameLabel.text = section.sectionDisplayName()
            return sectionHeader
        }

        func collectionView(_ collectionView: UICollectionView, cellForItemAt indexPath: IndexPath) -> UICollectionViewCell {
            guard let peer = sections[safe: indexPath.section]?.peers[safe: indexPath.item],
                  let cell = collectionView.dequeueReusableCell(withReuseIdentifier: "ParticipantCell",
                                                      for: indexPath) as? ParticipantCollectionViewCell else {
                return UICollectionViewCell()
            }

            cell.name = peer.name
            cell.isMute = (peer.audioTrack?.isMute() ?? false)

            return cell
        }
    }

    extension RoomViewController: UICollectionViewDelegateFlowLayout {
        func collectionView(_ collectionView: UICollectionView, layout collectionViewLayout: UICollectionViewLayout, referenceSizeForHeaderInSection section: Int) -> CGSize {
            guard let section = sections[safe: section], section.type != .speakers else {
                return .zero
            }

            return CGSize(width: collectionView.frame.width, height: 30)
        }
    }
And now we are able to see who is in the room, whether they belong to the audience or speakers, and their mic mute status.

Showing Active Speakers
Another must-have feature of an audio room app is showing who is currently speaking. This is quite easy to add. First, create a storage for the active speaker ids:
    private var speakers = Set<String>() {
            didSet {
                participantsView.reloadData()
            }
        }
Then populate it from on(updated:) callback
    func on(updated speakers: [HMSSpeaker]) {
    				self.speakers = Set(speakers.map { $0.peer.peerID })
    }
Now in the cell configuration add this:
    func collectionView(_ collectionView: UICollectionView, cellForItemAt indexPath: IndexPath) -> UICollectionViewCell {
    ...
    			cell.isSpeaking = speakers.contains(peer.peerID)
    ...
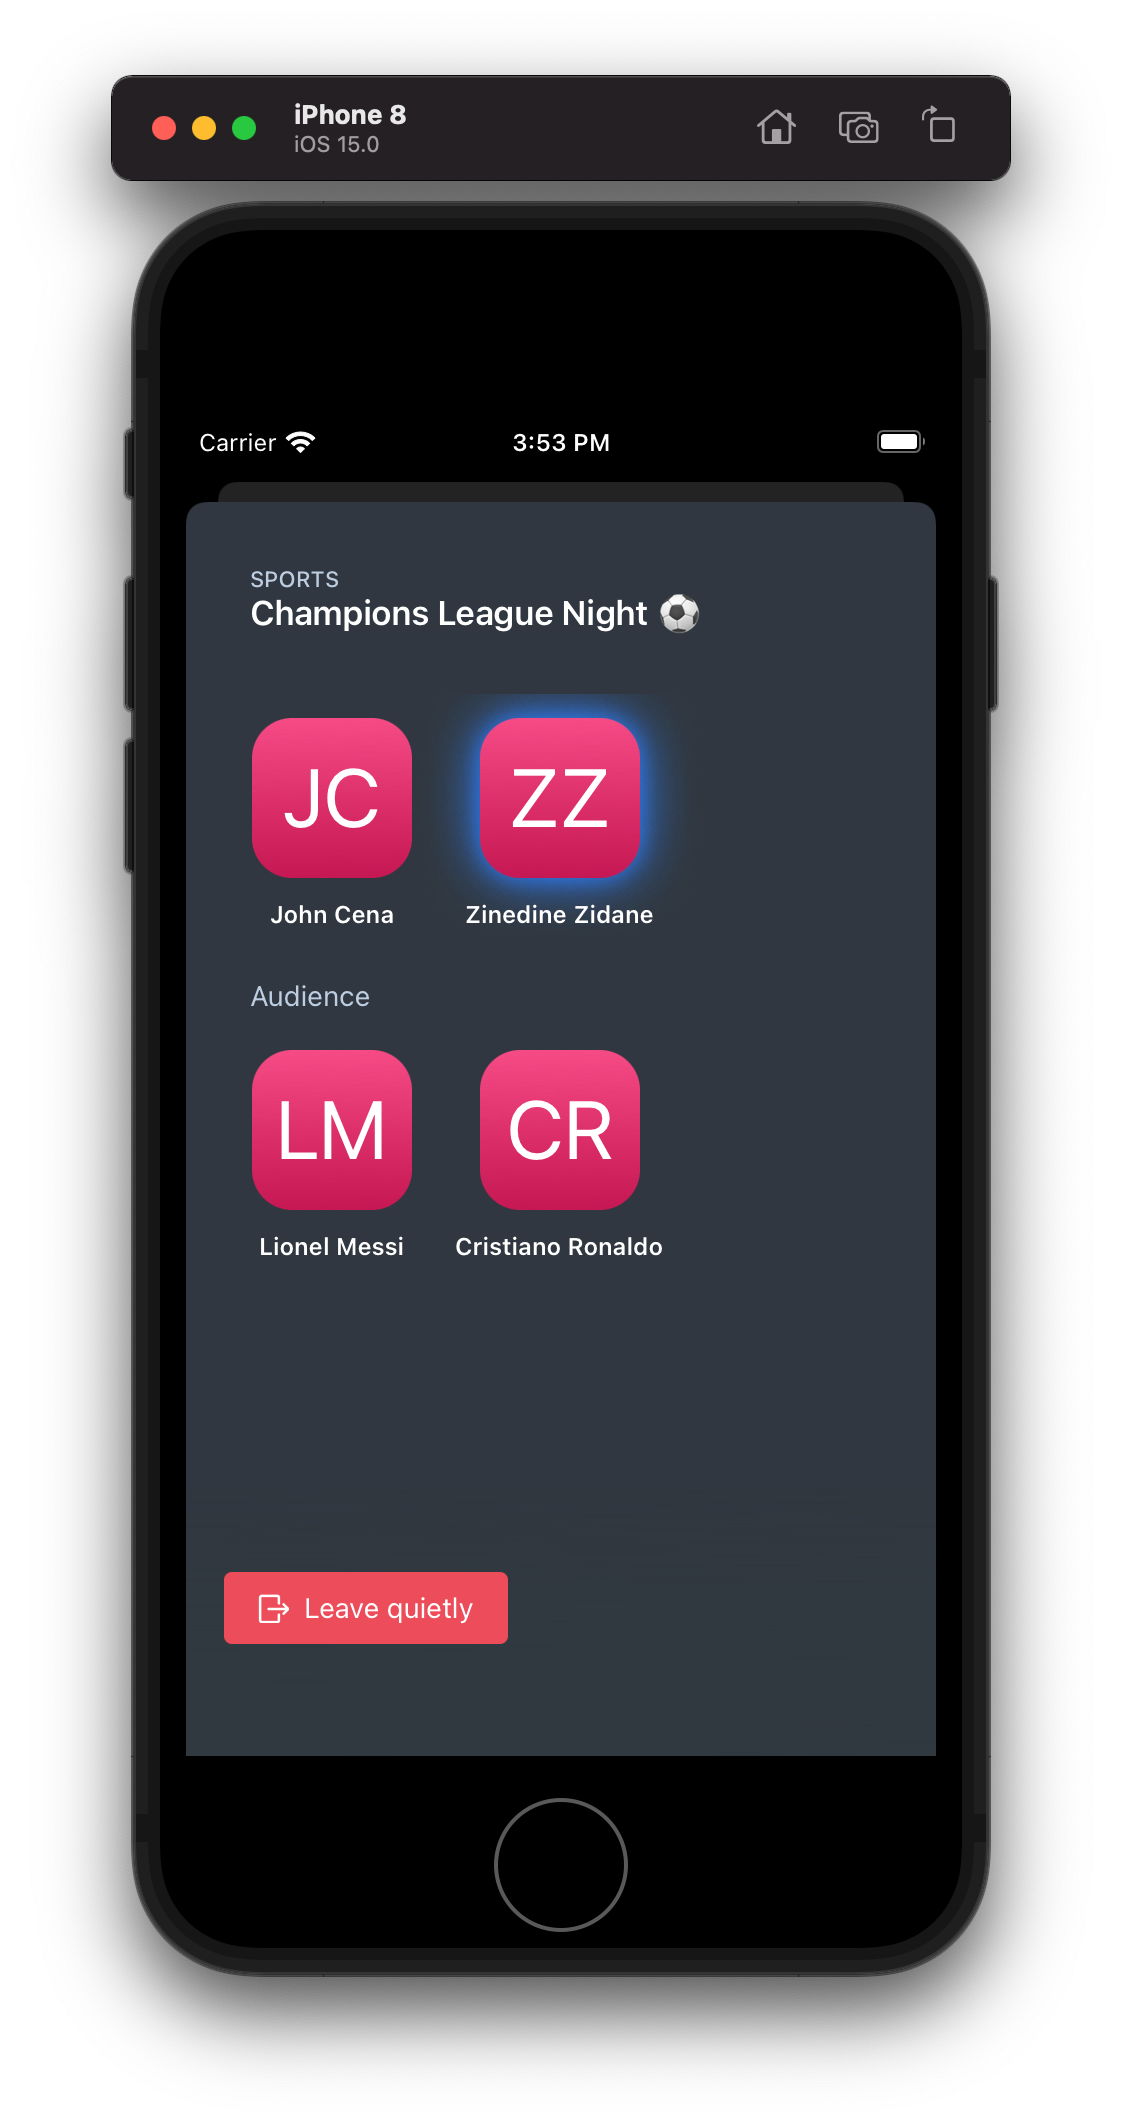
And we are done! The speaker will now be marked by a blue glow.
Mute/Unmute
Now let's add a mic mute button. First, we need a helper function to tell us if we can speak:
    private var canSpeak: Bool {
            switch localRole {
            case .host, .speaker:
                return true
            default:
                return false
            }
    }
Then we will add a function to setup buttons visibility according to role:
    private func setupButtonStates() {
            muteButton.isHidden = !canSpeak
    }
This should be called in on(join:) because at that time we will know what role we joined as:
    func on(join room: HMSRoom) {
            reloadModel()
            setupButtonStates()
    }
Finally add a mute button tap handler:
    @IBAction func muteTapped(_ sender: Any) {
            muteButton.isSelected = !muteButton.isSelected
            hms.localPeer?.localAudioTrack()?.setMute(muteButton.isSelected)
    				reloadModel()
    }
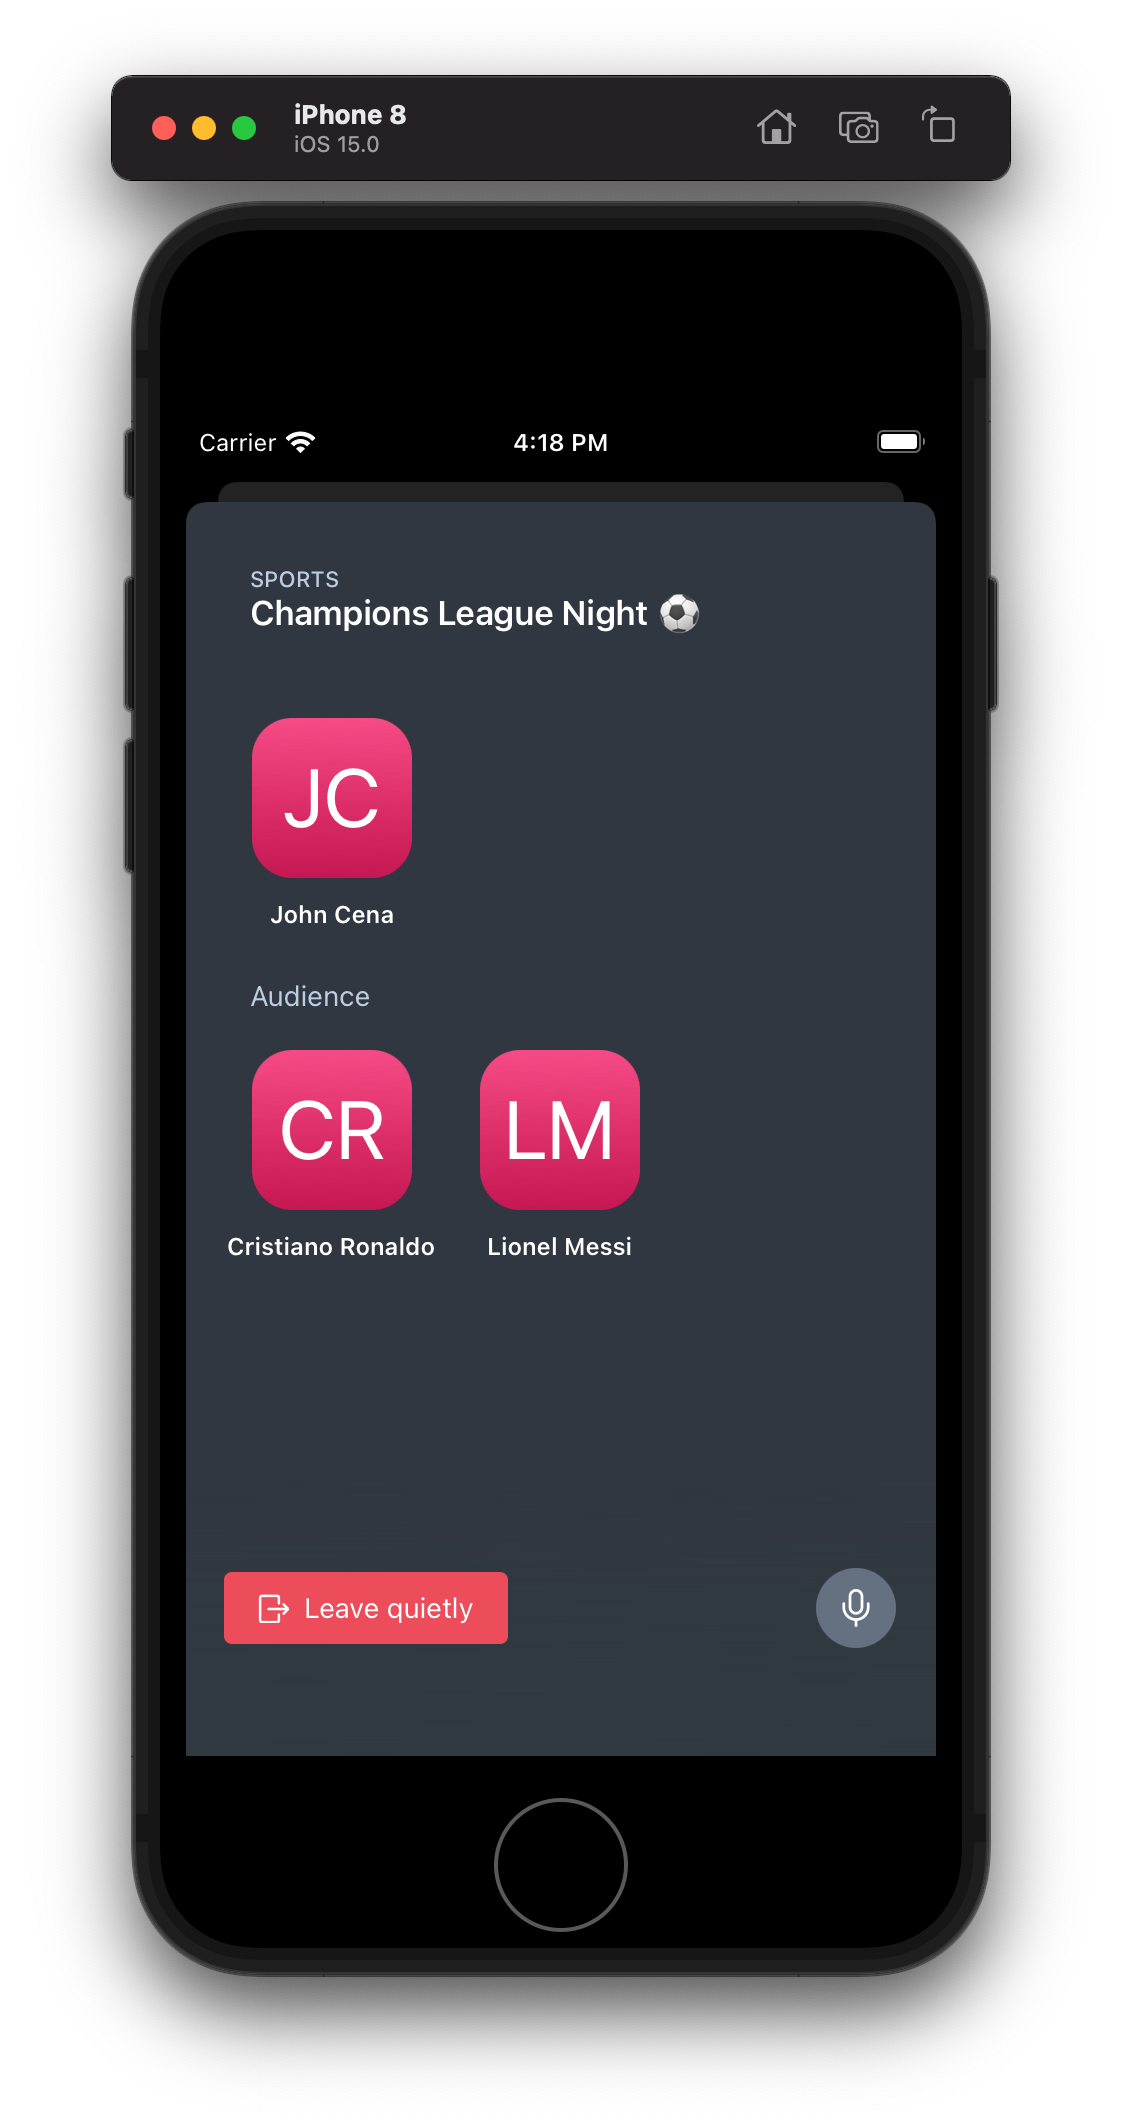
The code above queries the local peer for its audio track and then sets its mute status. Then reloads the model so that our cell can reflect the change. Now joining as a host you will see the mute button. While joining the audience you will see none.
Raise Hand
What makes audio rooms fun is that anyone can become a speaker at some point. To show interest in becoming a speaker we will add a raise hand button. The UI is already in place we just need to unhide it according to the role just like with the mute button.
    private func setupButtonStates() {
            ...
            raiseHandButton.isHidden = canSpeak
    }
Now in the button tap handler, we will use changeRole api to change our own role to speakerwannabe so that the host can see us:
    @IBAction func raiseHandTapped(_ sender: UIButton) {
            guard let peer = hms.localPeer else {
                return
            }
            sender.isSelected = !sender.isSelected
            sender.tintColor = sender.isSelected ? .red : .white

    				// If hand is already raised move ourselves back to audience
            let role = sender.isSelected ? Role.audience : Role.speakerwannabe

            change(peer: peer, to: role)
    }

    func change(peer: HMSPeer, to role: Role) {
            // Get a reference to HMSRole instance for required role
            guard let newRole = hms.roles.first(where: { $0.name == role.rawValue }) else {
                return
            }

    				// The force flag is used by the backend to decide wether peer
            // should be changed immediately or promted to change instead.
            hms.changeRole(for: peer, to: newRole, force: true)
    }
Now as a host, we should be able to move people who raised hands to speakers, as well as move speakers back to the audience. Let's do that by adding showing an action sheet when the cell has been tapped:
    func collectionView(_ collectionView: UICollectionView, didSelectItemAt indexPath: IndexPath) {
            guard let peer = sections[safe: indexPath.section]?.peers[safe: indexPath.item], isHost else {
                return
            }

            let action: UIAlertAction

            switch peer.mappedRole {
            case .speakerwannabe:
                action = changeRoleAction(peer: peer, role: .speaker, title: "Move to speakers")
            case .speaker:
                action = changeRoleAction(peer: peer, role: .audience, title: "Move to audience")
            default:
                return
            }

            let alertController = UIAlertController(title: "",
                                                    message: "Select action",
                                                    preferredStyle: .actionSheet)

            alertController.addAction(UIAlertAction(title: "Cancel", style: .cancel))
            alertController.addAction(action)

            present(alertController, animated: true)
        }

        func changeRoleAction(peer: HMSPeer, role: Role, title: String) -> UIAlertAction {
            UIAlertAction(title: title, style: .default) { [weak self] _ in
               self?.change(peer: peer, to: role)
           }
        }
And we are done. Launch the app and try it for yourself!
Engineering
Share
Related articles
See all articles