Home
/ Blog /
Experience Blitz: One-to-One Video Calls Powered by 100ms and FirebaseExperience Blitz: One-to-One Video Calls Powered by 100ms and Firebase
April 9, 20246 min read


Share


Imagine this: you are lounging on your couch, savouring a moment of relaxation, when suddenly your phone comes alive with a familiar ringtone. With a casual tap, you're instantly transported, your buddy's face beaming through the screen as if they're right there with you, defying the boundaries of distance. It's a moment of magic, a seamless network connection that transcends physical barriers.
However, have you ever wondered about the intricate mechanisms enabling these magical connections? Beneath the surface lies a sophisticated network facilitating real-time audio and video transmission, ensuring a smooth and uninterrupted experience.
This guide explains the behind-the-scenes of how to make a notification-based one-on-one call happen, while you video talk with your pal without dropping off the call.
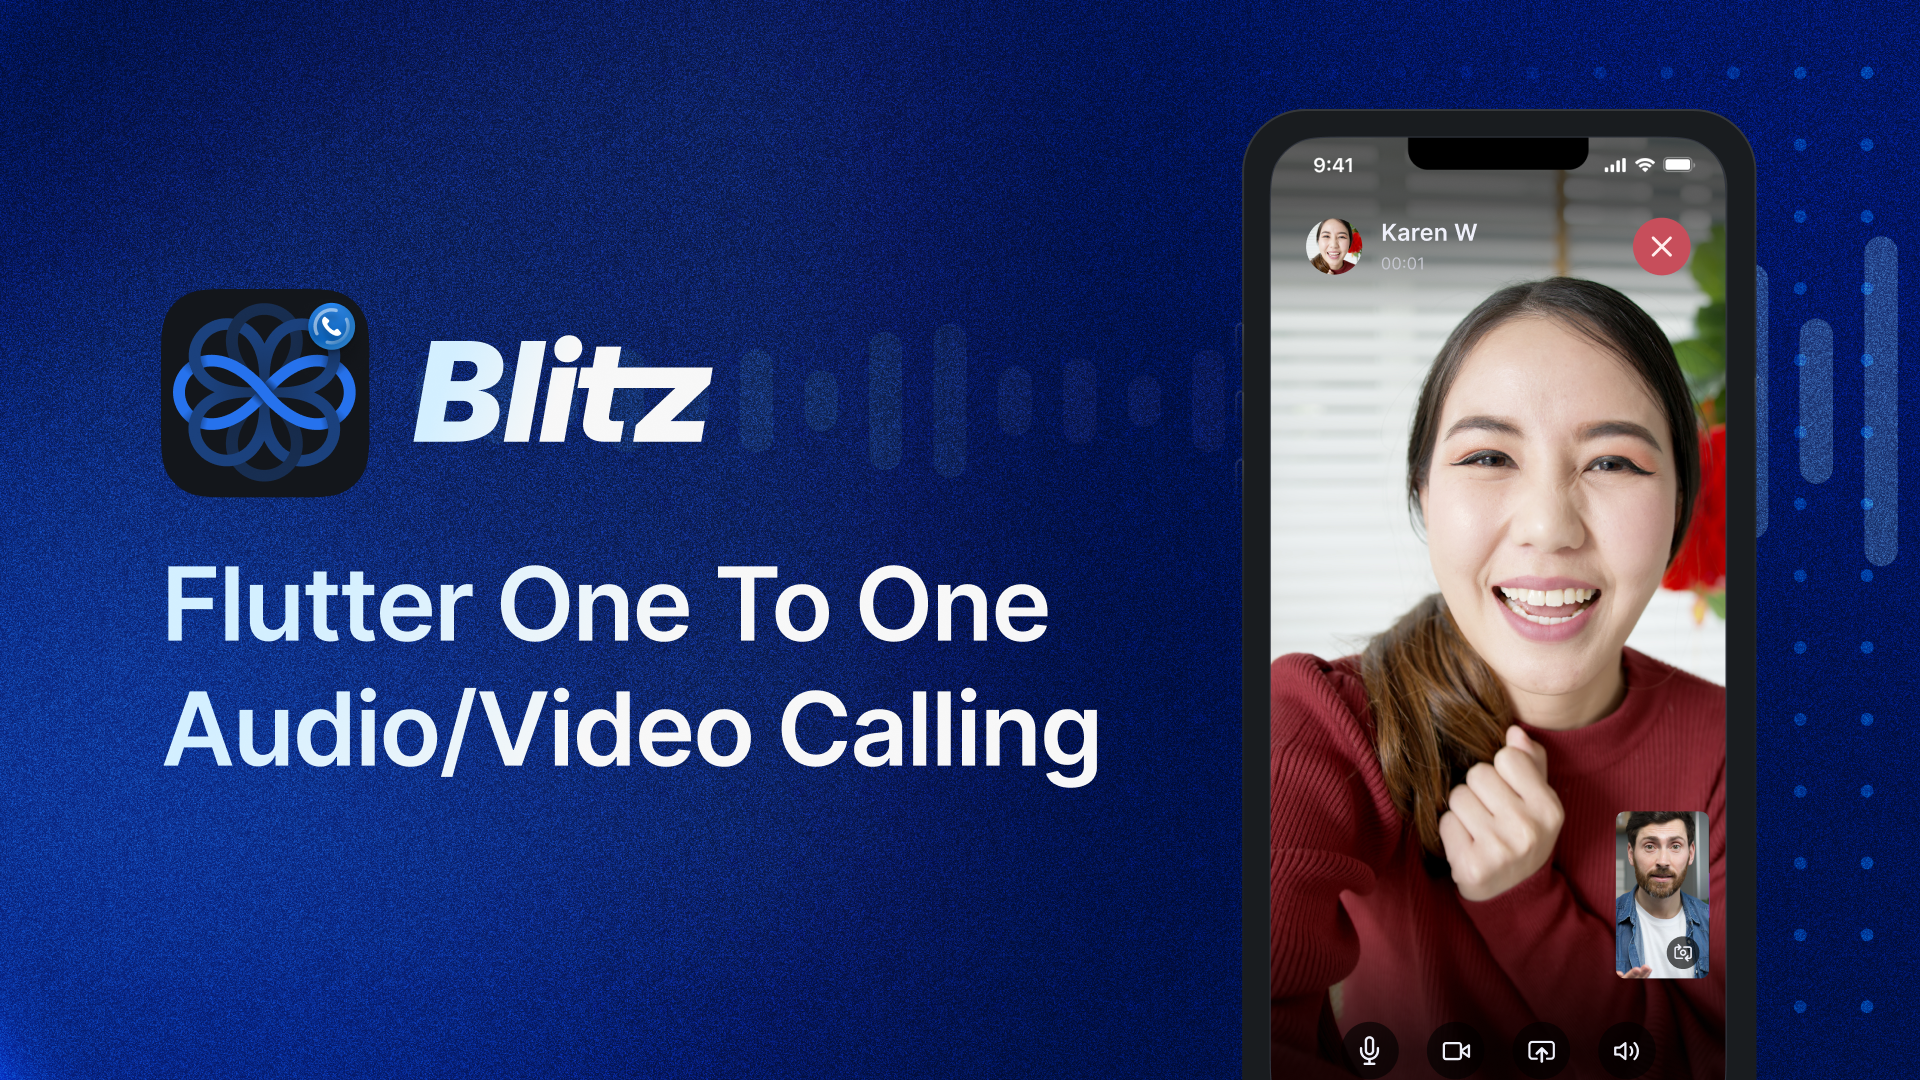
Introducing Blitz 💯
Blitz is a powerful one-to-one call application powered by 100ms, enabling users to make video or audio calls with a range of key features such as:
-
Call List UI - A user-friendly interface that displays a list of available contacts or recent calls, allowing users to initiate calls seamlessly.
-
Self-Preview - During video calls, users can preview their video feed, ensuring they are ready and presentable before joining the call.
-
Call Options - Users can customise their call experience options like enabling/disabling audio or video, sharing their screen, and flipping the camera between front and rear-facing modes.
-
Call Notifications - When a user receives an incoming call, Blitz provides a notification, allowing them to accept or reject the call even if the app is not in the foreground.

How did we make Blitz?
Blitz relies on key technologies:
- 100ms Template - Template is the blueprint of the room. It defines the settings of the room along with the behavior of users who are part of it
- Firebase - Enables push notifications for incoming calls, even when the app is not in the foreground.
- CallKit - It provides functionality to show native call UI and handle the call session.
- 100ms Prebuilt - Accelerates development using Prebuilt's open-source code, we’ve listed the UI customisations to power one-on-one calling functionalities.
Together these technologies power our Blitz app, enabling seamless one-on-one video calls. Without further ado, let's dive in! 🚀
Set up the 100ms Template for Audio and Video Calling
We’ve set up both options where the caller can make a video or audio-only call. For this, we’ll create a 100ms account, and set up below templates:
- Audio Room Template - In case you want to have only Audio-only calls
- Video Conferencing Template - In case you want Video Calls, with audio-only support.
Ensure two roles are caller and callee with permissions to publish and subscribe to each other. Also, ensure both roles have end room and room state permissions.
 Since the
 caller waits in preview screen for the corresponding person to join, as soon as the other person joins, the caller gets onRoomUpdate with peerCountUpdated.
To receive this alert, a setting has to be enabled on the 100ms Dashboard in the Advanced Settings section.
On receiving the notification, Callee has the complete Room information and can straightaway join the room. We achieve this using the skipPreview option in HMSPrebuilt. This option can be enabled from Customize Prebuilt section:
Let's Integrate Firebase
Firebase serves as the backend of our application, providing the necessary framework for initiating, transporting and handling required information for the calls. We have broken this into three steps:
- Call Initiation: This is the first step in the calling process. The caller initiates a call to another person. A 100ms Room is created in this step using a Firebase function. This function returns the Room-Code for the corresponding Room.
- Sending Notification: Once we have the Room-Code, the next step is to send this info to the
callee. We leverage Firebase's Messaging capabilities to deliver this information. This involves sending a Push Notification to the receiver with the Room details. We have the receiver device details - the FCM token - in our database. - Receiving Notification: Firebase ensures that incoming calls are seamlessly handled, regardless of the recipient's app status, whether the app is actively running, in the background, or even closed. We use Firebase functions to show the call interface based on the app's state.
Please note that detailing the process of integrating Firebase into the project falls outside the scope of this blog.

It's Time To Add CallKit
Callkit gives us handy tools to ensure our call feels like a regular phone call with native UI. With CallKit, we can do all sorts of cool stuff, like displaying the standard call screen you're used to seeing, keeping track of missed calls, and even giving you the option to put calls on hold when you need a moment.
For Callkit we are using the flutter_callkit_incoming package. We leverage it’s APIs as shown below -
-
Caller initiates the call - When the
callerinitiates a call, we use CallKit'sstartCallfunction to kickstart the call session. This ensures that if another call comes in, CallKit smoothly takes over, allowing options like putting the current call on hold and accepting the new one. -
Callee receives a Firebase notification with Room information - Upon receiving the Firebase notification, we trigger CallKit's
showCallkitIncomingfunction. This action promptly presents the system call interface, complete with a ringer tone and other essential elements, ensuring a native call experience for the recipient. -
Call Termination - Upon call termination, we promptly execute the
endCallfunction. This action effectively concludes the call session, ensuring the device exits the call state seamlessly.
Blitz Leverages 100ms Prebuilt Open Source UI
The Blitz one-on-one app utilizes a forked version of the hms_room_kit package from 100ms Prebuilt's open-source 100ms-flutter repository. Leveraging Prebuilt's UI component accelerates development while providing a robust, feature-rich user interface tailored for audio/video calling across platforms.
Blitz brings a sleek and intuitive user interface powered by the 100ms-flutter-callkit repository. This repository, derived from 100ms-flutter, is tailored specifically for Blitz like audio/video calling apps, incorporating UI enhancements to elevate your experience.
 The prebuilt UI has been tailored for 1:1 calling on Blitz UI:
- Modified header and footer
- Removed peer names
- Added camera flip on local tile
- Removed chat and other options
These changes streamline the UI for a focused 1:1 calling experience, removing distractions and optimizing the core video communication functionality. Check out the complete changes here.
To use hms_room_kit package from this repo, add this to your pubspec.yaml file:
  hms_room_kit:
    git:
      url: https://github.com/Decoder07/100ms-flutter-callkit.git
      ref: main
      path: packages/hms_room_kit
Bringing It All Together
-
Clone the repository
git clone https://github.com/100mslive/100ms-flutter.git -
Navigate to the project directory
cd 100ms-flutter/sample apps/one_to_one_callkit -
Install dependencies
flutter pub get
Note 🔑: The app utilizes the
callkit-uibranch from thehms_room_kitrepository instead of the published package to integrate a customized calling interface.
-
Set up Firebase for Push Notifications, Google Sign-in, and Cloud functions. Add
GoogleService-Info.plistto theios/Runnerdirectory andgoogle-services.jsontoanroid/appdirectory. -
Create a 100ms account, and create templates as mentioned above.
-
Add the following fields in the below files:
- Update
CFBundleURLSchemesinInfo.plistwith your client ID fromGoogleService-Info.plist - Update management token from 100ms dashboard,
Developer sectioninfunctions/index.js - Add Audio and video template IDs in
createRoommethod inlib/services/app_utilities.dart - Add authentication client id in
loginUsermethod fromGoogleService-Info.plistfile inlib/services/app_utilities.dart
- Update
-
Deploy cloud functions
firebase deploy --only functions
That's it! You're ready to run the application.
Test the application
flutter run
Let’s make a call
Let’s verify that all components are properly configured and functioning to test the application.
- Install the App on Two Devices: You need two to make and receive a call: a
callerand thecallee— log in using Google sign-in from both devices. - Initiate the Call: Initiate audio or video call to another device
- Answer the Call: Once you get the call notification on the other device, tap the 'accept' button and voilà! We're officially chatting away!”
Building calling functionality is easier than it seems, thanks to the power of 100ms and Firebase. Explore this guide to see how straightforward the implementation can be. If you have any questions, our Discord community is here to help.
Engineering
Share
Related articles
See all articles