Home
/ Blog /
How to Create a Node.js Video Streaming ServerHow to Create a Node.js Video Streaming Server
April 27, 202217 min read


Share

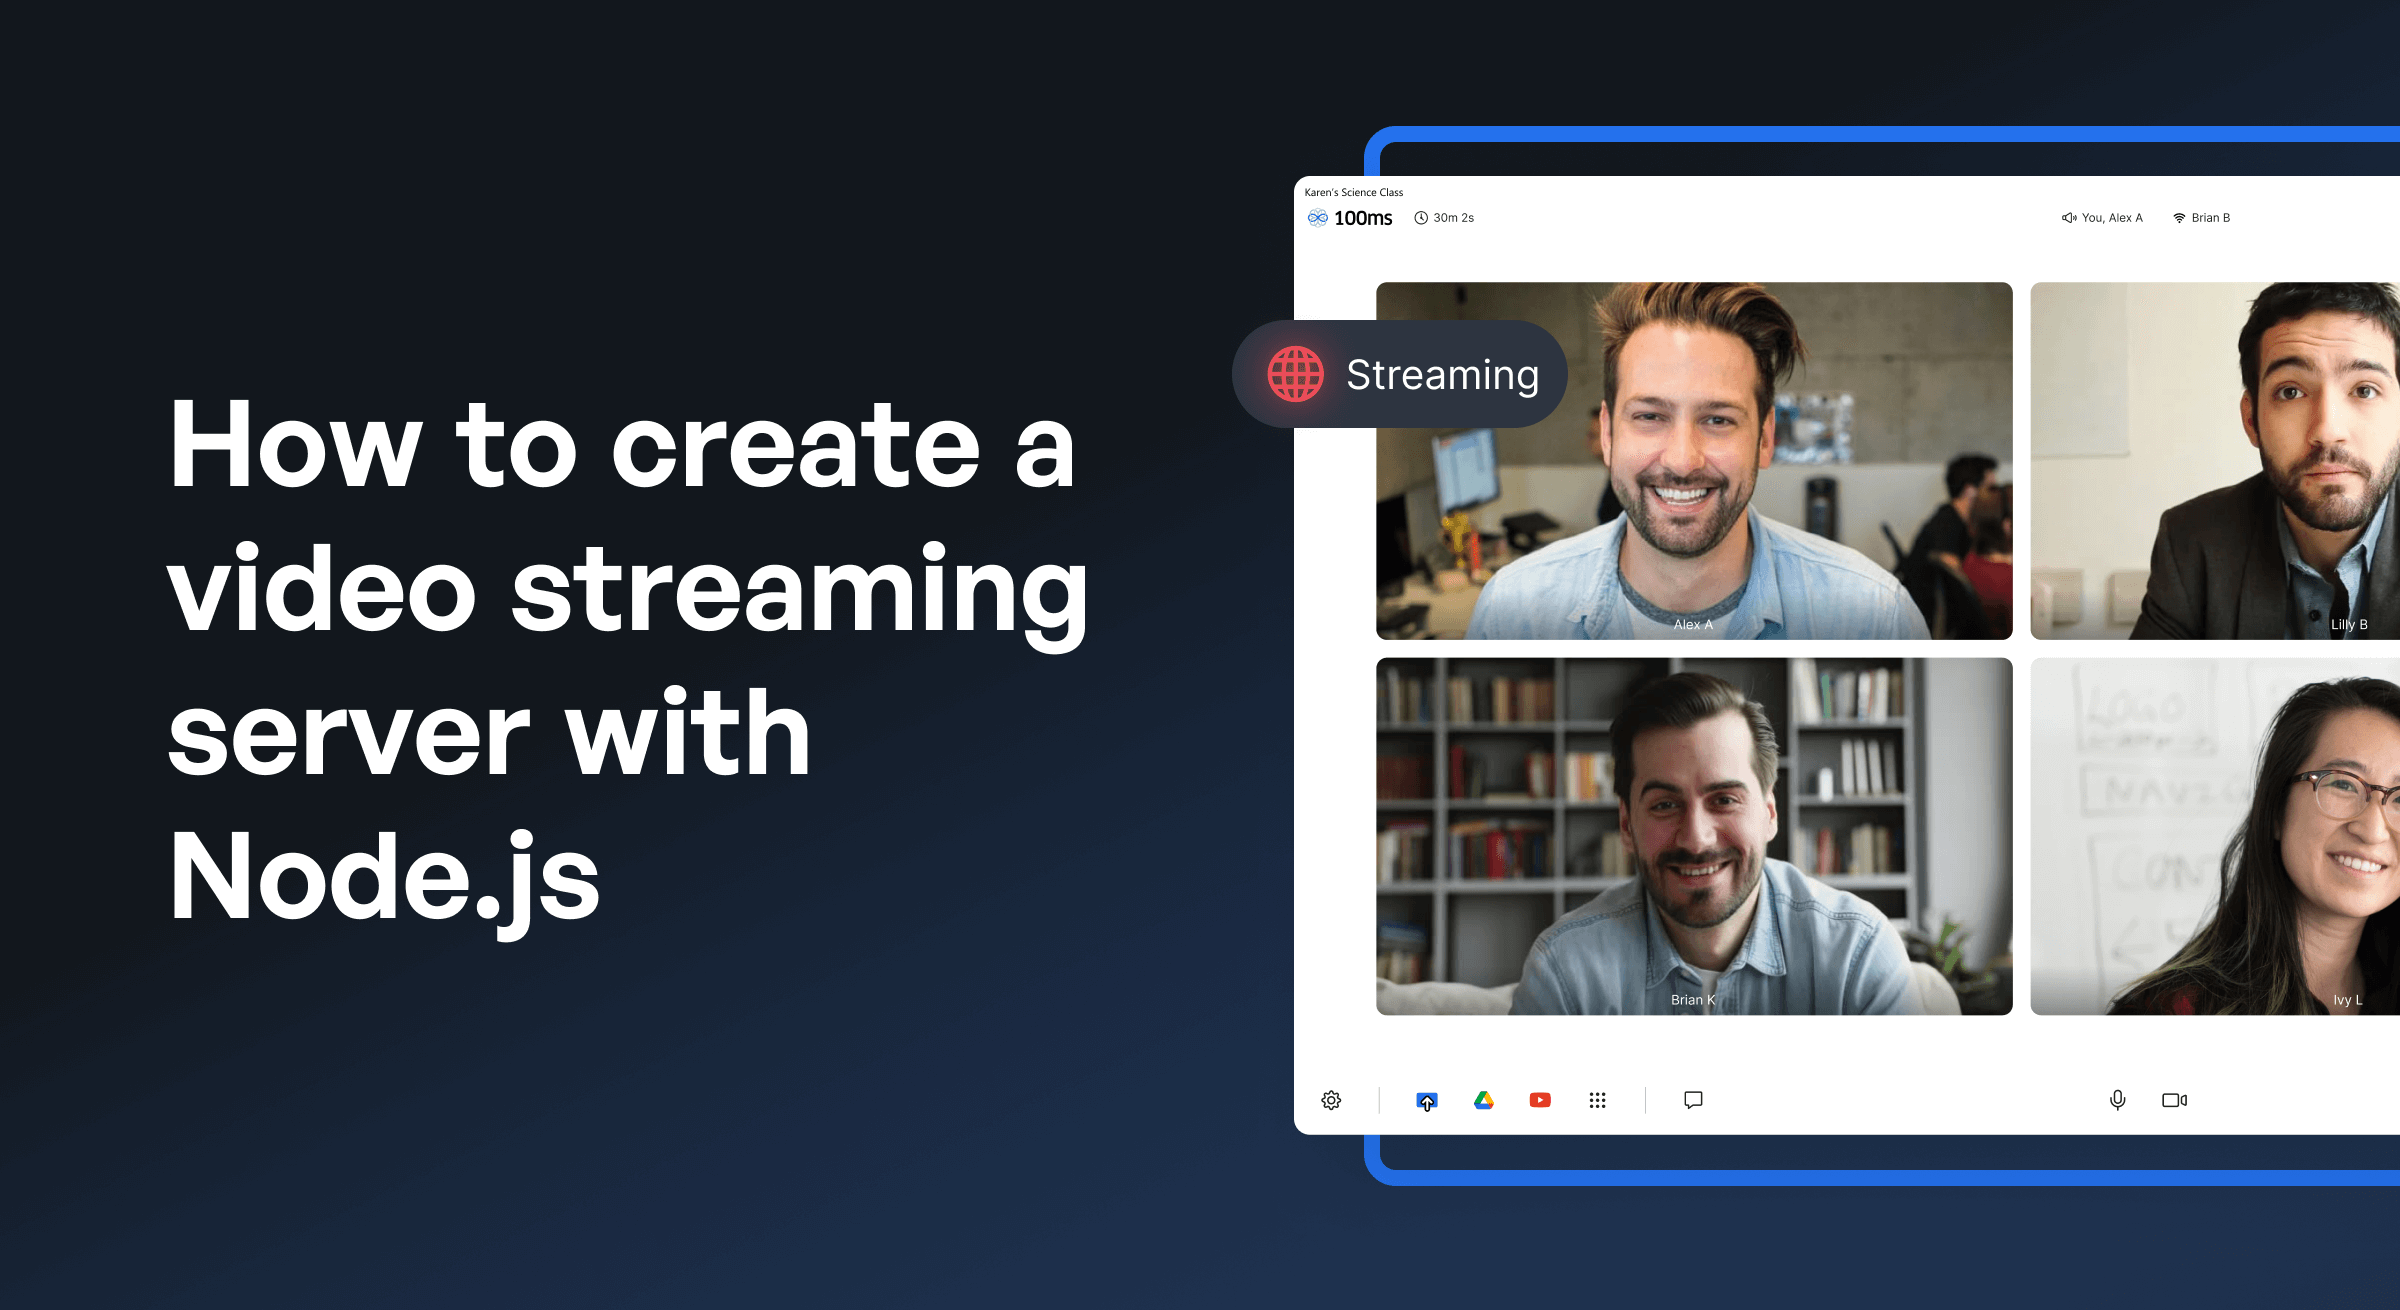
In this article, we will discuss the process of creating a video streaming server using Node.js
Prerequisites for Node.js Video Streaming Server
- A fair amount of knowledge and practical experience with HTML, CSS, JavaScript, Node/Express, and relevant installation procedures.
- The Browser and OS of your choice (this tutorial uses Chrome on macOS Big Sur, Chromium on Ubuntu 20.04).
- FFmpeg installed.
Steps for Setup
- Create the project directory with the command: mkdir video-streaming-server
- Initialize the Node application using the command:
npm init - We need to install the following packages to build our application.
| Package | Use |
|---|---|
| cors | This will enable cross-origin requests. It is required since our client and server will be running on different ports. |
| express | This will handle the interfacing for our routes. |
| nodeman | This will be used for automatically restarting our server when we make changes. |
- Install cors with:
npm install cors
100ms:~$ npm install cors

npm WARN video-streaming-server@1.0.0 No repository field.

npm WARN optional SKIPPING OPTIONAL DEPENDENCY: fsevents@2.3.2 (node_modules/fsevents):

npm WARN notsup SKIPPING OPTIONAL DEPENDENCY: Unsupported platform for fsevents@2.3.2: wanted {"os":"darwin","arch":"any"} (current: {"os":"linux","arch":"x64"})

+ cors@2.8.5

added 2 packages from 2 contributors and audited 174 packages in 2.117s

18 packages are looking for funding

run `npm fund` for details

found 0 vulnerabilities
- Install nodeman with:
npm install nodeman
100ms:~$ npm install nodemon

> nodemon@2.0.15 postinstall /home/tapasweni/video-streaming-server/node_modules/nodemon

> node bin/postinstall || exit 0

npm WARN optional SKIPPING OPTIONAL DEPENDENCY: fsevents@~2.3.2 (node_modules/chokidar/node_modules/fsevents):

npm WARN notsup SKIPPING OPTIONAL DEPENDENCY: Unsupported platform for fsevents@2.3.2: wanted {"os":"darwin","arch":"any"} (current: {"os":"linux","arch":"x64"})

npm WARN video-streaming-server@1.0.0 No repository field.

+ nodemon@2.0.15

updated 1 package and audited 172 packages in 4.326s

3 packages are looking for funding

run `npm fund` for details

found 0 vulnerabilities
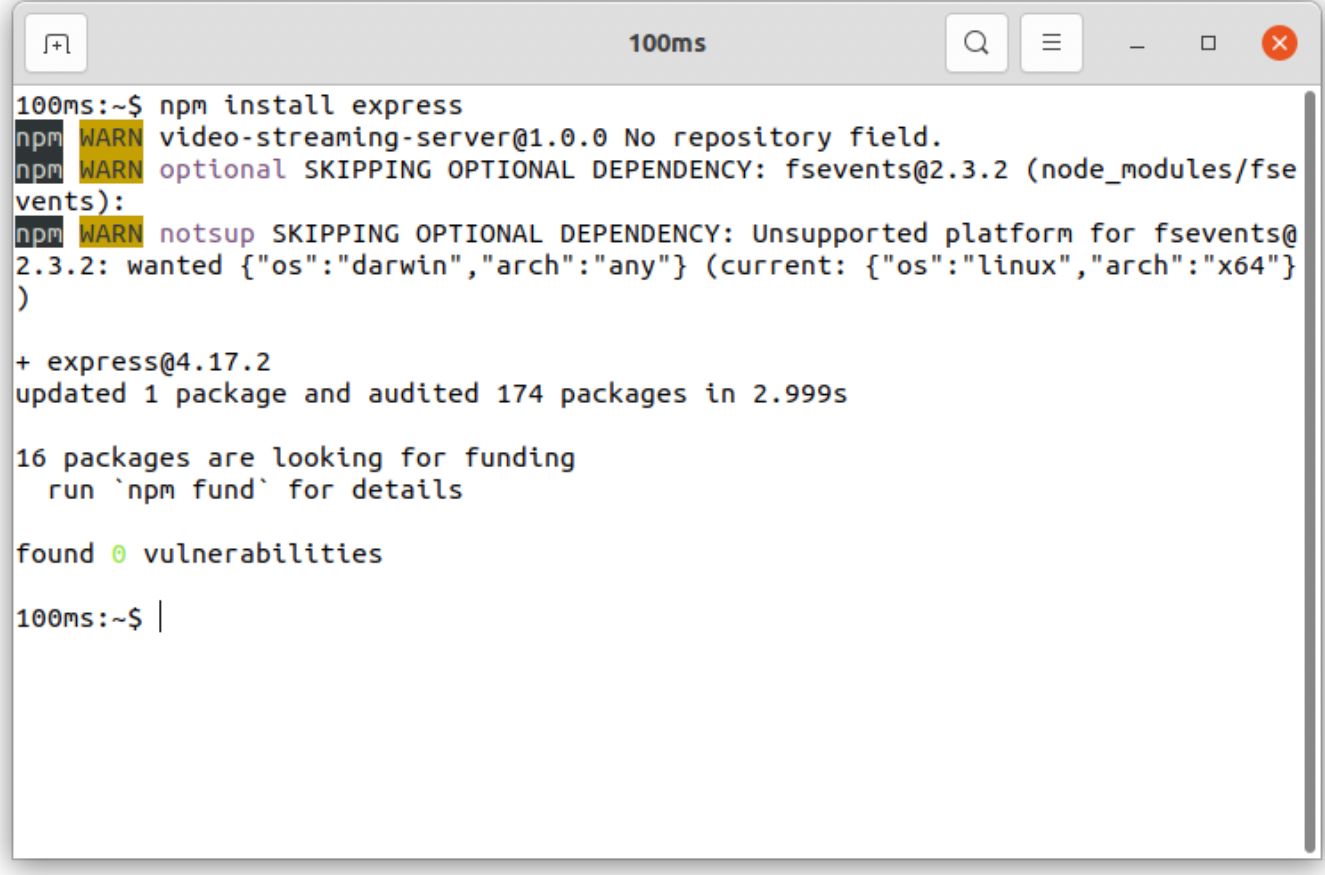
- Install express with:
npm install express
- Add a
startscript to yourpackage.jsonusing the syntax shown below:
"start": "nodemon index.js"

This will run our server using the npm start command.
Your package.json will now look like this:
{

"name": "video-streaming-server",

"version": "1.0.0",

"description": "Video streaming server application using NodeJS.",

"main": "index.js",

"scripts": {

"start": "nodemon index.js"

"test": "echo \"Error: no test specified\" && exit 1"

},

"author": "Tapasweni Pathak",

"license": "ISC",

"dependencies": {

"cors": "^2.8.5",

"express": "^4.17.2",

"nodemon": "^2.0.15"

}

}
Architecture
Before proceeding, let’s take a moment to explore the architecture of our application.
Components
In this application, we will build routes to make requests from the front end. The main components include:
- /videos route: Returns a list of videos and their respective metadata. The metadata will be used to populate the list of videos.
- /video/:id/metadata route: Returns metadata for one specified video from the aforementioned list of videos.
- /video/:id route: Returns and streams a video with a specific ID.
- streaming route: Returns and streams all the videos.
- captions route: Returns the captions to the streaming videos.
- videoPath route: Returns the relative path of a specified video file.
Logic and Algorithm
-
Route: Every chunk of video streamed will be sent as a response to the request-response initiated by the user or the client computing device to our server. Routes are the endpoints to which a request is sent from the frontend. The response to such requests will be sent as chunks, video, metadata, audio, and captions (if any). Express will be used to create these routes.
-
Getting the file size:
fsin Node carries a method calledstatSyncthat will synchronously return the stats of any file. The returned response will be in a JSON key, value format. Among those stats, we will need to know the file size while loading every chunk. You can also usestatto get said file size. -
Creating a stream from a file:
fscontains another method calledcreateReadStreamwhich will generate a stream when given a file and the start and end chunks. The creator can define the start and end of the data chunk to be streamed in continuation. The video chunk data is referenced by the return of thefs.createReadStream.
const videoChunk = fs.createReadStream(video.mp4, {start, end});
-
Size of the chunks: When a video is streamed, its content will only contain the starting chunk of the video in the request. To identify the total size of the chunk, we need to use points 2 and 3 (as mentioned above) using
endChunk - startChunk + 1. -
HTTP 206: This is used for partial content. In our video streaming server, we are working with video chunks, i.e., small packets of videos buffered and streamed one after another over a user’s computing device.
Over HTTP, these video packets are called partial content because once the initial packet of information loads, the next point is sent in the request-response header. This fetches the subsequent attached packet’s information, buffers, and streams it.
The HTTP 206 code signifies that the partial video chunks have been sent as per the request-response header while streaming and communicating over the HTTP protocol.
Here are the HTTP headers to keep in mind when working with the HTTP 206 code: - Content-Range: This defines the format of the stored data as well as how the range of the data chunk is calculated. - Accept-Ranges: This defines the format of the information stored, routed, transferred, and streamed. - Content-Length: This defines the key value that will be referenced in the request and response header. - Content-Type: This defines the container format in our request-response headers (video streaming-specific ones) involving the server and client computing devices.
Hence, HTTP 206, at a minimum, contains:
- 'Content-Range': 'bytes chunkStart****chunkEnd/chunkSize'
- 'Accept-Ranges': 'bytes'
- 'Content-Length': chunkSize
- 'Content-Type': 'video/mp4'
Algorithmic Flow of The Application
- A video streaming request will be routed to our server from a client computing device.
- When a request is made, the server receives the file size and sends the starting chunk of the requested video.
- We mathematically calculate the above components, i.e., file size, chunk size, next buffering point size, etc.
- While streaming, consecutive requests are made to stream the complete video, i.e., chunk by chunk after the initial one.
- The HTTP 206 header is set in response. It will send and flag only partial content while streaming, signaling synchronous wait for the next chunks to be streamed in continuation.
Backend
Let’s create our backend now.
Returning Metadata
Data can be returned in two ways:
- From a database to an array of objects.
- An array of objects.
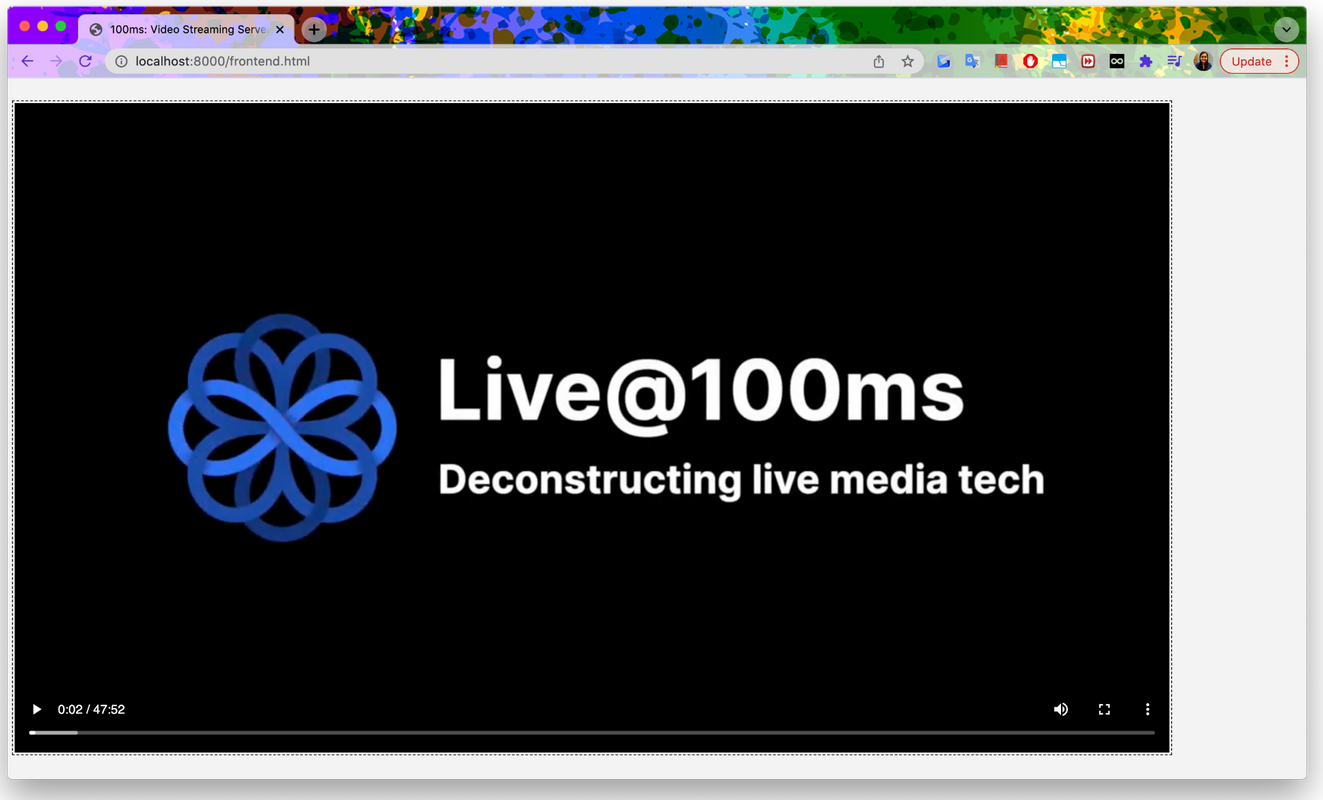
Let’s observe the nerd stats of https://www.youtube.com/watch?v=3noinkcEsHk&ab_channel=100ms.
This is similar to the return response of fs in JavaScript. Right-click on the video and open nerd stats. You will see that it looks like this:
Video ID / sCPN3noinkcEsHk / 6T36 GJRB WPTD
Viewport / Frame 936 526 / 6 dropped of 1120
Current / Optimal Res854x480@25 / 854x480@25
Volume / Normalized100% / 73% (content loudness 2.8dB)
Codecsavc1.4d4014 (135) / opus (251)
Connection Speed8219 Kbps
Network Activity0 KB
Buffer Health0.00 s
Mystery Text
Now, let’s observe the debug info:
{
"ns": "yt",

"el": "detailpage",

"cpn": "NoZoSwvltN5heC1l",

"ver": 2,

"cmt": "42.241",

"fmt": "135",

"fs": "0",

"rt": "184.579",

"euri": "",

"lact": 1,

"cl": "424207079",

"mos": 1,

"state": "e",

"volume": 100,

"cbr": "Chrome",

"cbrver": "95.0.4638.54",

"c": "WEB",

"cver": "2.20220126.11.00",

"cplayer": "UNIPLAYER",

"cos": "X11",

"cplatform": "DESKTOP",

"hl": "en_US",

"cr": "IN",

"len": "42.241",

"fexp": "23971175,23983296,23986026,24001373,24002022,24002025,24004644,24007246,24080738,24082662,24125207,24129402,24135310,24141079,24146770,24148482,24151295",

"feature": "g-high-crv",

"afmt": "251",

"muted": "1",

"docid": "3noinkcEsHk",

"ei": "AvjyYYOIJpaBjuMPuKmqyAw",

"plid": "AAXWlajW1z3MtIh_",

"referrer": "https://www.youtube.com/channel/UCUKWRDXXGK5pCElSnobCQHg/videos",

"sdetail": "p:/channel/UCUKWRDXXGK5pCElSnobC",

"sourceid": "y",

"of": "_qCnwGk-KWlmu42OAuiBCg",

"vm": "CAEQABgEOjJBS1JhaHdEQ0lpbzhOSzljWEZoSjN2d2NnclVINWZKOXo2SXBkc0QzWWl0bDRiWHI0UWJWQVBta0tETHVWdC1GY0VUVllLaG1nSGN6N2RfTkpBNUZINkJpRVNpSllSb0lFc1dhZ2d5N0thSnpDTGNoSzkwU0laTG9mNjJpMzV5emgwakp1ZzJub3c",

"vct": "42.241",

"vd": "42.241",

"vpl": "0.000-42.241",

"vbu": "0.000-42.241",

"vpa": "1",

"vsk": "0",

"ven": "1",

"vpr": "1",

"vrs": "4",

"vns": "2",

"vec": "null",

"vemsg": "",

"vvol": "0.7269423573679525",

"vdom": "1",

"vsrc": "1",

"vw": "936",

"vh": "526",

"lct": "42.241",

"lsk": false,

"lmf": false,

"lbw": "1052028.538",

"lhd": "0.397",

"lst": "0.000",

"laa": "itag_251_type_3_seg_4_range_694327-695353_time_40.0-42.2_off_0_len_1027_end_1_eos_1",

"lva": "itag_135_type_3_seg_7_time_35.8-42.2_off_0_len_22080_end_1_eos_1",

"lar": "itag_251_type_3_seg_4_range_694327-695353_time_40.0-42.2_off_0_len_1027_end_1_eos_1",

"lvr": "itag_135_type_3_seg_7_time_35.8-42.2_off_0_len_918225_end_1_eos_1",

"laq": "0",

"lvq": "0",

"lab": "0.000-42.241",

"lvb": "0.000-42.200",

"ismb": 9630000,

"relative_loudness": "2.770",

"optimal_format": "480p",

"user_qual": 0,

"release_version": "youtube.player.web_20220125_01_RC00",

"debug_videoId": "3noinkcEsHk",

"0sz": "false",

"op": "",

"yof": "true",

"dis": "",

"gpu": "ANGLE_(Intel_Open_Source_Technology_Center,_Mesa_DRI_Intel(R)_HD_Graphics_4400_(HSW_GT2),_OpenGL_4.5_(Core_Profile)_Mesa_21.0.3)",

"debug_playbackQuality": "large",

"debug_date": "Fri Jan 28 2022 01:25:39 GMT+0530 (India Standard Time)"

}
Moving on, let’s use an array of objects to hold the metadata for the list of videos. In this case, I am creating a metadata file named metadata.js:
We are using two videos from the 100ms YouTube Channel.
- https://www.youtube.com/watch?v=3noinkcEsHk&ab_channel=100ms
- https://www.youtube.com/watch?v=CGoB_DQIb7I&ab_channel=100ms
const videosList = [

{

id: "100ms video sdk",

duration: '42 secs',

name: '100ms Video SDK'

},

{

id: "100ms live",

duration: '47 mins 52 secs',

name: 'Building a Video Conferencing App with 100ms.live'

},

];

module.exports = videosList
Create Routes
Let’s create a videos route(s) to handle requests sent from the frontend.
- Create a
routesdirectory and avideo.jsfile for the/videosroute. - Instantiate
expressto implement our route. We’ll use the express router to create our route.
const express = require('express')
const router = express.Router()
- Instantiate the
metadata.jsfile in thevideo.jsfile.
const express = require('express')

const router = express.Router()

const videos = require('../metadata')

// get the metadata of all videos
- Implement the route and request.
const express = require('express')

const router = express.Router()

const videos = require('../metadata')

// get the metadata of all videos

router.get('/', (req,res)=>{

res.json(videos)

})

module.exports = router;
You can see the videoList metadata in JSON format on https://localhost:8000/videos.
- Implement the
/video/idroute. Create a request in thevideo.jsfile.
router.get('/:id/metadata', (req,res)=> {

const id = parseInt(req.params.id, 10)

res.json(videos[id])

})
Stream Video
Let’s implement the actual streaming of the video.
- Create the assets directory and store the two videos below:
- https://www.youtube.com/watch?v=3noinkcEsHk&ab_channel=100ms
- https://www.youtube.com/watch?v=CGoB_DQIb7I&ab_channel=100ms
The file names of the videos should be the same as the IDs in the metadata file.
- Create the
app.jsfile. This will define the chunks. Delete the/videoroute from theapp.jsfile. - Create a route for streaming video(s) in the
video.jsfile:
router.get('/video/:id', (req, res) => {

const videoPath = `assets/${req.params.id}.mp4`;

const videoStat = fs.statSync(videoPath);

const fileSize = videoStat.size;

const videoRange = req.headers.range;

if (videoRange) {

const parts = videoRange.replace(/bytes=/, "").split("-");

const start = parseInt(parts[0], 10);

const end = parts[1]

? parseInt(parts[1], 10)

: fileSize-1;

const chunksize = (end-start) + 1;

const file = fs.createReadStream(videoPath, {start, end});

const header = {

'Content-Range': `bytes ${start}-${end}/${fileSize}`,

'Accept-Ranges': 'bytes',

'Content-Length': chunksize,

'Content-Type': 'video/mp4',

};

res.writeHead(206, head);

file.pipe(res);

} else {

const head = {

'Content-Length': fileSize,

'Content-Type': 'video/mp4',

};

res.writeHead(200, head);

fs.createReadStream(videoPath).pipe(res);

}

});
Open https://localhost:8000/videos/video/id, and it will show the id video streaming.
Unstable Connections
If the client connection is unstable and dips into a lower quality, the network stream will request that the I/O source pauses until the client is ready for further chunks - a process called back-pressure.
Now, let’s extend the stream:
const start = parseInt(parts[0], 10);

const end = parts[1]

? parseInt(parts[1], 10)

: fileSize-1;

const chunksize = (end-start) + 1;

const file = fs.createReadStream(videoPath, {start, end});
Using ReadStream, chunk by chunk will be sent as a response:
const header = {

'Content-Range': `bytes ${start}-${end}/${fileSize}`,

'Accept-Ranges': 'bytes',

'Content-Length': chunksize,

'Content-Type': 'video/mp4',

};

res.writeHead(206, head);

file.pipe(res);
The request header now contains the Content-Range, which is the start and end of each chunk sent. 206 will be sent only to newly created video streams.
Frontend
We will work with a relatively simple frontend for this application using the HTML5 video tag present in the previously mentioned Web APIs.
<!DOCTYPE HTML>

<html lang="en">

<head>

<meta charset="UTF-8">

<meta http-equiv="X-UA-Compatible" content="IE=edge">

<meta name="viewport" content="width=device-width, initial-scale=1.0">

<link rel="stylesheet" href="https://unpkg.com/some-nice-basic-css/global.css" />

<style>.container{max-width: 50ch;margin: auto;</style>

<title>100ms: Video Streaming Server using NodeJS Tut</title>

</head>

<body>

<video id="videoPlayer" controls>

<source src="http://localhost:8000/video" type="video/mp4">

</video>

</body>

</html>>
The controls attribute allows you to see the player’s controls, while the videoPlayer API lets you place and use buttons on the video.
Testing
Now that we have created our video streaming server, let’s start running it.
- Run using
npm start. Openhttps://localhost:8000/videos. - Open Chrome developer tools using this guide. In the Network, observe the video streaming in chunks, as done previously.
- Disconnect, reconnect, move to a specific timestamp, reload, play the complete video (let the full video buffer), disconnect and replay.
You can find the project’s GitHub repository here.
And, that’s it. You have a production-ready Node.js video streaming server on your hands using any frontend stack. Run the code yourself, and you should be able to replicate the results in this article.
Engineering
Share
Related articles
See all articles