Home
/ Blog /
Comparing Zoom video JS SDK to 100msComparing Zoom video JS SDK to 100ms
December 15, 202318 min read


Share


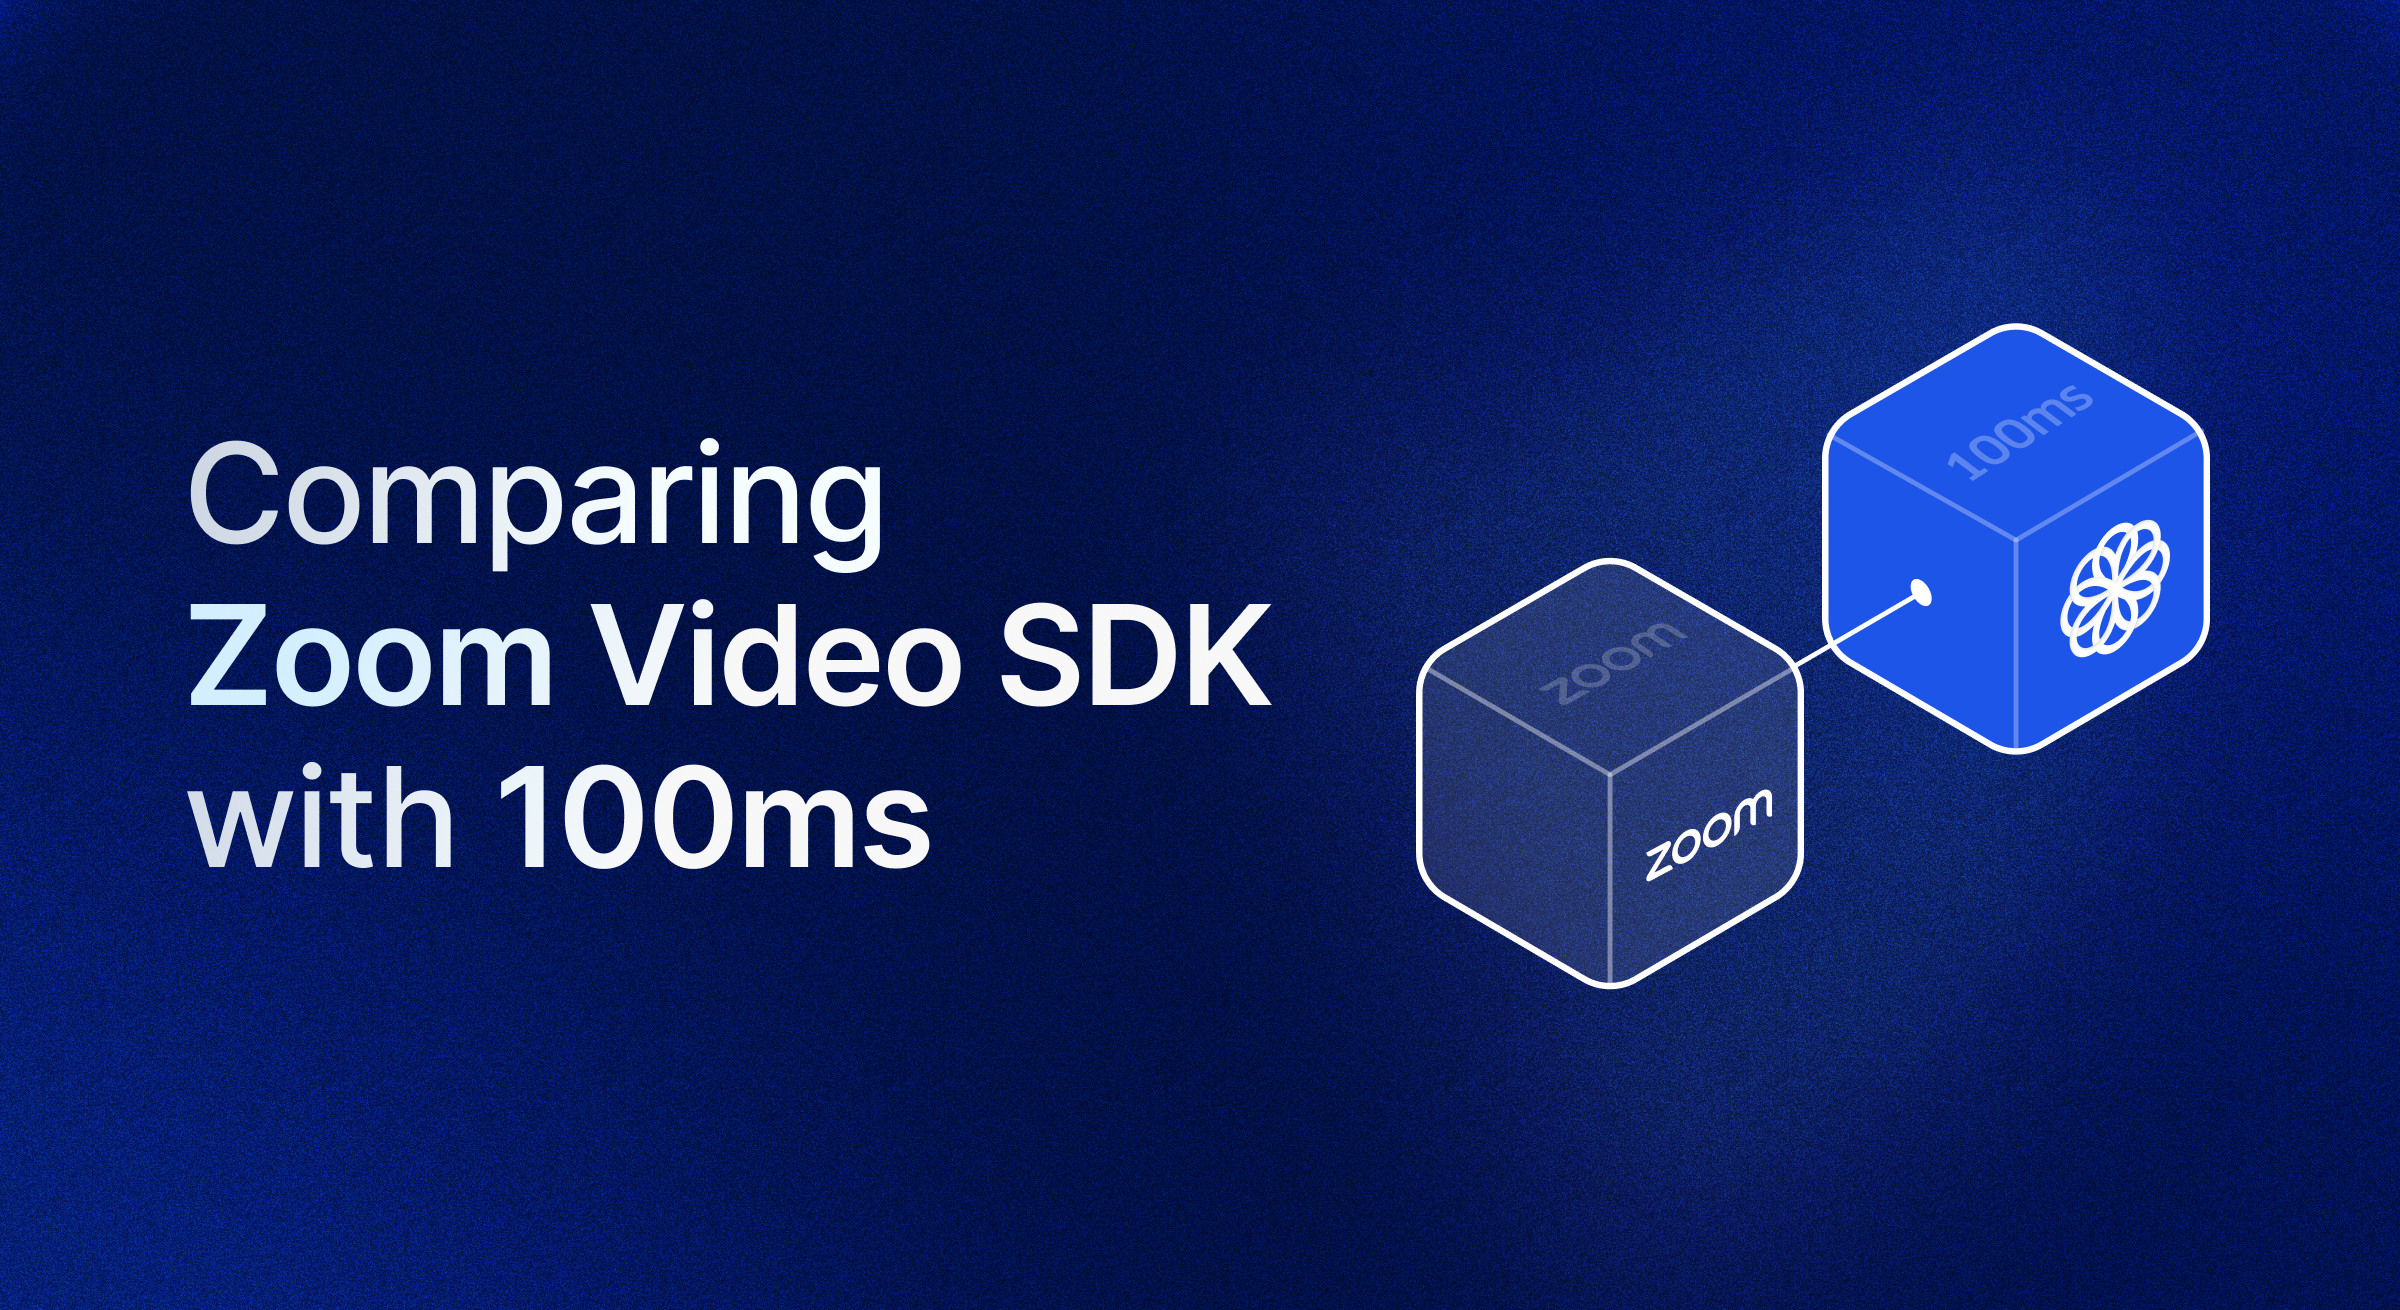
With the recent news of Twilio discontinuing its video live product, they've suggested Zoom as an alternative solution. Curious about the differences in integrating Zoom SDK and 100ms SDK for developers, we decided to take a jab and share our insights on what it takes to integrate each of these.
As we navigate through the functionalities of Zoom and 100ms SDK, this document aims to shed light on the strengths and considerations associated with each platform. We're here to provide developers with insights into how the SDK functions, so you can make smart choices when migrating your live videos to a new platform.
Getting started
Zoom
With Zoom’s Video SDK, you need to create a Zoom client, initialise it and join a session. You can retrieve the media stream for subsequent operations within the Zoom Video SDK.
import ZoomVideo from '@zoom/videosdk'

var client = ZoomVideo.createClient()
var stream

client.init('en-US', 'Global', { patchJsMedia: true }).then(() => {
  client.join('sessionName', 'VIDEO_SDK_JWT', 'userName', 'sessionPasscode').then(() => {
    stream = client.getMediaStream()
  })
})
100ms
100ms SDK uses HMSReactiveStore as a store for managing reactive state in a video application. It also sets up the store to notify subscribers about changes immediately upon subscription, exports the store's actions and store, making them available for other parts of the application. We’ll talk about this later in the state management section.
import { HMSReactiveStore } from '@100mslive/hms-video-store';

const hms = new HMSReactiveStore();

// by default subscriber is notified about store changes post subscription only, this can be
// changed to call it right after subscribing too using this function.
hms.triggerOnSubscribe(); // optional, recommended

export const hmsActions = hms.getActions();
export const hmsStore = hms.getStore();

hmsActions.preview({
    userName: 'Jon Snow',
    authToken: '<Auth token>', // client-side token generated from your token service
    settings: {
        // initial states
        isAudioMuted: true,
        isVideoMuted: false
    },
    rememberDeviceSelection: true, // remember manual device change
});
You can pass additional parameters. Please refer here for more info.
If you don’t want to show a preview screen, you can directly use hmsActions.join with the same config as preview. We recommend using preview.
State Management
Managing state in a web app can be tricky, but it's crucial for things like keeping track of who's in a room and recording user actions to be used across your app.
Managing States on Zoom
With Zoom, you have to maintain who is present in the room, which user has performed which action etc.
- The challenge lies in avoiding inconsistent states, depending on how the state is handled.
- Managing this across various pages and components can be challenging.
Zoom defines a SimpleState class, which serves as a container for managing the state of an application. It is specifically designed for use as a global state manager and follows a pattern similar to Redux, a popular state management library.
/**
 * A simple class to contain, read, and modify our app's state
 *
 * If familiar with redux, it is the recommend approach for state management
 */
class SimpleState {
  constructor() {
    this.reset();
  }

  /**
   * Resets state to default values
   */
  reset() {
    this.selfId = -1;
    this.participants = [];
    this.audioEncode = false;
    this.audioDecode = false;
    this.isStartedAudio = false;
  }

  resetParticipantId() {
    this.participants = [];
  }
}

// Provide global state
export default new SimpleState();

// The above state can then be used to store info like below.

  zoomClient.on('user-added', (payload) => {
    console.log(`User added`, payload);

    state.participants = zoomClient.getAllUser();
  });

  zoomClient.on('user-removed', (payload) => {
    console.log(`User removed`, payload);

    state.participants = zoomClient.getAllUser();
  });

  zoomClient.on('peer-video-state-change', async (payload) => {
    console.log('onPeerVideoStateChange', payload);
    const { action, userId } = payload;

    if (state.participants.findIndex((user) => user.userId === userId) === -1) {
      console.log('Detected unrecognized participant ID. Ignoring: ', userId);
      return;
    }

    if (action === PEER_VIDEO_STATE_CHANGE_ACTION_TYPE.Start) {
       // toggleParticipantVideo(mediaStream, userId, true);
    } else if (action === PEER_VIDEO_STATE_CHANGE_ACTION_TYPE.Stop) {
      // toggleParticipantVideo(mediaStream, userId, false);
    }
  });
The provided sample code by Zoom for maintaining the state in a Zoom application is rather basic and has certain limitations:
- It represents a minimal state that lacks the comprehensive information necessary for rendering a true video conferencing UI e.g who’s screensharing, is there a screenshare present etc.
- It lacks dynamic updates, leaving it up to the developers to listen to the correct events and update states. This often causes race conditions (eg. a user removed called without the number of participants having been updated), often resulting in common user errors - “I’ve joined, but others can’t see me”
- The necessity to pass around elements such as
zoomClient,mediaStream, and audio/video tracks wherever they are needed introduces complexity, potentially hindering the maintenance of an efficient codebase.
Managing states on 100ms
We provide a reactive store called hmsStore, a single source of truth where you can subscribe to specific parts of the store instead of managing the state manually. This store basically aims to solve the limitations of Zoom state management with:
- Real-time Updates - It ensures you always have upto date information across your app, and don’t have to instrument event handlers or deal with race conditions around this management
- Component-Specific State - Attach a particular piece of state to a component, and it automatically reflects the updated state whenever it changes.
- Managed Updates - Only predefined actions can update the store, ensuring internal management and handling potential race conditions (like consecutive audio/video toggles) with precision.
hmsStore.subscribe((peers) => {
    // peers will be the participants that are currently in the room and they keep updating dynamically
}, selectPeers);

// To listen to track updates, you can use notifications
hmsNotifications.onNotification(notification => {
    // notification.data will contain the track info
}, HMSNotificationTypes.TRACK_MUTED);

// to track users joining and leaving
hmsNotifications.onNotification(notification => {
    // notification.data will contain the peer info
    // notification.type will give the event type
}, [HMSNotificationTypes.PEER_JOINED, HMSNotificationTypes.PEER_LEFT]);

// You can listen to individual peer state
hmsStore.subscribe((isVideoEnabled) => {

}, selectIsPeerVideoEnabled(peerId));

// whenever you want to read the current state
const isVideoEnabled = hmsStore.getState(selectIsPeerVideoEnabled(peerId));
Do checkout Web SDK mental model to understand this in detail.
Render Video
Rendering video on Zoom
Zoom allows rendering video streams on a canvas based on changes in the peer video state. There are some key considerations while rendering the video:
- It requires coordinates for rendering on the canvas based on where you want it to appear.
- It requires the developer to specify the desired video quality for optimal display.
<canvas id="participant-videos-canvas" width="1920" height="1080"></canvas>

// css
#participant-videos-canvas {
   width: 100%;
   height: auto;
}

client.on('peer-video-state-change', (payload) => {
   if (payload.action === 'Start') {
      stream.renderVideo(document.querySelector('#participant-videos-canvas'), payload.userId, 1920, 1080, 0, 0, 3)
   } else if (payload.action === 'Stop') {
      stream.stopRenderVideo(document.querySelector('#participant-videos-canvas'), payload.userId)
   }
})
Rendering on canvas is difficult. It robs the developer of the power of HTML that can easily create dynamic tile layouts. The developer ends up computing dynamic coordinates every time the number of tiles chnges/for different screen sizes. We’ll read more about this in the next section.
Manually prescribing video quality adds another potential source of errors. The best practice is to reduce quality when tile sizes reduce, and vice-versa. But implementing this will now involve more handling by the developer.
Rendering video on 100ms
Unlike Zoom, 100ms SDK automatically attaches the source to video element wherever it is present on the UI. The element can be customised with CSS.
If the developer enables simulcast, it automatically subscribes to an optimal quality based on the video dimensions.
hmsStore.subscribe((track) => {
    if (!track) {
        return;
    }
    const videoElement = document.querySelector('#video-element')
    if (track.enabled) {
        hmsActions.attachVideo(track.id, videoElement);
    } else {
        hmsActions.detachVideo(track.id, videoElement);
    }
}, selectVideoTrackByID(peer.videoTrack));
Rendering multiple videos on Zoom
With Zoom SDK, you have to use SharedArrayBuffers which adds another layer of complexity. Without SharedArrayBuffers, the following features are not available, such as:
- Gallery View
- Virtual Background
- 720p video
You can use ShareArrayBuffers for rendering multiple videos, which will require one of the following to be setup:
Also, keep in mind that that the developer will need to calculate coordinates based on the number of people in the meeting. And, these coordinates should be updated dynamically when someone joins or leaves.
<canvas id="participant-videos-canvas" width="1920" height="1080"></canvas>

<button onClick="nextVideos()">Next Videos</button>
<button onClick="previousVideos()">Previous Videos</button>

let participants = client.getAllUser()

stream.renderVideo(document.querySelector('#participant-videos-canvas'), participants[0].userId, 960, 540, 0, 540, 2)
stream.renderVideo(document.querySelector('#participant-videos-canvas'), participants[1].userId, 960, 540, 960, 540, 2)
stream.renderVideo(document.querySelector('#participant-videos-canvas'), participants[2].userId, 960, 540, 0, 0, 2)
stream.renderVideo(document.querySelector('#participant-videos-canvas'), participants[3].userId, 960, 540, 960, 0, 2)

function nextVideos() {

  // stop rendering the first 4 videos
  stream.stopRenderVideo(document.querySelector('#participant-videos-canvas'), participants[0].userId)
  stream.stopRenderVideo(document.querySelector('#participant-videos-canvas'), participants[1].userId)
  stream.stopRenderVideo(document.querySelector('#participant-videos-canvas'), participants[2].userId)
  stream.stopRenderVideo(document.querySelector('#participant-videos-canvas'), participants[3].userId)

  // render the next 4 videos
  stream.renderVideo(document.querySelector('#participant-videos-canvas'), participants[4].userId, 960, 540, 0, 540, 2)
  stream.renderVideo(document.querySelector('#participant-videos-canvas'), participants[5].userId, 960, 540, 960, 540, 2)
  stream.renderVideo(document.querySelector('#participant-videos-canvas'), participants[6].userId, 960, 540, 0, 0, 2)
  stream.renderVideo(document.querySelector('#participant-videos-canvas'), participants[7].userId, 960, 540, 960, 0, 2)
}

function previousVideos() {

  // stop rendering the first 4 videos
  stream.stopRenderVideo(document.querySelector('#participant-videos-canvas'), participants[4].userId)
  stream.stopRenderVideo(document.querySelector('#participant-videos-canvas'), participants[5].userId)
  stream.stopRenderVideo(document.querySelector('#participant-videos-canvas'), participants[6].userId)
  stream.stopRenderVideo(document.querySelector('#participant-videos-canvas'), participants[7].userId)

  // render the next 4 videos
  stream.renderVideo(document.querySelector('#participant-videos-canvas'), participants[0].userId, 960, 540, 0, 540, 2)
  stream.renderVideo(document.querySelector('#participant-videos-canvas'), participants[1].userId, 960, 540, 960, 540, 2)
  stream.renderVideo(document.querySelector('#participant-videos-canvas'), participants[2].userId, 960, 540, 0, 0, 2)
  stream.renderVideo(document.querySelector('#participant-videos-canvas'), participants[3].userId, 960, 540, 960, 0, 2)
}
Rendering multiple videos on 100ms
There is no additional setup needed to render multiple videos and upto 49 elements can be rendered in one screen.
The SDK allows rendering video tiles for each peer in the room, adjusting dynamically with changes in the peer list as peers join/leave a room. The hmsActions and hmsStore objects from the 100ms SDK efficiently manage and update video track states.
The code automatically handles peers joining or leaving. Customize the rendering as needed with CSS/JS.
import { hmsActions } from './hms';

const peersContainer = document.getElementById('peers-container');

// store peer IDs already rendered to avoid re-render on mute/unmute
const renderedPeerIDs = new Set();

// render a single peer video tile
function renderPeer(peer) {
    const peerTileDiv = document.createElement('div');
    // you can either get an existing video element or create a new one.
    const videoElement = document.createElement('video');
    const peerTileName = document.createElement('div');
    videoElement.autoplay = true;
    videoElement.muted = true;
    videoElement.playsinline = true;
    peerTileName.textContent = peer.name;

    hmsStore.subscribe((track) => {
        if (!track) {
            return;
        }
        if (track.enabled) {
            hmsActions.attachVideo(track.id, videoElement);
        } else {
            hmsActions.detachVideo(track.id, videoElement);
        }
    }, selectVideoTrackByID(peer.videoTrack));

    peerTileDiv.append(videoElement);
    peerTileDiv.append(peerTileName);

    renderedPeerIDs.add(peer.id);
    return peerTileDiv;
}

// display a tile for each peer in the peer list
function renderPeers(peers) {
    peersContainer = document.getElementById('peers-container');

    peers.forEach((peer) => {
        if (!renderedPeerIDs.has(peer.id) && peer.videoTrack) {
            console.log(
                `rendering video for peer - ${peer.name}, roleName - ${peer.roleName}, isLocal- ${peer.isLocal}`
            );
            peersContainer.append(renderVideo(peer));
        }
    });
}

// subscribe to the peers, so render is called whenever there is a change like peer join and leave
hmsStore.subscribe(renderPeers, selectPeers);
Local Peer Audio/Video
Zoom
When using Zoom SDK, you have create and manage the audio and video tracks. Handling tracks directly can cause issues in second order operations.
const audioTrack = client.createLocalAudioTrack();
const videoTrack = client.createLocalVideoTrack();

audioTrack.mute();
audioTrack.unmute();

videoTrack.mute();
videoTrack.unmute();
Video is always shown in a 16:9 aspect ratio in Zoom.
100ms
When using the 100ms SDK, you don't need to worry about creating or handling audio/video tracks. The SDK takes care of it, and you get the audio/video status dynamically through the reactive store. With the code provided, you can:
- See how your local audio and video are doing.
- Set the initial audio and video states.
- Choose to remember your device choices and check network quality.
hmsActions.preview({
   userName: 'Jon Snow',
    authToken: '<Auth token>', // client-side token generated from your token service
    settings: {
        // initial states
        isAudioMuted: true,
        isVideoMuted: false
    },
    rememberDeviceSelection: true, // remember manual device change
    captureNetworkQualityInPreview: true
});

hmsActions.setLocalAudioEnabled(true|false);
hmsActions.setLocalVideoEnabled(true|false);
Unlike Zoom, you can customise audio / video publish quality for each role using 100ms dashboard setting
- Frames Per Second(FPS)
- Bitrate
- Quality
- Publish aspect ratio
- Simulcast(Adaptive Bitrate)
Framework Integration
Zoom
You will have to create custom hooks/wrapper on top of the Zoom SDK to integrate with React, other frameworks.
100ms
100ms has a React SDK(@100mslive/react-sdk) which makes it easier to integration with React.
It provides hooks for the reactive store and also hooks for commonly used functionality.
import { HMSRoomProvider } from '@100mslive/react-sdk';

<HMSRoomProvider>
  <YourComponentTreeForConferencing>
</HMSRoomProvider>
Once the above step is done, you should be access the store and actions anywhere in the component tree of that.
import { useHMSStore, useHMSActions, selectIsLocalVideoEnabled } from '@100mslive/react-sdk';

const VideoToggle = () => {
   const isVideoEnabled = useHMSStore(selectIsLocalVideoEnabled);
   const hmsActions = useHMSActions();

   return (
      isEnabled ?
        <VideoOnIcon onClick={() => hmsActions.setLocalVideoEnabled(false)}/>
       : <VideoOffIcon onClick={() => hmsActions.setLocalVideoEnabled(true)} />
   )
}
Finally, making a choice
While Zoom’s client is great for video conferencing, in our opinion, Zoom Video SDK leaves a lot of the heavy lifting to developers for an ideal user experience. In practice, this adds several cycles of error handling to just get close to production quality. Their non-standard webRTC implementation also adds a ceiling to the user-experience that can be achieved in a browser.
Custom video SDKs like 100ms, come baked in with sensible defaults (state management, video layouts using HTML, dynamic quality changes) - that allows developers to go live with fewer errors, and higher quality user experiences.
Try 100ms now
Want to try building with 100ms? Check out our JS quickstart guide.
Engineering
Share
Related articles
See all articles