Home
/ Blog /
Timed Metadata for Live Streaming is here!Timed Metadata for Live Streaming is here!
April 6, 20237 min read


Share


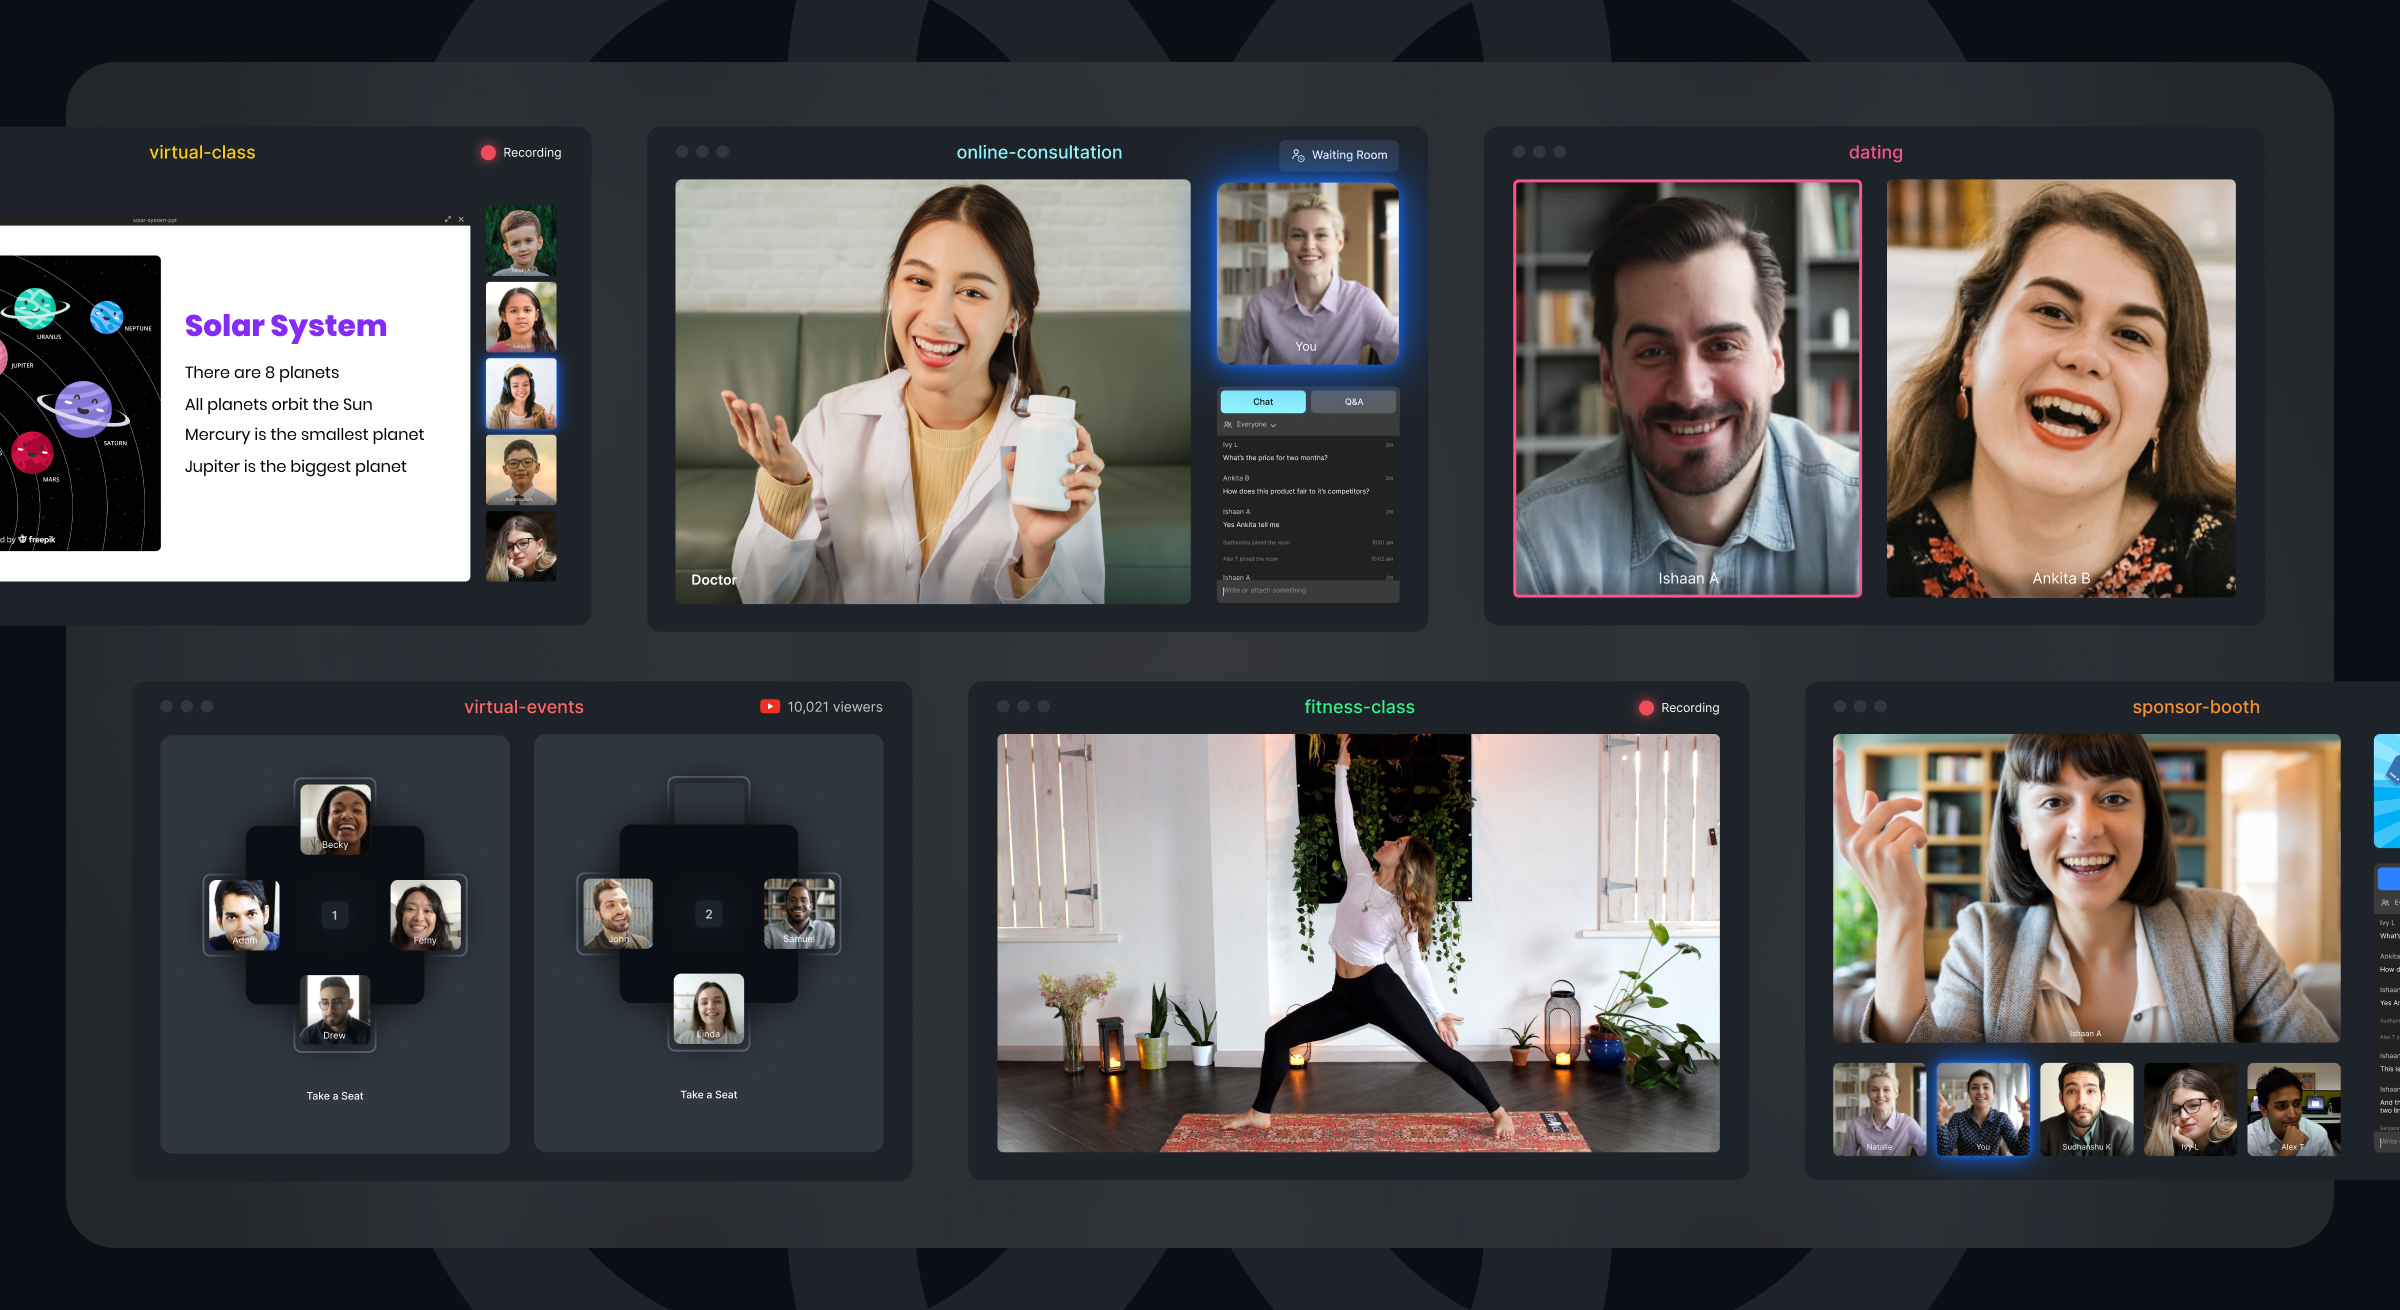
100ms offers interactive live streaming to create two-way, near-real-time interactions between streamers and viewers with features like chat and emoji reactions. Live streaming can scale to very large rooms (with ~10k participants) with a latency of 7-10 seconds.
This latency means interactive experiences that are outside the video stream need to be in sync with the video. Timed metadata makes this possible.
For example, a streamer is running a countdown and at the end of this countdown, they want to showcase confetti to their viewers. For maximum impact, this confetti needs to be perfectly aligned with the countdown.
In this article, we see how to enable Timed Metadata and use it in a live streaming example to trigger certain elements on the viewer side synchronised with the broadcaster’s action.
What is Timed Metadata?
Timed Metadata allows attaching metadata to a specific timestamp in the HLS live stream. This metadata is triggered when the live stream playhead is on the specific timestamp. Thus, enabling information to be perfectly synchronised with the audio and video frames, and ensuring that all viewers receive the metadata at the same moment relative to the stream. The time code acts as a reference point, allowing for triggered actions based on the data, such as:
- Presenting questions for an interactive quiz show streamed live.
- Displaying product information for an e-commerce stream.
And, more uses cases that are discussed further in this blog.
Supported Devices
The Desktop and Mobile browsers (both on Android and iOS) are supported.
This differentiates Timed Metadata offered by 100ms from the competitors as they do not support iOS mobile browsers.
You can also integrate it into your Native Android and Native iOS applications.
Getting Started
For this example, we’ll use a live-streaming example built by Taminoturoko Briggs as the starter code. This would help quickly test out the feature.
The starter code for the project can be found here.
We start by forking the project and cloning it to our system.
If you’d like to setup live streaming in your React app from scratch, we have detailed documentation available here.
Let’s get started by first setting up the project on the 100ms dashboard!
Enable timed metadata
Navigate to Destinations under the Template Settings and enable Timed Metadata as follows:

Adding the Control buttons
After cloning the project above we can start by adding the buttons to trigger timed metadata in the live stream. Add the following code under the ‘Go Live’ button in the Controls.js file:
         <Button
            variant="contained"
            disableElevation
            onClick={sendTimedMetadata}
          >
            Send metadata
          </Button>
This would add a ‘Start Celebration’ button to the broadcaster’s screen. We’ll define the function added to the onClick in the next step.
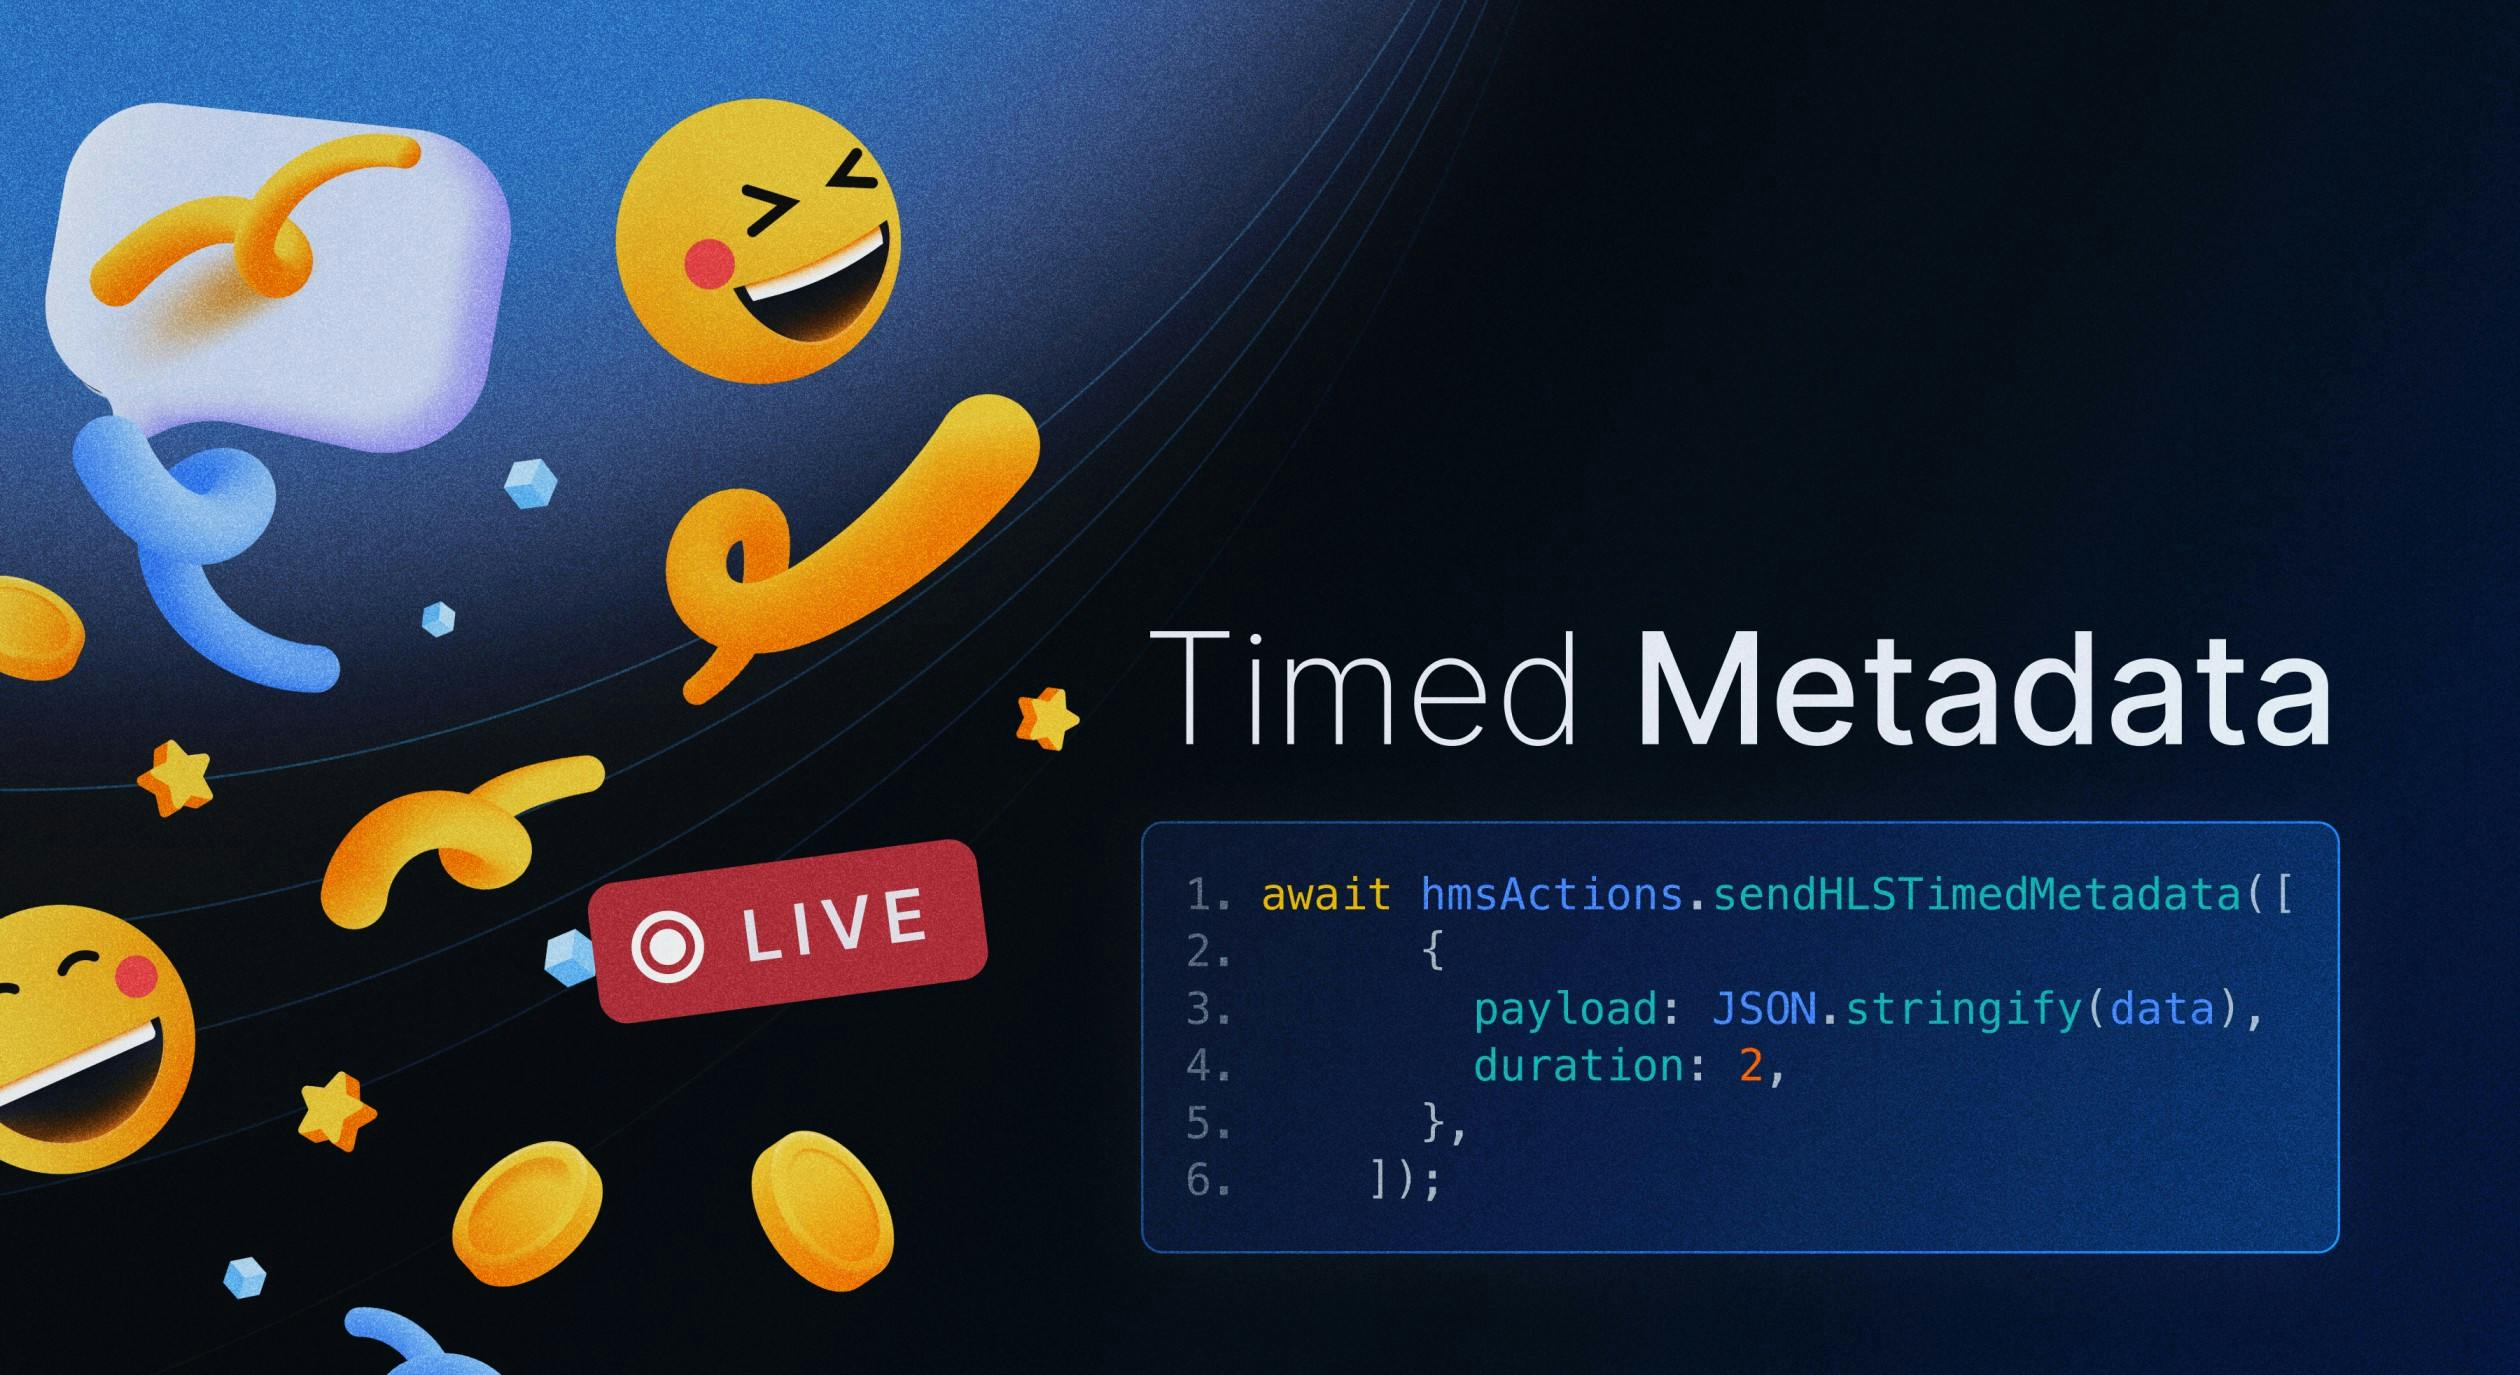
Send timed metadata
To send timed metadata we create a new function inside the same Controls.js file as follows:
const sendTimedMetadata = async () => {
    const data = { triggerConfetti: true };
    await hmsActions.sendHLSTimedMetadata([
      {
        payload: JSON.stringify(data),
        duration: 2,
      },
    ]);
  };
We call hmsActions.sendHLSTimedMetadata and pass the data as payload.
Note: We are using the
react-hot-toastpackage to show a toast when the user triggers timed metadata.
Trigger Confetti on Viewer’s Screen
Now, when the Timed Metadata is received we want to trigger confetti on the viewer’s end. For this, we follow the steps below.
- Install the
@100mslive/hls-playerdependency using:
npm i @100mslive/hls-player
- Add the following imports to the file:
import { HMSHLSPlayer } from "@100mslive/hls-player";
import { HMSHLSPlayerEvents } from "@100mslive/hls-player";
- Next, add the confetti package to your project and import it as:
import Confetti from "react-confetti";
- Update the
HlsViewfunction with the following code insideHlsView.js
function HlsView() {
  const videoRef = useRef(null);
  const hlsState = useHMSStore(selectHLSState);
  const hlsUrl = hlsState.variants[0]?.url;
  const [status, setStatus] = useState(false);
  const [hmsPlayer, setHMSPlayerInstance] = useState(null);

  // initialise HMSPLayer
  useEffect(() => {
    if (videoRef && !hmsPlayer && hlsUrl) {
      const player = new HMSHLSPlayer(
        hlsUrl,
        videoRef.current
      );
      setHMSPlayerInstance(player);
      player.play();
    }
  }, [videoRef, setHMSPlayerInstance, hmsPlayer, hlsUrl]);

  // listen to hls player events
  useEffect(() => {
    if (hmsPlayer) {
      console.log("adding event listener");
      hmsPlayer.on(HMSHLSPlayerEvents.TIMED_METADATA_LOADED, (data) => {
        console.log(data);
        const receivedData = JSON.parse(data.payload);
        console.log(receivedData.triggerConfetti);
        setStatus(receivedData.triggerConfetti);
      });
    }
  }, [hmsPlayer, setStatus, status]);

  return (
    <div>
      {status ? <Confetti width={1200} height={800} /> : null}
      <video ref={videoRef} autoPlay control playsinline></video>;
    </div>
  );
}

export default HlsView;
When timed metadata is received, it is parsed and logged on the console. We also setStatus to the payload value which is true to show confetti on the screen.
Note: The complete code can be found here.
With that done, we have updated the Live Streaming example to demo Timed Metadata. When the broadcaster clicks on the ‘Send metadata` button, it would show confetti on the viewer’s end.
This can be used to time celebrations with your viewers such as a New Year's Eve Countdown, or a Product launch at a specified time.
Timed Metadata Use Cases
Ready to build? Here are some ideas to inspire what you can build with Timed Metadata:
1. Enhanced Live shopping experience
Timed Metadata can help enhance the live shopping experience. For example, as the host showcases a product, timed metadata can be used to prompt the user to add the product to the cart outside of the video stream and complete the purchase. This would help create an immersive and interactive shopping experience for viewers, and increase the chances of converting them into customers.
2. Names and profiles of speakers in a live panel discussion:
During a live panel discussion or lecture, timed metadata can be used to display the names and titles of the speakers, along with other details, that can be made clickable outside the video stream. This would them to access the speakers' profiles, websites, social media handles, or other relevant links with just a click and learn more about the speakers and their expertise, without needing to search for information separately.
3. Advertising and promotional materials during a live event broadcast:
It can be used to display advertising and promotional materials, such as sponsored messages or product advertisements. Timed Metadata can also be used to display time-limited offers, discounts, etc, synchronised with the video stream and displayed outside the video, enticing viewers to take advantage of the limited-time deals, creating a sense of urgency, and driving sales.
4. Timed polls and quizzes for increased engagement
Polls and quizzes can be used to engage the viewers. Polls can gather opinions, feedback, or preferences from viewers in real-time while quizzes can help test viewer knowledge or understanding of the content being presented. This not only encourages viewer participation but also provides valuable insights to the host or presenter. Using timed metadata for polls and quizzes can help add an element of interactivity and gamification to the live event.
Conclusion
Geared with ideas to inspire and steps on how to enable Timed Metadata, we are excited to see what you’ll build with it! 🥳
Start by exploring the Timed Metadata docs here.
Have any questions? Ask the 100ms team on Discord. Join here.
Product & news
Share
Related articles
See all articles